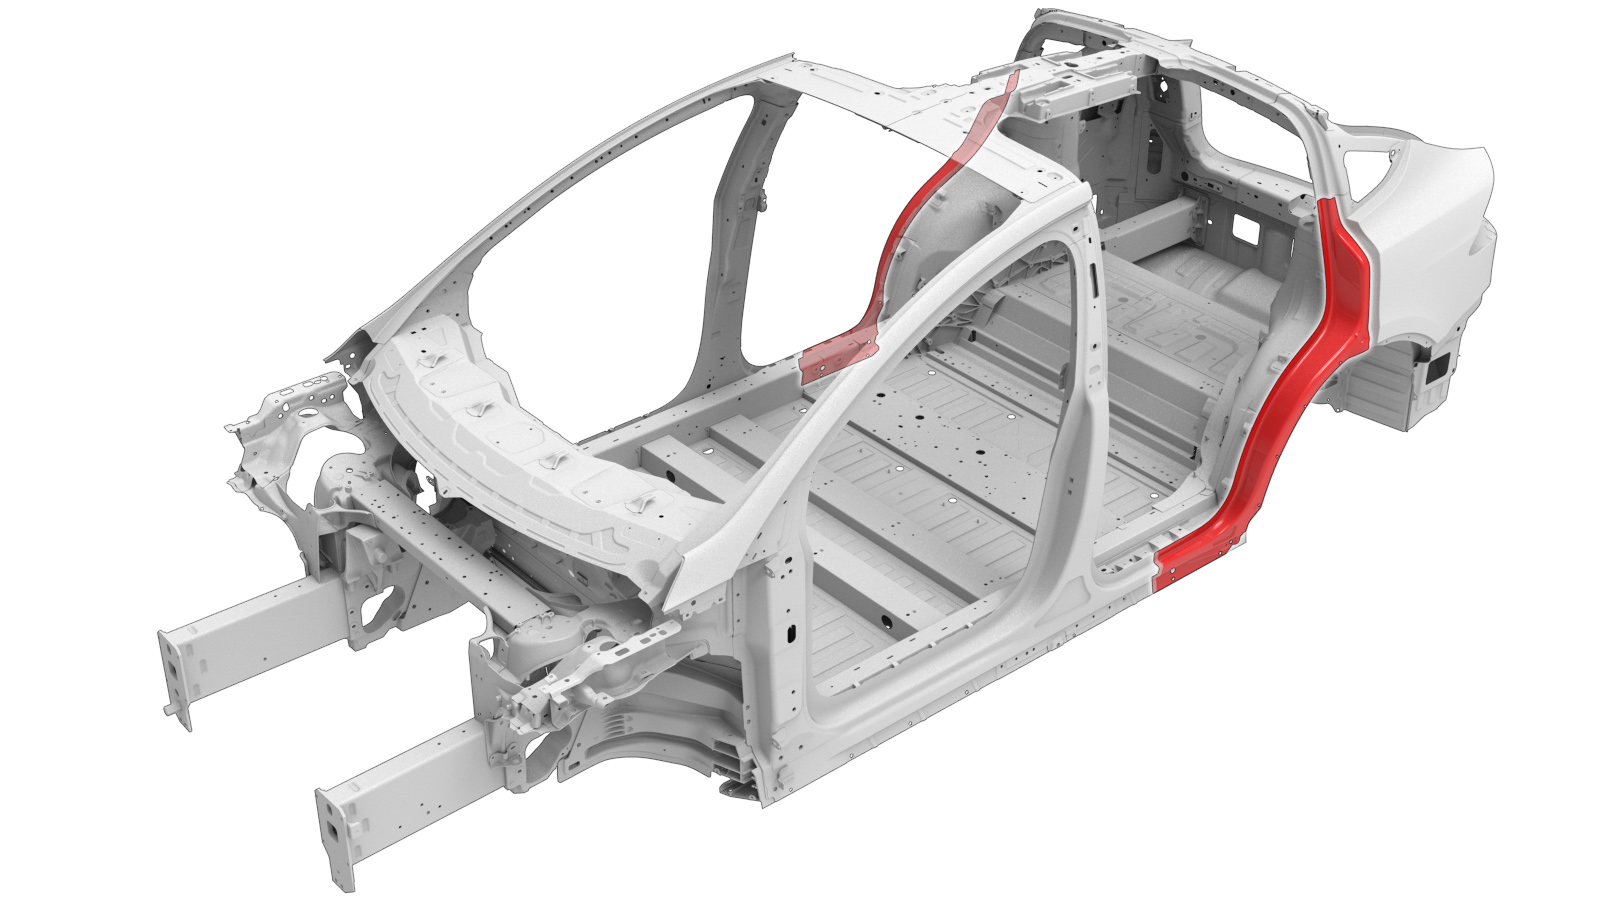
C–Pillar Lower Extension
 Correction code:
10100126502
10100126602
NOTE:
Unless explicitly stated in the procedure, the above
correction code includes all Collision Repair work required
to perform this procedure, including the linked Collision
Repair procedures. Do not stack Collision Repair
correction codes unless explicitly told to do
so. Add any associated mechanical procedures
needed to perform this procedure.
Repair Information
- Review all collision repair general practices and safety documentation and wear the appropriate PPE (Personal Protective Equipment) before beginning this procedure.
- This procedure can be completed without using a frame bench.
Parts List
| Quantity | Description | Image / Notes |
|---|---|---|
| 1 | ASY - PNL C-PLR LWR EXTN (C–Pillar Lower Extension) | |
| 11 | Countersunk Rivet, 4.8 mm Short | |
| 1 | Flow Form Rivet S38 | |
| 21 | SPR, 5x4 | |
| 1 | SPR, 5x4.5 | |
| 6 | SPR, 5x5 | |
| 14 | SPR, 5x6 H4 |
When ordering parts, refer to the Parts Catalog and enter the VIN of the vehicle being repaired to find the correct parts (and the part numbers) for the vehicle. Alternatively, use the search function in the Parts Catalog to find a specific part for the vehicle.
Repair Procedure
-
Remove the original component.
or Factory Spot Weldsor Drill through factory spot weldsNoteWhen drilling out spot welds, use a drill bit that creates a hole correctly sized for the fastener that will replace the spot weld.
or Factory laser welds
-
Prepare for installation.
NoteA red X indicates a location where a factory-installed fastener is not being replaced.or Countersunk Rivets, 4.8 mm ShortNoteInstall the countersunk rivets on the joint between the new component and the Rear Quarter Outer panel in the center of the area where the new component and the underlying panel overlap (as shown in the reference image). Measure the amount of overlap between the new component and the underlying portion of the Rear Quarter Outer, then mark the countersunk rivet locations based on the amount of panel overlap.or SPRs, 5x4NoteThe following Tesla SPR die is required to install this SPR: KA 075 2113.or SPRs, 5x4.5NoteThe following Tesla SPR die is required to install this SPR: KA 075 2113.or SPRs, 5x5NoteThe following Tesla SPR die is required to install this SPR: KA 075 2113.or SPRs, 5x6 H4NoteThe following Tesla SPR die is required to install this SPR: SM 085 0125.
- Apply structural adhesive to the mating surfaces on the vehicle and the new component or components.
- Install the new component or components.
- Perform any necessary post-repair operations.