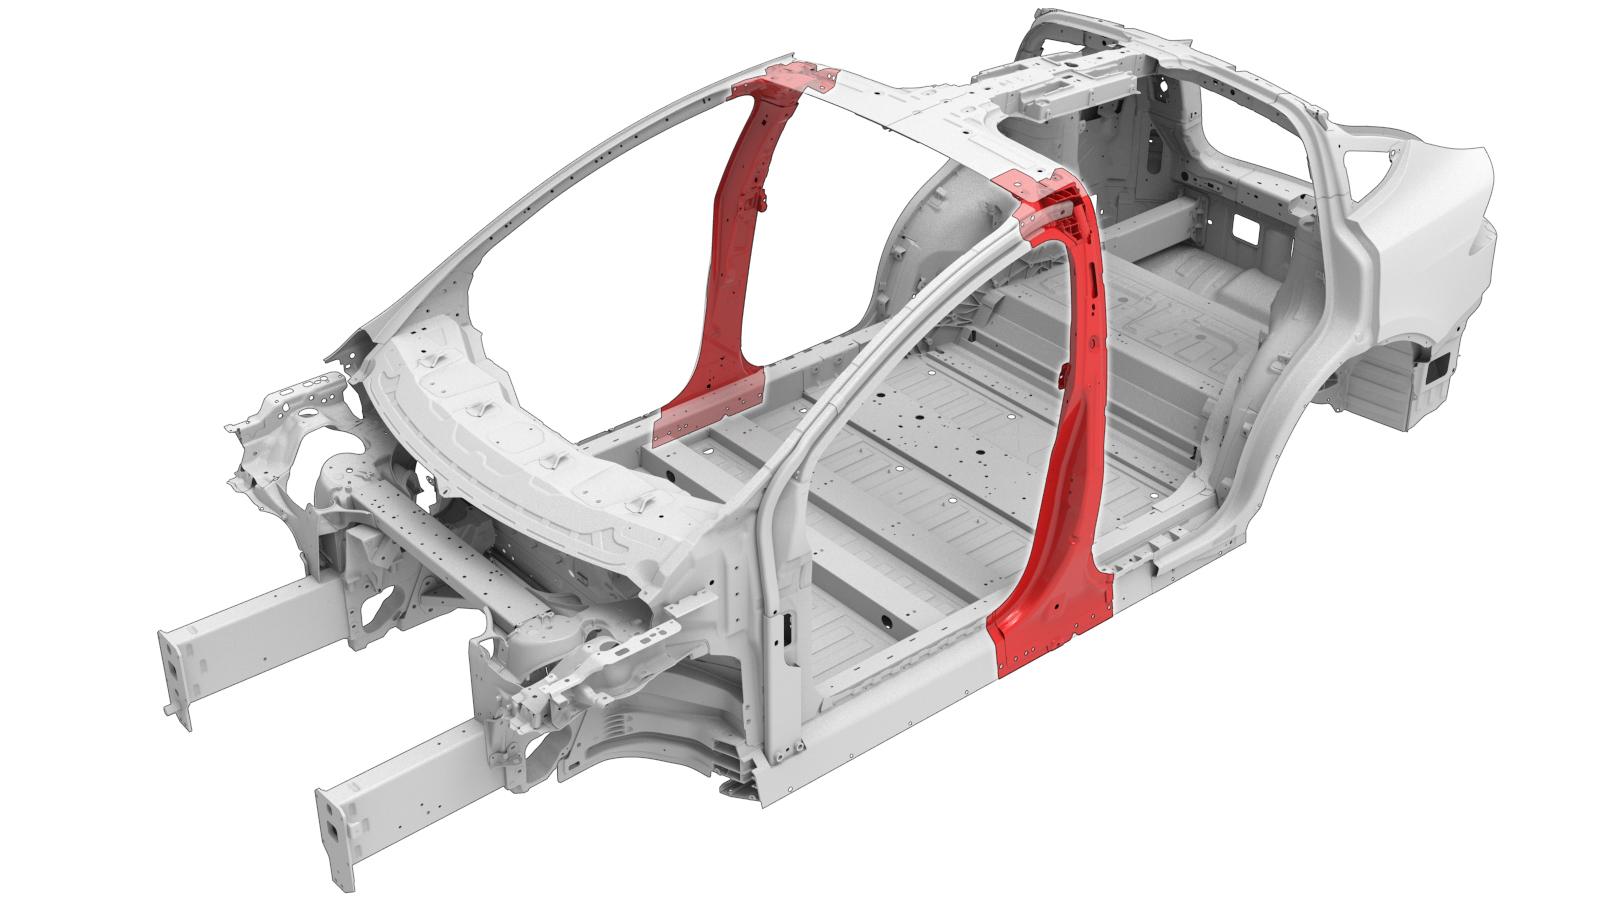
B-Pillar (Complete)
 Correction code:
10100126702
10100126802
NOTE:
Unless explicitly stated in the procedure, the above
correction code includes all Collision Repair work required
to perform this procedure, including the linked Collision
Repair procedures. Do not stack Collision Repair
correction codes unless explicitly told to do
so. Add any associated mechanical procedures
needed to perform this procedure.
Repair Information
- Review all collision repair general practices and safety documentation and wear the appropriate PPE (Personal Protective Equipment) before beginning this procedure.
- Properly mount the vehicle on a frame bench when performing this procedure.
Parts List
| Quantity | Description | Image / Notes |
|---|---|---|
| 1 | ASY B PLR COMPLETE (B–Pillar Complete) | |
| 3 | ||
| 2 | Flow Form Rivet S28 | |
| 6 | Flow Form Rivet S48 | |
| 1 | Bolt, hex-head , DOUBLE ENDED STUD, HF, M8X25+M8X15 | Tesla part number 1060709-00-B. |
| 3 | Bolt, hex-head SCR,M8-1.25X20,HF,MAT PNT,STL,ZNC,PATCH | Tesla part number 1007580-00-A. |
When ordering parts, refer to the Parts Catalog and enter the VIN of the vehicle being repaired to find the correct parts (and the part numbers) for the vehicle. Alternatively, use the search function in the Parts Catalog to find a specific part for the vehicle.
Repair Procedure
-
Remove the B–Pillar Reinforcement.
-
Remove the necessary portion
of the Body Side Outer to expose
the underlying component being replaced.
-
Remove the original component.
or Factory SPRs
-
Grind down the foam on the
new B–Pillar service part until it is flush with the edges of the nylon
reinforcement block.
WarningRemove the structural foam in a well-ventilated area. Wear suitable personal protective equipment.
-
Prepare for installation.
-
Apply structural adhesive to the mating surfaces on the vehicle and the new component or components.
Apply a layer of structural adhesive to the top structural foam in the nylon reinforcement block of the B–Pillar Gusset (highlighted in yellow). Also apply a primer layer of structural adhesive to the underside of the Front Header Upper to the area highlighted in yellow.
-
Install the B–Pillar Reinforcement.
-
Install the new component or components.
Torque the bolts to 25 Nm.
-
Install the portion of the
Body Side Outer that was
removed to expose the component being replaced.
- Perform any necessary post-repair operations.