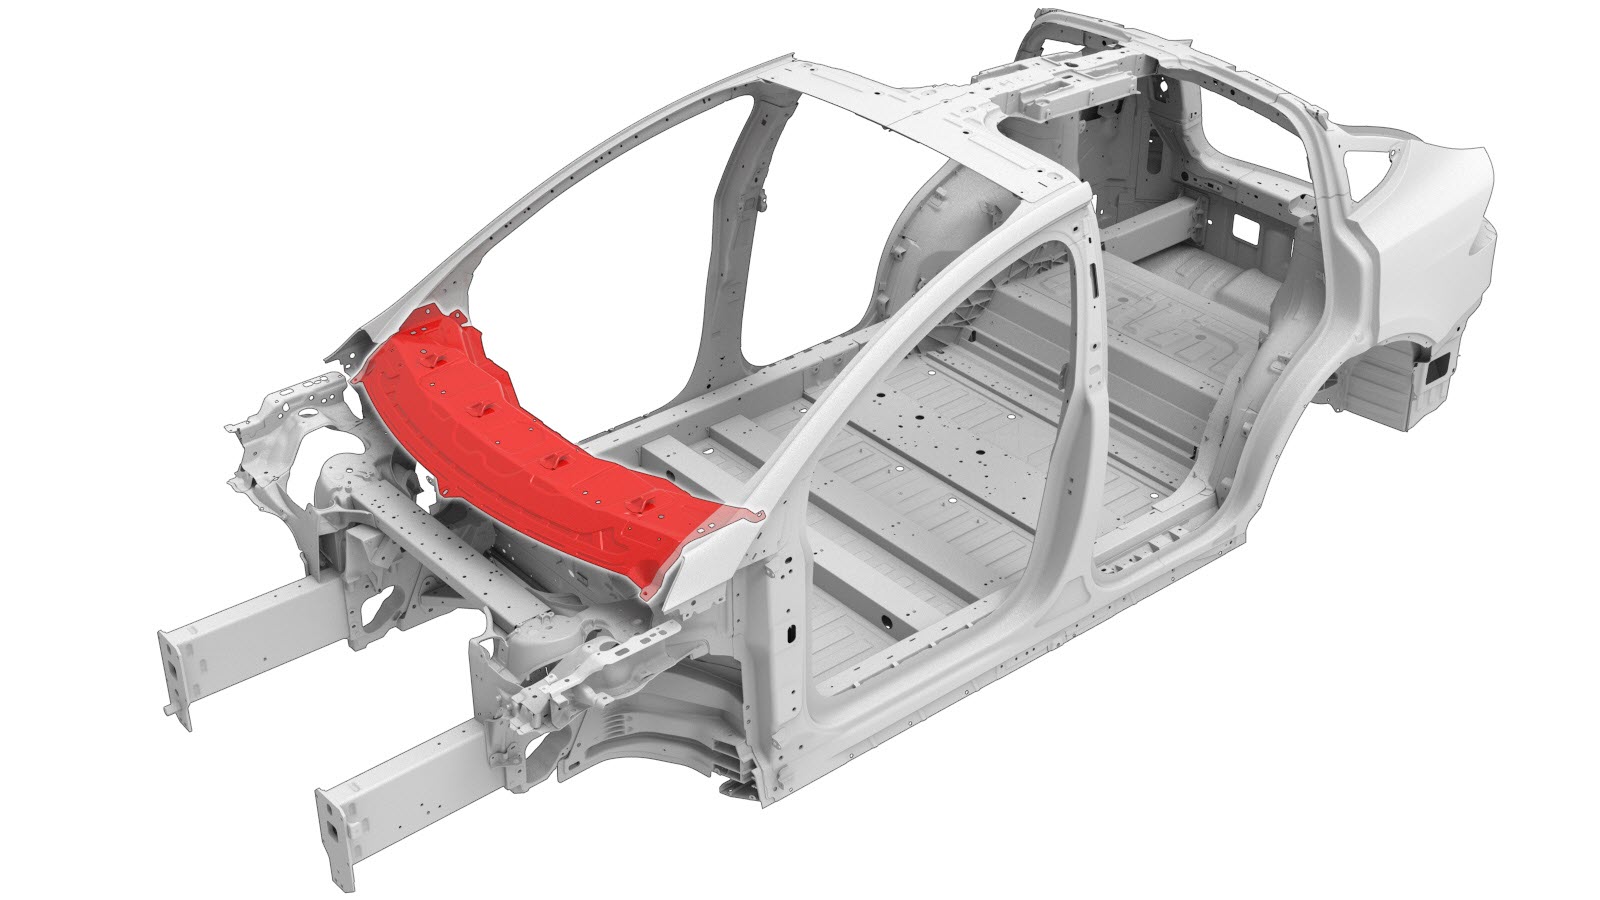
Cowl Top
 Correction code:
10101020002
NOTE:
Unless explicitly stated in the procedure, the above
correction code includes all Collision Repair work required
to perform this procedure, including the linked Collision
Repair procedures. Do not stack Collision Repair
correction codes unless explicitly told to do
so. Add any associated mechanical procedures
needed to perform this procedure.
Repair Information
- Review all collision repair general practices and safety documentation and wear the appropriate PPE (Personal Protective Equipment) before beginning this procedure.
- This procedure can be completed without using a frame bench.
Parts List
| Quantity | Description | Image / Notes |
|---|---|---|
| 1 | MDLX, ASSY, COWL TOP SVC (Cowl Top) | |
| 16 | Structural Rivet, 6.5 mm Short | |
| 33 | Flow Form Rivet S18 | |
| 4 | Flow Form Rivet S38 |
When ordering parts, refer to the Parts Catalog and enter the VIN of the vehicle being repaired to find the correct parts (and the part numbers) for the vehicle. Alternatively, use the search function in the Parts Catalog to find a specific part for the vehicle.
Repair Procedure
-
Remove the original component.
or Factory Spot Weldsor Drill through factory spot weldsNoteWhen drilling out spot welds, use a drill bit that creates a hole correctly sized for the fastener that will replace the spot weld.or Bolts, hex-headNoteDo not discard the bolts.
-
Trim 2 mm to 3 mm from each
side of the new Cowl Top service part as indicated below to make the new
component.
Cut Line
-
Prepare for installation.
NoteA red X indicates a location where a factory-installed fastener is not being replaced.
or Structural Rivets, 6.5 mm Short
or Bolts, hex-headNoteIn the locations circled in red, temporarily install the M8 bolts that were removed during the Dashboard removal. These M8 bolts secure the new component until the structural adhesive cures, and are then removed when installing the Dashboard. - Apply structural adhesive to the mating surfaces on the vehicle and the new component or components.
-
Install the new component or components.
Torque the bolts as follows:
- M6 bolts: 10 Nm.
- M8 bolts: 27 Nm.
- Perform any necessary post-repair operations.