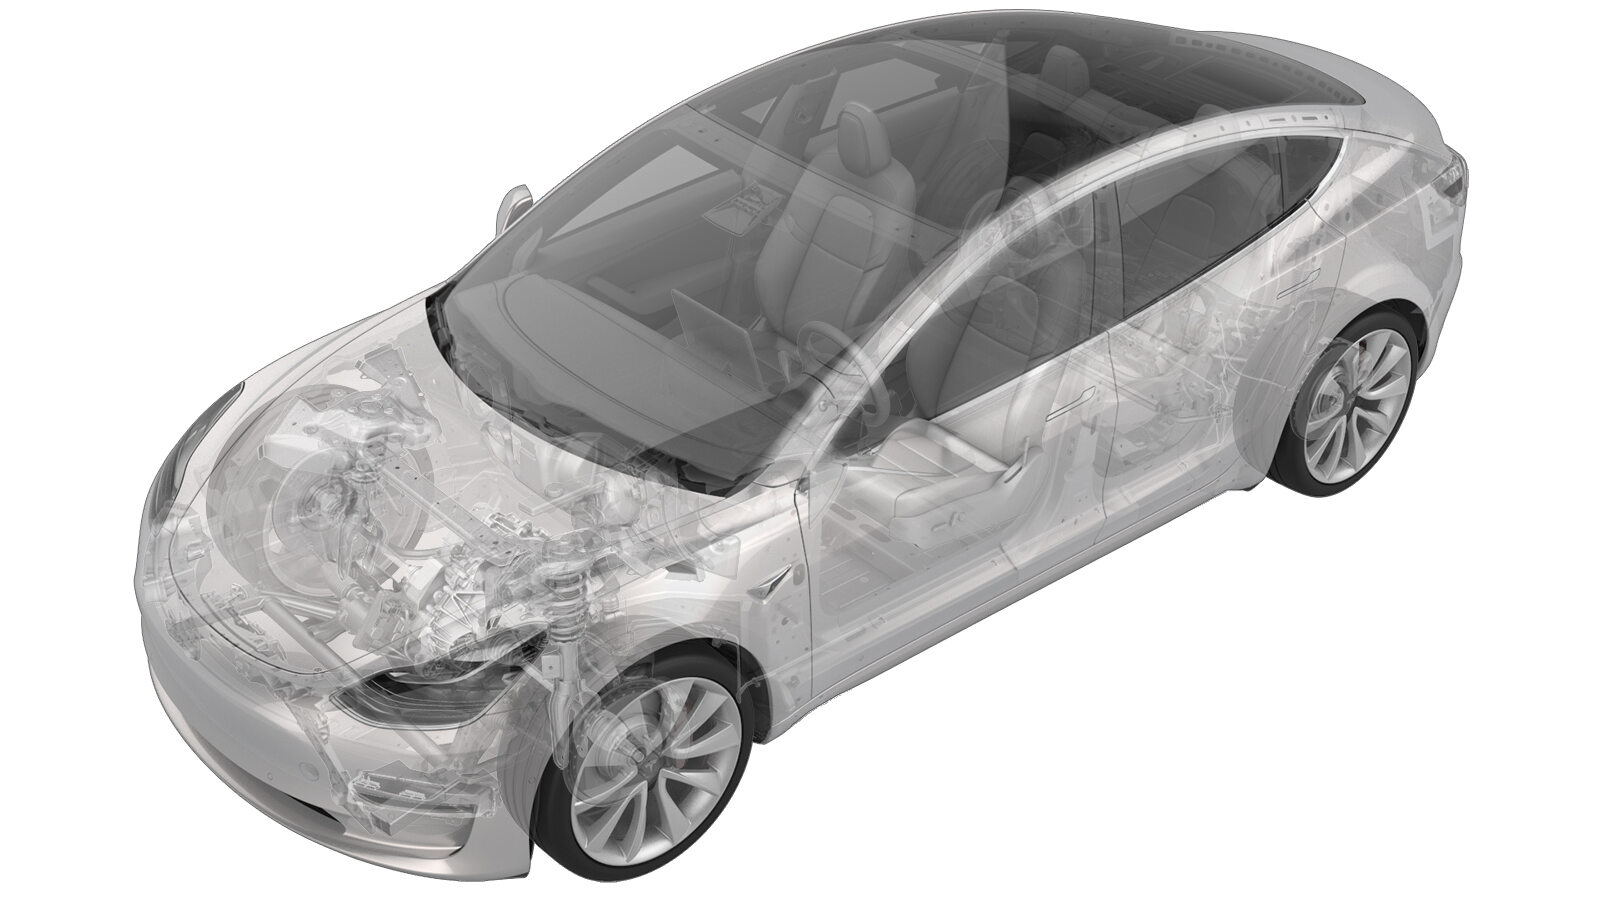
Aktuator – nedre modus (varmepumpe) (fjerne og skifte ut)
 Korrigeringskode
18102512
0.54
MERK: Hvis ikke noe annet er uttrykkelig oppgitt i prosedyren, gjenspeiler korrigeringskoden og FRT ovenfor, alt arbeidet som kreves for å gjennomføre denne prosedyren, inkludert de tilknyttede prosedyrene. Ikke stable korrigeringskoder med mindre du bli uttrykkelig bedt om det.
MERK: Se Flat rate-tider for å lære mer om FRT-er og hvordan de lages. Hvis du vil gi tilbakemelding om FRT-verdier, kan du sende en e-post til ServiceManualFeedback@tesla.com.
MERK: Se Personlig beskyttelse for å forsikre deg om at du bruker riktig PVU når du gjennomfører prosedyren nedenfor.
MERK: Se Forholdsregler for ergonomi for trygge og sunne arbeidspraksiser.
- 2023-10-16: Reorganized the procedure.
Fjerne
- Remove the center console. See Midtkonsoll (2.0) (fjerne og montere).
-
Release the instrument panel harness
clips (x2) and carpet clip from the RH cross car beam.
-
Remove the bolt that attaches the LH
cross car beam to the HVAC assembly.
TIpBruk av følgende verktøy anbefales:
- Skralle med fleksibelt hode / momentnøkkel med fleksibelt hode
- 10 mm 12 pkt. pipenøkkelinnsats
-
Remove the bolt that attaches the RH
cross car beam bracket to the cross car beam.
TIpBruk av følgende verktøy anbefales:
- Skralle-/momentnøkkel
- 13mm socket
- 3 i forlengelse
-
Remove the nut that attaches the RH
cross car beam bracket to the body.
TIpBruk av følgende verktøy anbefales:
- Skralle-/momentnøkkel
- 13mm socket
- 3 i forlengelse
-
Remove the RH cross car beam bracket
from the vehicle.
-
Insert the inflatable air bag up to
the bottom of the lower mode actuator, then inflate it between the RH cross car beam
bracket and lower HVAC assembly.
-
Remove the bolts(x2) that attach the
lower mode actuator to the HVAC assembly.
MerkInsert the mini ratchet bit from behind the harness.TIpBruk av følgende verktøy anbefales:
- Torx T20-bor
-
Disconnect the lower mode actuator
electrical connector, and then remove the actuator from the HVAC assembly.
Montere
- Position the lower mode actuator on the HVAC assembly; align the guide, and then push the lower mode actuator towards the left to install.
-
Connect the lower mode actuator electrical connector.
-
Install the bolts(x2) that attach the
lower mode actuator to the HVAC assembly.
 1.2 Nm (.9 lbs-ft)MerkInsert the mini ratchet bit from behind the harness.TIpBruk av følgende verktøy anbefales:
- Torx T20-bor
- Torque Wrench Hexagon - 1060071-00-A
-
Deflate airbag between RH cross car
beam bracket and lower HVAC assembly and remove
- Deflate and remove the inflatable air bag between the RH cross car beam bracket and lower HVAC assembly.
- Position the RH cross car beam bracket to the body.
-
Hand-tighten the bolt that attaches
the RH cross car beam bracket to the cross car beam.
-
Hand-tighten the bolt that attaches
the cross car beam to the HVAC assembly.
-
Hand-tighten bolt that attaches cross
car beam to the HVAC assembly.
-
Torque the nut that attached the RH
cross car beam bracket to the body.
 25 Nm (18.4 lbs-ft)TIpBruk av følgende verktøy anbefales:
- Skralle-/momentnøkkel
- 13mm socket
- 3 i forlengelse
-
Torque the bolt that attaches the RH
cross car beam bracket to the cross car beam.
 25 Nm (18.4 lbs-ft)TIpBruk av følgende verktøy anbefales:
- Skralle-/momentnøkkel
- 13mm socket
- 3 i forlengelse
-
Torque the bolt that attach the cross
car beam to the HVAC assembly.
 5.5 Nm (4.1 lbs-ft)TIpBruk av følgende verktøy anbefales:
- Skralle med fleksibelt hode / momentnøkkel med fleksibelt hode
- 10 mm 12 pkt. pipenøkkelinnsats
-
Install the IP harness clips (x2) and
carpet clip to the RH cross car beam.
- Install the center console. See Midtkonsoll (2.0) (fjerne og montere).