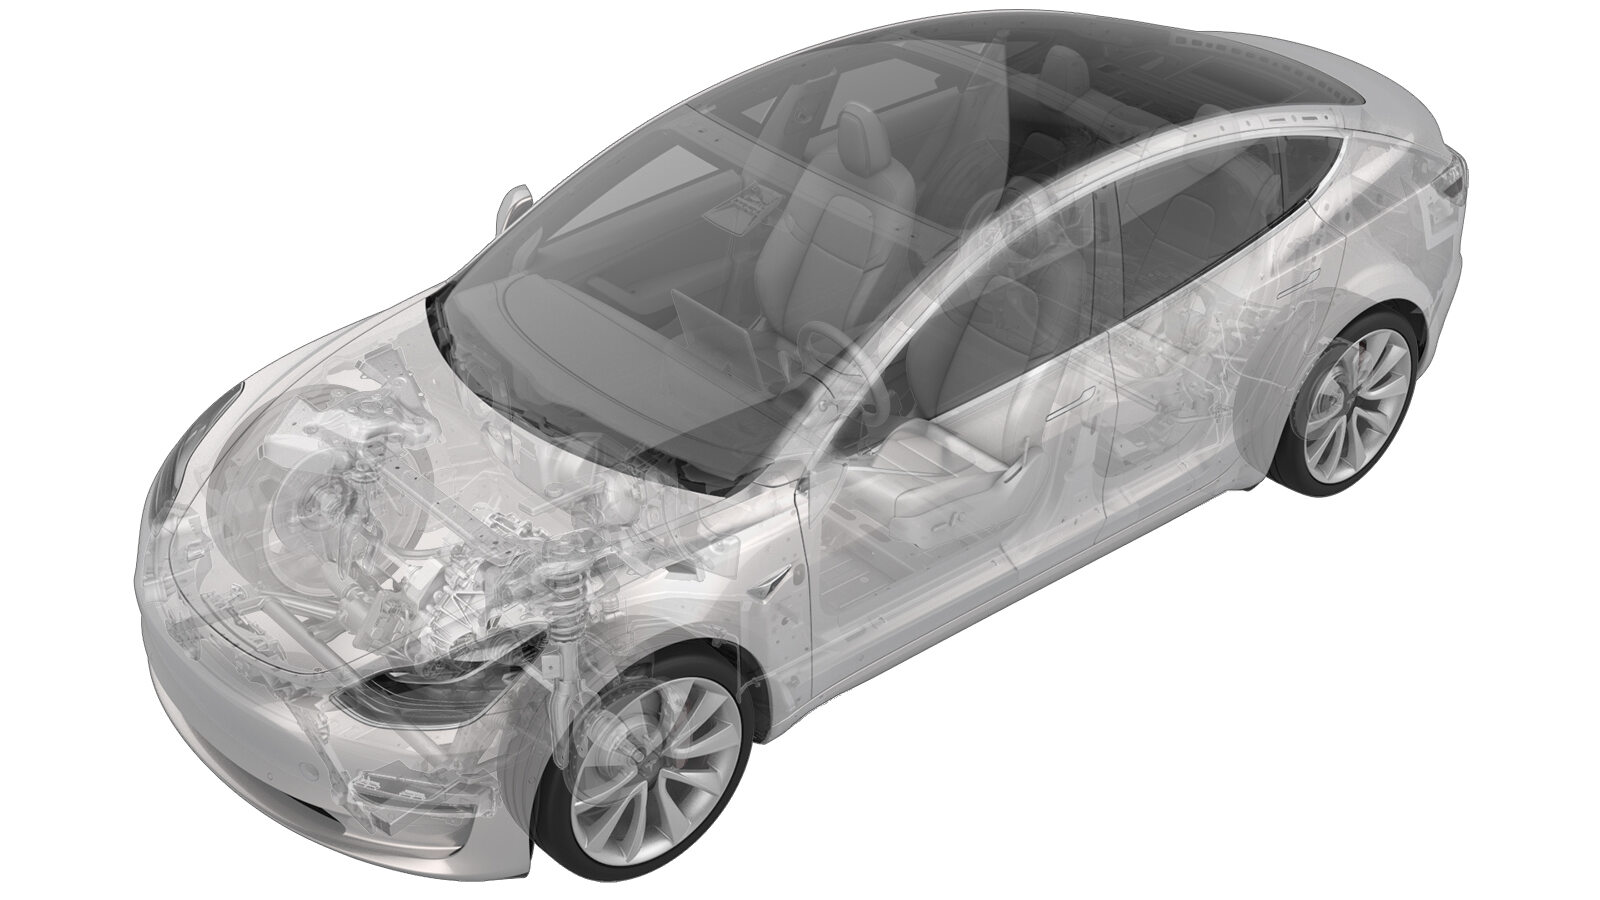
Skall – karosserikontroll – foran (varmepumpe) (fjerne og skifte ut)
 Korrigeringskode
17152122
0.18
MERK: Hvis ikke noe annet er uttrykkelig oppgitt i prosedyren, gjenspeiler korrigeringskoden og FRT ovenfor, alt arbeidet som kreves for å gjennomføre denne prosedyren, inkludert de tilknyttede prosedyrene. Ikke stable korrigeringskoder med mindre du bli uttrykkelig bedt om det.
MERK: Se Flat rate-tider for å lære mer om FRT-er og hvordan de lages. Hvis du vil gi tilbakemelding om FRT-verdier, kan du sende en e-post til ServiceManualFeedback@tesla.com.
MERK: Se Personlig beskyttelse for å forsikre deg om at du bruker riktig PVU når du gjennomfører prosedyren nedenfor.
MERK: Se Forholdsregler for ergonomi for trygge og sunne arbeidspraksiser.
Fjerne
-
Open LH front door
-
Lower LH front window
-
Open hood
MerkPress "Open" button on touchscreen to release latch, Lift lid manually
-
Remove rear apron
Merk12x clips, Only store rear apron visible face upwards
-
Power off vehicle from center
display
MerkVia Controls > Safety > Power Off, Select Power Off button at warning dialogue box
-
Disconnect 12V negative terminal
Merk1x nut, 10mm, 6 Nm, Ensure vehicle is in park, climate control system is off, and vehicle is not charging before disconnecting 12V
-
Disconnect first responder loop
Merk1x connector, Release locking tab
-
Remove vent tube hose from LH side of
12V battery
Merk1x tube adapter
-
Release terminal cover and remove
positive terminal
Merk2x clips, 1x nut, 10mm, 6 Nm, Do not fully remove positive terminal nut
-
Remove 12V battery upper tie down
strap to AC compressor bracket
Merk1x bolt, 10mm, 5 Nm, Lift battery tie down strap up and remove it from rear tie down hook strap
-
Remove battery upper tie down strap
MerkLift battery tie down strap up and remove it from the rear tie down hook strap
-
Remove 12V battery from vehicle
-
Remove rear battery tie down
strap
MerkRotate forward to disengage
-
Disconnect thermal sub-harness from
front controller
Merk1x connector, Depress locking tab and rotate to release
-
Remove bolts securing front controller
shield assembly and remove from vehicle
Merk2x bolts, 10mm, 8.5 Nm
Montere
-
Install front controller shield to the
front controller
Merk2x bolts, 10mm, 8.5 Nm
-
Connect thermal sub-harness to front
controller
Merk1x connector, Rotate fully to secure locking tab
-
Install rear battery tie down
strap
MerkInsert assembly into bracket and rotate to 90 degrees
-
Install 12V battery into vehicle
-
Position battery tie down strap onto
battery
MerkHook upper tie down strap into rear tie down hook strap and position for installation
-
Install bolt securing upper tie down
strap to AC compressor bracket
Merk1x bolt, 10mm, 5 Nm
-
Install vent tube hose in 12V
battery
-
Install positive terminal and terminal
cover
Merk1x nut, 10mm, 6 Nm, 2x clips
-
Connect first responder loop
Merk1x connector, Engage locking tab, Connect FRL before connecting 12V to avoid damage to car computer
-
Connect 12V negative terminal
Merk1x nut, 10mm, 6 Nm
-
Install rear apron
Merk12x clips
-
Close hood
-
Raise LH front window
-
Close LH front door