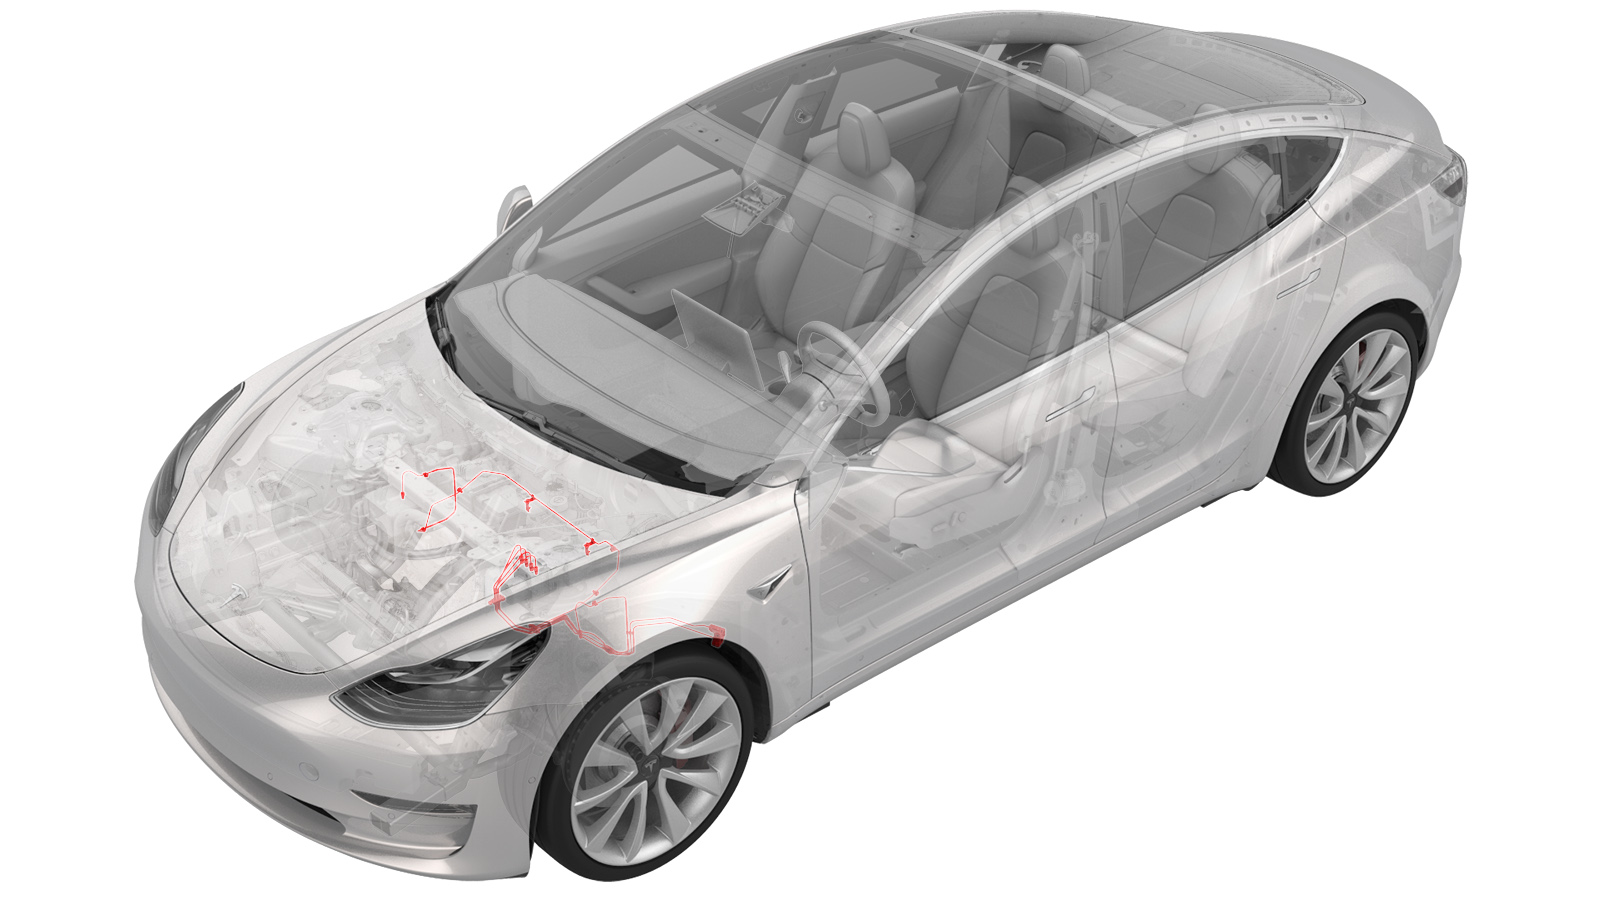
Bremselinjer – 4-rørbunt – ABS til hjul (dobbel motor) (fjerne og skifte ut)
 Korrigeringskode
330339524.62
MERK: Hvis ikke noe annet er uttrykkelig oppgitt i prosedyren, gjenspeiler korrigeringskoden og FRT ovenfor, alt arbeidet som kreves for å gjennomføre denne prosedyren, inkludert de tilknyttede prosedyrene. Ikke stable korrigeringskoder med mindre du bli uttrykkelig bedt om det.
MERK: Se Flat rate-tider for å lære mer om FRT-er og hvordan de lages. Hvis du vil gi tilbakemelding om FRT-verdier, kan du sende en e-post til ServiceManualFeedback@tesla.com.
MERK: Se Personlig beskyttelse for å forsikre deg om at du bruker riktig PVU når du gjennomfører prosedyren nedenfor. Se Forholdsregler for ergonomi for trygge og sunne arbeidspraksiser.
Bremsevæske løser opp lakk. Ha rene håndklær og rikelig med vann stående klart for å fjerne sølt bremsevæske av lakkerte overflater.
Avfallshåndter brukt bremsevæske i samsvar med lokale miljøforskrifter.
- Remove the front subframe. See Underramme – foran (dobbel motor) (fjerne og montere).
- Remove the 12V battery bracket. See Brakett – 12 V-batteri (dobbel motor) (fjerne og skifte ut).
-
Remove the bolts (x2) that attach the ground leads (G098 and G099) to the LH side of the body.
MerkDiscard thread-cutting tri-lobular bolts after removal. If equipped with new bolts (1447438-00-A), the bolts can be reused.
-
Release the white harness clip from the body.
-
Release the black harness clip from the body.
-
Remove the front harness clip from the LH frame rail area.
-
Disconnect the ground connector (G011) from the LH frame rail area.
-
Move the LH side of the front harness aside for access.
-
Disconnect the ABS modulator connector.
MerkDisengage locking tab and pull up on the connector to release.
-
Release the front harness clips (x2) at the LH frame rail area.
- Plasser tappebeholderen for olje under ABS-enheten.
-
Fjern bremseslangemutrene fra ABS-enheten, og la væsken renne ut.
-
Remove the front brake line bundle clip at the LH front rail area.
-
Remove the RH front brake line from the front brake line bundle clip at the LH front rail area.
- Remove the oil drain container from underneath the vehicle.
- Partially raise the vehicle.
-
Remove the thermal beam hose clips (x2) from the body.
- Plasser oljetappebeholderen under koblingsblokken for den fremre bremselinjen.
-
Fjern bremseslangemutrene fra koblingsblokken, og la væsken renne ut.
-
Remove the black clip from the LH front junction block.
-
Release the brake lines from the LH front junction block.
- Plasser oljetappebeholderen under bremseslangen foran til venstre.
-
Fjern bremseslangemutteren fra bremseslangen ved vibrasjonsslangebraketten, og la væsken renne ut.
-
Remove the LH front brake line clip from the body.
- Plasser oljetappebeholderen under bremseslangen foran til høyre.
-
Fjern bremseslangemutteren fra bremseslangen ved vibrasjonsslangebraketten, og la væsken renne ut.
-
Remove the RH front brake line clips (x2) from the body.
- Fully raise the vehicle.
-
Release the coolant hose clip on the LH fender.
-
Remove the front brake line bundle clip from the LH body rail area.
-
Remove the LH front side 3 bundle brake lines from the vehicle.
MerkRoute the front brake line bundle out of steering column area, then route it through LH front wheel liner and front subframe area.
-
Release the clips (x3) that attach the 12V harness to the body.
-
Release the clips (x7) that attach the HV cables to the body.
-
Release the clips (x2) that attach the coolant manifold line from the body.
-
Release the clips (x4) that attach the coolant hoses to the body.
-
Release the clip that attaches the coolant hose to the RH side of the body.
-
Remove the clips (x5) that attach the RH front brake line to the body.
-
Remove the RH front brake line from the vehicle.
MerkRoute the brake line out of steering column area, then move it towards the RH side, and the remove it out between the front subframe area.
Montere
- Remove the RH front brake line from the new front 4 tube brake bundle.
-
Position the RH front brake line to vehicle for installation.
MerkRoute the RH front brake line through the front subframe area out toward the RH front wheel liner area, then route it to LH frame rail area.
-
Install the clips (x5) that attach the RH front brake line to the body.
-
Install the clip that attaches the RH side coolant hose to the body.
-
Install the clips (x4) that attach the coolant hoses to the body.
-
Install the clips (x2) that attach the coolant manifold line to the body.
-
Install the clips (x7) that attach the HV cables to the body.
-
Install the clips (x3) that attach the 12V harness to the body.
-
Install the left side 3 tube bundle to the vehicle.
MerkRoute the brake line bundle through the LH front wheel liner and front subframe area, then route it to LH frame rail area.
-
Install the clip that attaches the coolant hose to the LH fender.
-
Install the clip that attaches the front brake line bundle to LH body rail area.
- Partially lower the vehicle.
-
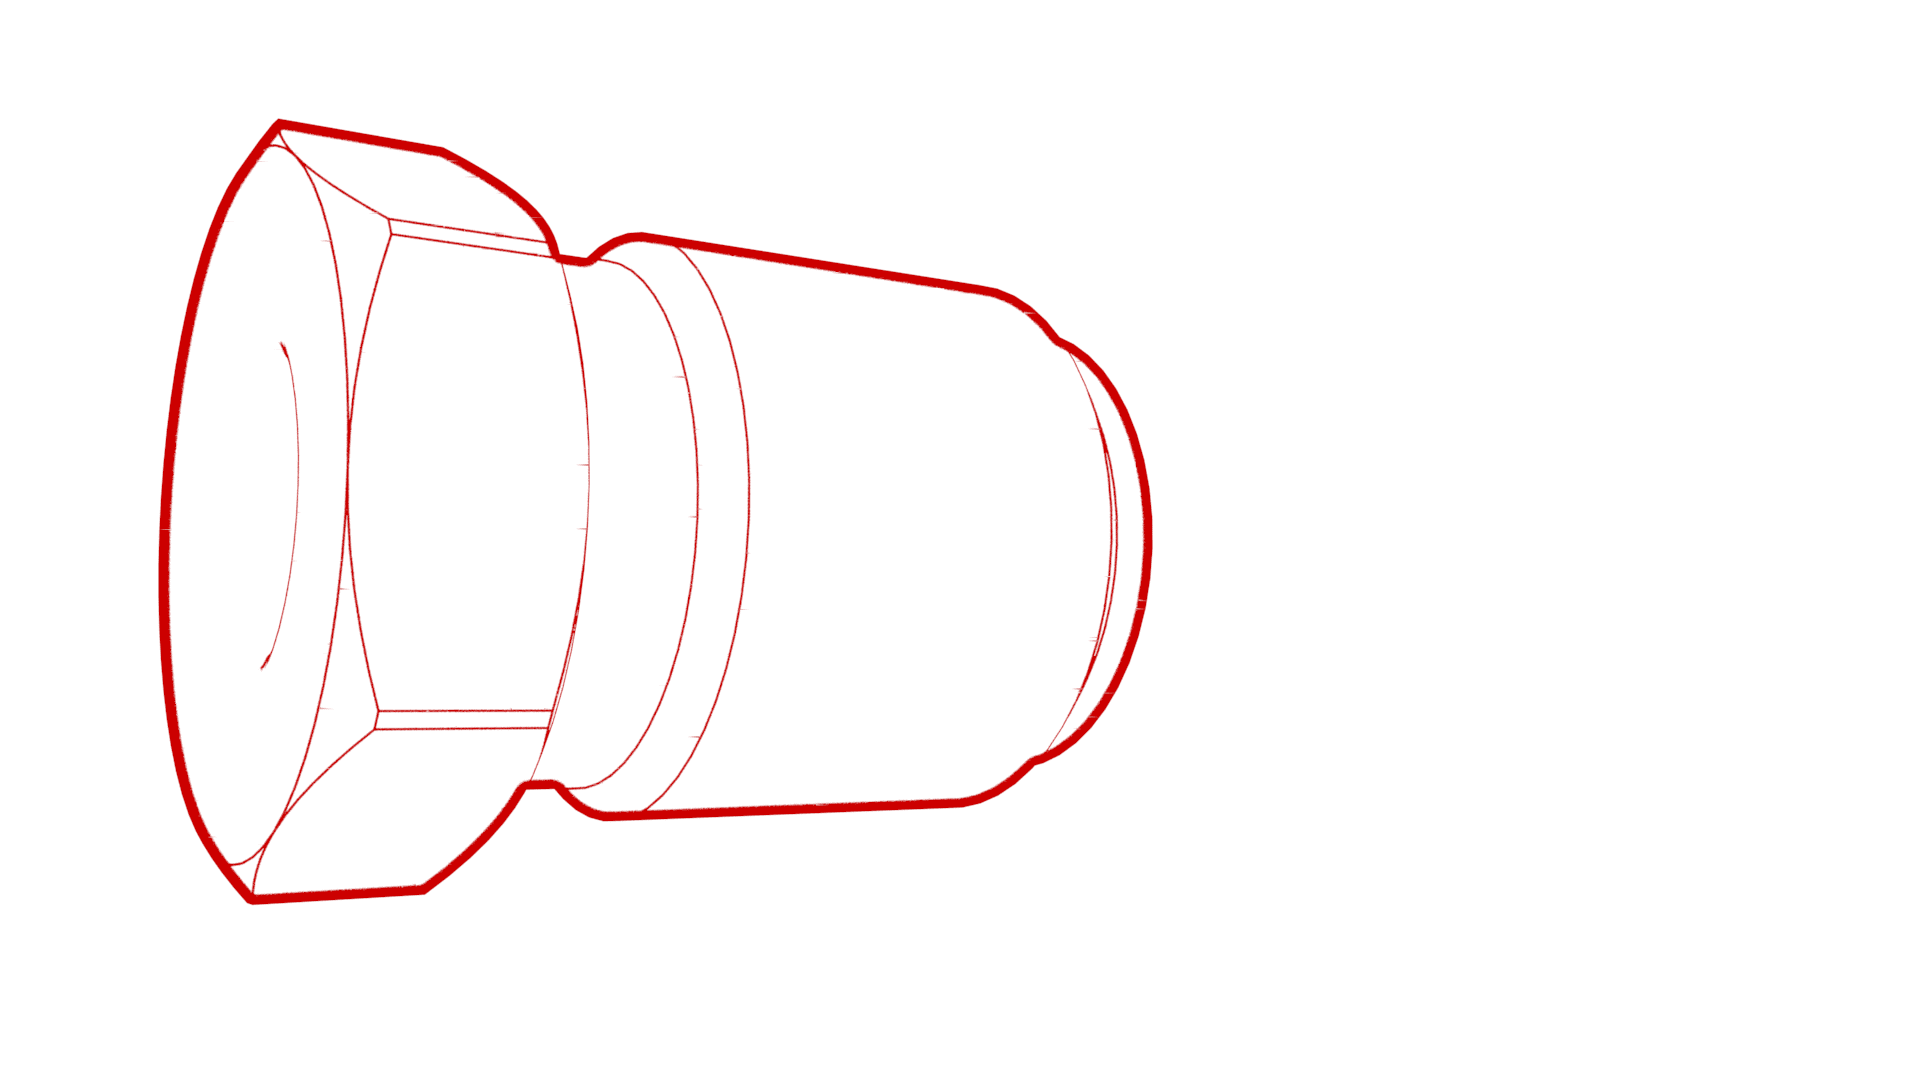
Install the RH front brake line into the brake hose at the jounce hose bracket, and then use a crowfoot extension to install the brake line tube nut into the brake hose.
 16 Nm (11.8 lbs-ft)
 -
Install the RH front brake line clips (2) to the body.
-
Sett bremselinjen inn i bremseslangen ved vibrasjonsslangebraketten, og bruk deretter en åpen ringnøkkelforlengelse til å montere bremseslangemutteren inn i bremseslangen.
 16 Nm (11.8 lbs-ft)
 -
Install the clip that attaches the LH front brake line clip to body
Merk1x clip
-
Install the brake lines into the LH front junction block.
-
Install the clip that secures the brake lines at the LH front junction block.
-
Use a crowfoot extension to install the brake line tube nuts into the junction block.
 16 Nm (11.8 lbs-ft)
 -
Install the thermal beam hose clips (x2) to the body.
- Lower the vehicle.
-
Install the RH front brake line to front brake line bundle clip at the LH front rail area.
-
Install the front brake line bundle clip at the LH front rail area.
-
Install the master cylinder brake lines to the 4 tube bundle clip.
-
Sett bremselinjene inn i ABS-enheten, og bruk deretter en åpen ringnøkkelforlengelse til å montere bremseslangemutrene i ABS-enheten.
 16 Nm (11.8 lbs-ft)
 -
Re-position the LH side of the front harness to the LH frame rail for installation.
-
Install the front harness clips (x2) at the LH frame rail area.
-
Connect the LH frame rail ground connector (G011).
-
Install the front harness clip to the LH frame rail area.
-
Install the white harness clip to the left front fender.
-
Install the black harness clip to the left front fender.
-
Install the bolts (x2) that attach the grounds leads (G098 and G099) to the body (torque 10 Nm).
MerkInstall new bolts if thread-cutting tri-lobular bolts were installed previously. Hand-start bolts at least 6 rotations before applying torque to avoid damaging the weld nut.
-
Install the ABS modulator connector
MerkGently push connector downward, then engage locking tab
- Reinstall the 12V battery bracket. See Brakett – 12 V-batteri (dobbel motor) (fjerne og skifte ut).
- Install the 12V battery into the vehicle. See 12 V-/lavspenningsbatteri (fjerne og skifte ut).
- Install the front subframe. See Underramme – foran (dobbel motor) (fjerne og montere).
- Connect 12V power. See 12 V-/lavspenningsstrøm (koble fra og koble til).
- Remove the HVAC plenum outer duct. See Trykkanal – inngang – HVAC (fjerne og skifte ut).
- Perform a coolant air purge. See Kjølesystem (delvis påfylling og utlufting).
- Bleed the brakes. See Lufte/skylle bremsevæske.
- Install the underhood storage unit. See Oppbevaringsrom under panser (fjerne og skifte ut).
- Install the HVAC plenum outer duct. See Trykkanal – inngang – HVAC (fjerne og skifte ut).
- Install the rear underhood apron. See Deksel under panser – bak (fjerne og skifte ut).
- Install the front aero shield. See Panel – luftskjerm – foran (fjerne og skifte ut).
- Install the LH and RH wheel liner. See Innerskjerm – foran – venstre (fjerne og skifte ut).
- Install all wheels. See Hjulenhet (fjerne og skifte ut).
- Torque the LH and RH front halfshaft nuts to 300 Nm.
- Perform a 4-wheel alignment check. See Kontroll av firehjulsinnstilling.