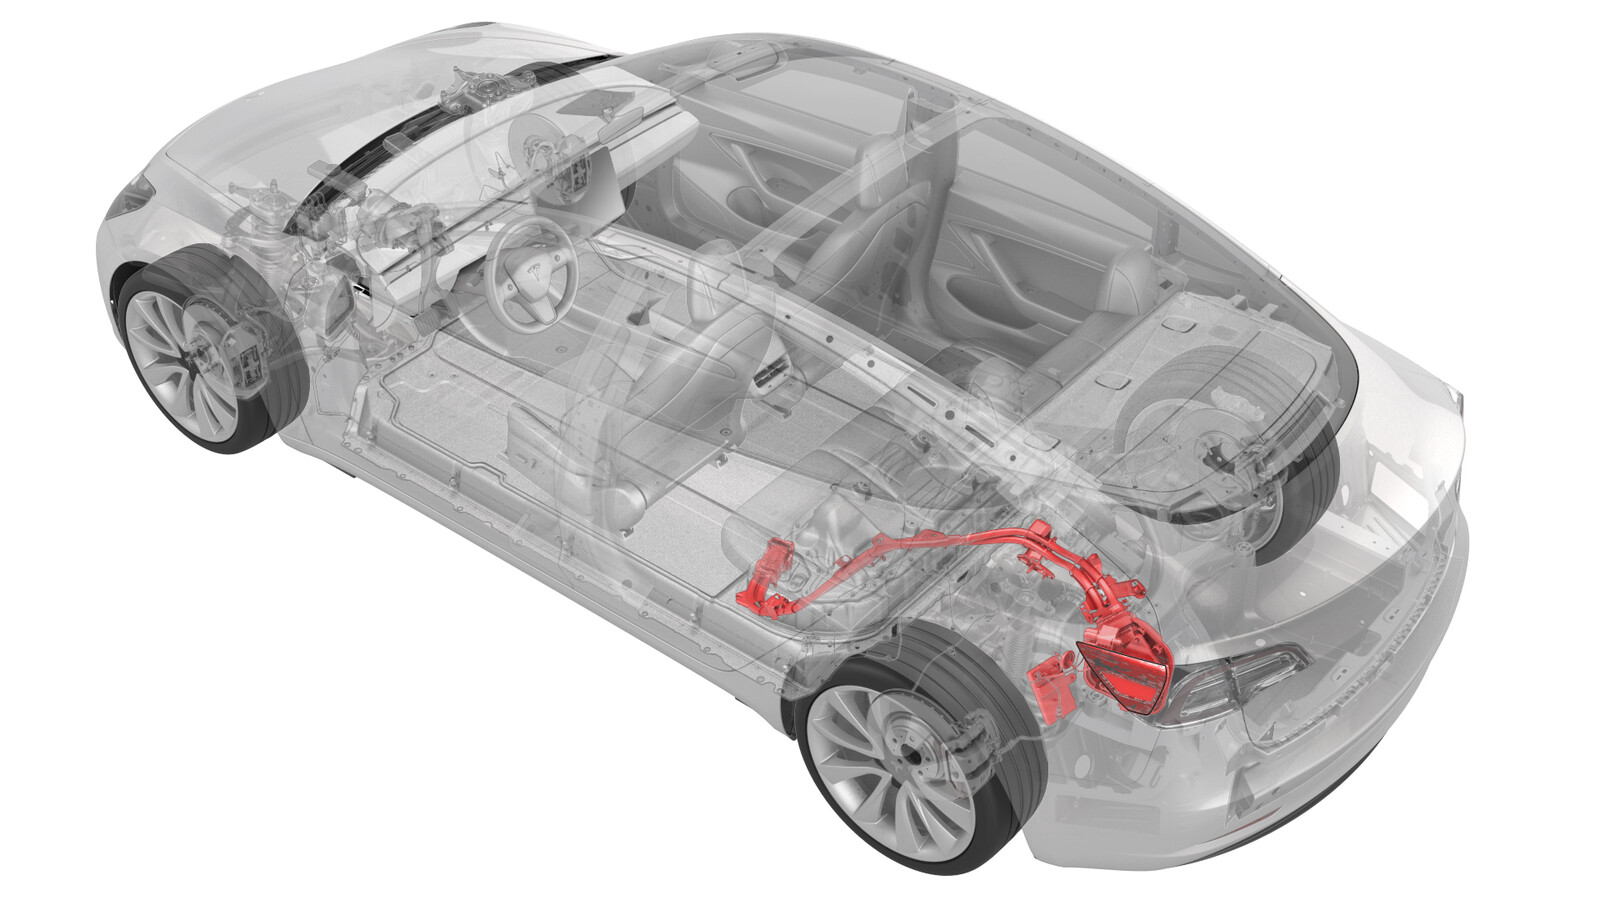
Ladeport og samleskinne til HV-batteri (enkeltfase) (ettermontering)
 Korrigeringskode
44013106 1.98
MERK: Hvis ikke noe annet er uttrykkelig oppgitt i prosedyren, gjenspeiler korrigeringskoden og FRT ovenfor, alt arbeidet som kreves for å gjennomføre denne prosedyren, inkludert de tilknyttede prosedyrene. Ikke stable korrigeringskoder med mindre du bli uttrykkelig bedt om det.
MERK: Se Flat rate-tider for å lære mer om FRT-er og hvordan de lages. Hvis du vil gi tilbakemelding om FRT-verdier, kan du sende en e-post til ServiceManualFeedback@tesla.com.
MERK: Se Personlig beskyttelse for å forsikre deg om at du bruker riktig PVU når du gjennomfører prosedyren nedenfor. Se Forholdsregler for ergonomi for trygge og sunne arbeidspraksiser.
- 2023-05-24: Replaced the vehicle electrical isolation procedure with the charge port voltage check procedure.
Det er kun teknikere som har fullført alle nødvendige sertifiseringskurs som har tillatelse til å utføre denne prosedyren. Tesla anbefaler at teknikere fra eksterne serviceleverandører gjennomgår tilsvarende opplæring før de utfører denne prosedyren. Se sertifiseringskrav for høyspenning for mer informasjon om Teslas krav til teknikere eller beskrivelser av emnet for tredjeparter. Egnet personlig verneutstyr (PVU) og isolerende høyspenningshansker med minimumsklassifisering 0 (1000V) skal brukes til enhver tid ved håndtering av høyspenningskabler, samleskinner eller fittinger. Se teknisk notat TN-15-92-003, High Voltage Awareness Care Points
, for mer sikkerhetsinformasjon.
Ta av deg alle smykker (armbåndsur, armbånd, ringer, kjeder, øreringer, ID-merker, piercinger osv.), og fjern alle gjenstander (nøkler, mynter, penner, blyanter, verktøy, festeelementer osv.) fra lommene dine før du gjennomfører noen som helst prosedyre som eksponerer deg for høyspenning.
Proper Personal Protective Equipment (PPE) is required to perform this procedure:
- High Voltage (HV) insulating gloves
- Leather glove protectors
- High voltage glove tester
- Safety glasses
- Electrical hazard rated safety shoes
A glove inflator is the only recommended way to test HV gloves. Both HV gloves must pass testing before beginning this procedure. If either glove does not pass the air check, discard the pair.
Make sure that the HV gloves are not expired. HV gloves can be used up to 12 months after the testing date printed on the glove, but only 6 months after first use even if the gloves are still within the 12-month period.
Fjerne
- Open all doors and lower all windows.
- Move both front seats forward.
- Open the trunk and the charge port door.
- Perform the charge port voltage check procedure. See Spenningskontroll for ladeport.
- Remove the charge port to HV battery harness. See Charge Port and HV Harness Assembly (NACS) (Remove and Replace).
-
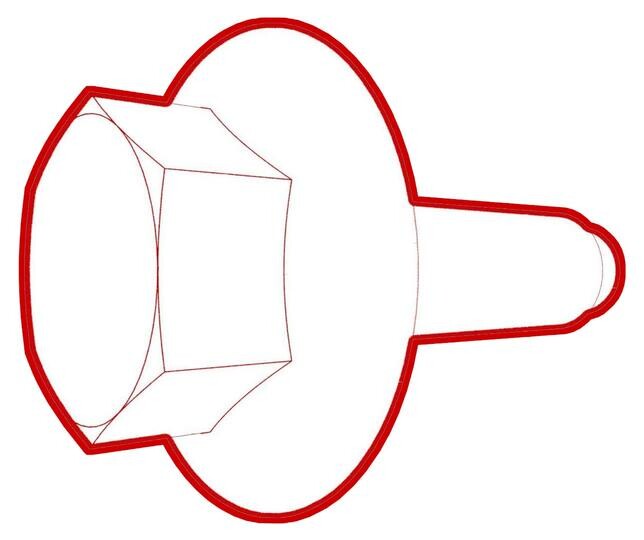
Remove the bolt that attaches the
charge port ECU to the body.
 5.5 Nm (4.1 lbs-ft)
 -
Slide the charge port ECU to the right
to release the tabs (x2) that attach the ECU to the body, and then remove the old ECU
from the vehicle.
- Remove the ancillary bay cover. See Deksel – tilleggsbrønn (fjerne og skifte ut).
- Remove the old input assembly and charge port. See DC-inngangsenhet – høyspenningsbatteri (ledningsnettype) (fjerne og skifte ut).
Montere
- Install the Busbar type DC input assembly, but do not connect 12V at this stage. See DC-inngangsenhet – høyspenningsbatteri (samleskinnetype) (fjerne og skifte ut)
- Install the ancillary bay cover. See Deksel – tilleggsbrønn (fjerne og skifte ut).
-
Slide the new Busbar type charge port
ECU onto the bracket that attaches the ECU to the body.
-
Install the bolt that attaches the
charge port ECU to the body.
 5.5 Nm (4.1 lbs-ft)
 -
Install the new Busbar type charge
port. See Charge Port (Busbar Type) (NACS) (Remove and Replace).
MerkThe above procedure uses existing ECU and charge port connectors in the main body harness. For this retrofit procedure, use the retrofit harness to connect the ECU and charge port electrical connections.
- Install the charge port to HV battery busbar. See Samleskinner – ladeport til høyspenningsbatteri (NACS) (fjerne og skifte ut).
- Reinstall the vehicle firmware. See Installer programvare på nytt – berøringsskjerm.
-
Verify the charging system is
operating correctly.
MerkUse the customer's charging equipment if available. Ensure all the charging adapters are present.
- Move both front seats to their original positions.
- Raise all windows and close all doors.