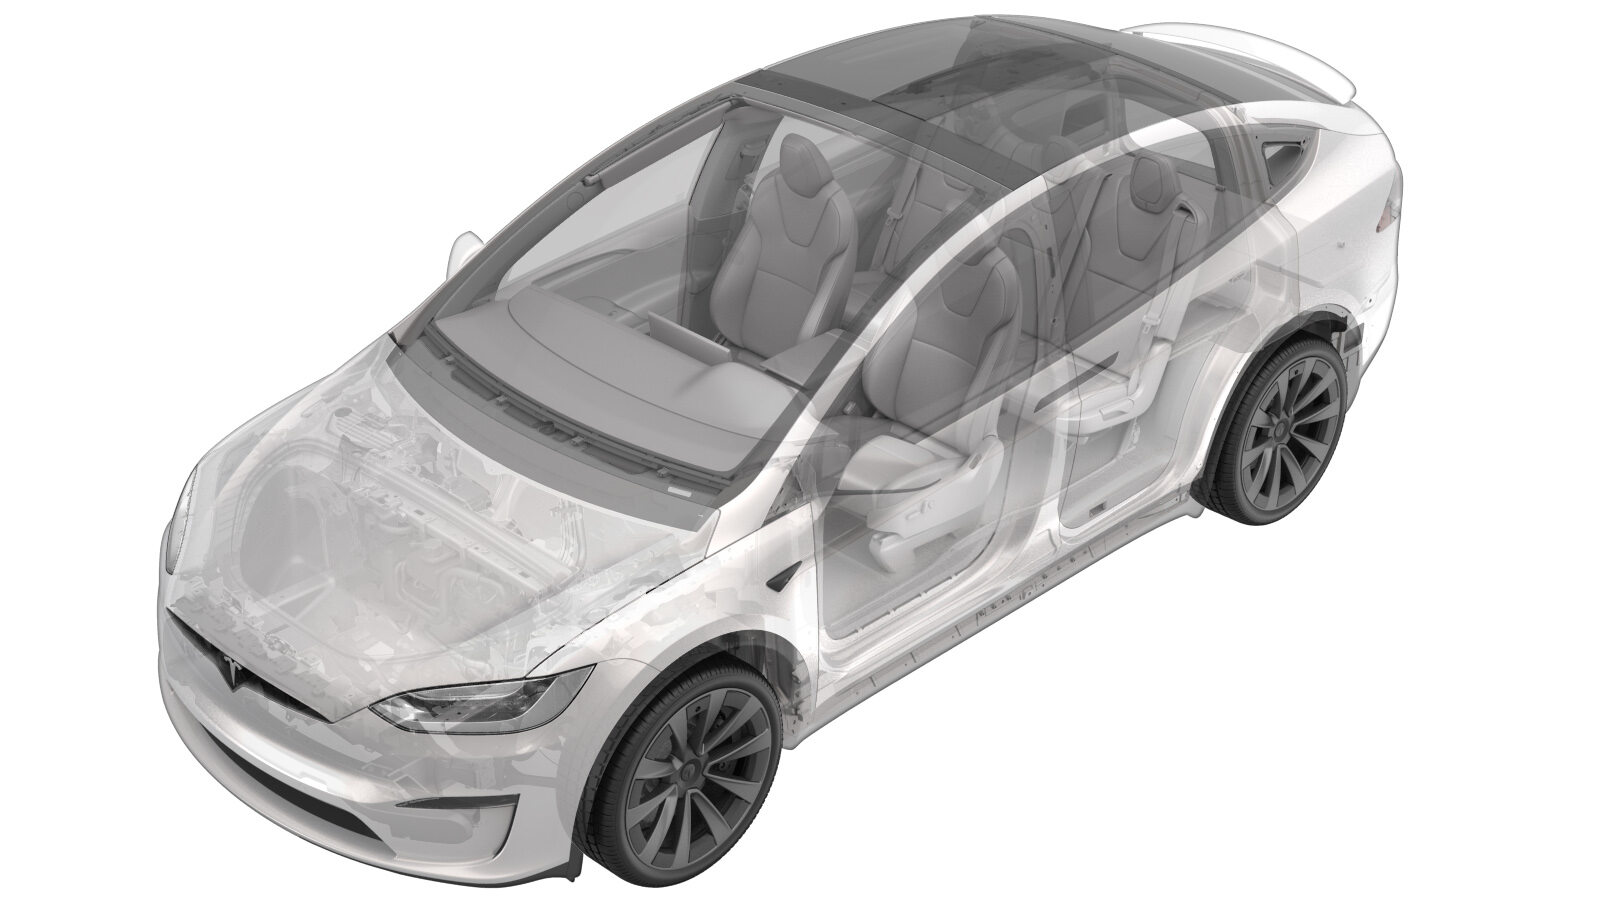
2025-03-18
센서 - 초음파 - 후면 도어 - LH(탈거 및 교체)
 교정 코드
11334312 0.66
바고: 절차에서 명시적으로 언급하지 않는 한 위 교정 코드 및 FRT는 연결된 절차를 포함하여 이 절차를 수행하는 데 필요한 모든 작업을 반영합니다. 명시적으로 지시하지 않는 한 교정 코드를 누적하지 마십시오.
참고: FRT와 그 생성 방법에 대한 자세한 내용은 표준 정비 작업시간을(를) 참조하십시오. FRT 값에 대한 피드백을 제공하려면ServiceManualFeedback@tesla.com으로 이메일을 보내십시오.
참고: 아래 절차를 수행할 때 적절한 PPE를 착용했는지 확인하려면 개인 보호의 내용을 참조하십시오.
- 2025-02-28: Updated temperature and force to be applied when installing the ultrasonic sensor.
탈거
경고
이 절차는 초안입니다. 따라서 검증은 되었지만 경고 및 주의 사항이 누락되었을 수 있습니다. 고전압 시스템 및 구성 요소에서 또는 그 근처에서 작업하는 경우에는 안전 요구 사항을 준수하고 최고 수준의 주의를 기울여야 합니다.
- Open the LH front door.
- Lower the LH front window.
- Lower the LH rear window.
- Open the LH falcon wing door.
- Remove the LH rear door trim panel. See 패널 - 도어 트림 - 후면 - LH(탈거 및 교체).
- Disconnect LV power. See LV 전원(연결 해제 및 연결).
- Remove the LH rear door closeout panel. See 클로즈아웃 패널 - 도어 - 후면 - LH(탈거 및 교체).
-
Remove the cap, spring and spacer from the LH rear door ultrasonic sensor.
-
Release the LH rear door ultrasonic sensor locking clip, and then disconnect the sensor connector.
참고다음 공구 사용을 권장합니다.
- 클립 프라이툴
-
Remove the LH rear door ultrasonic sensor from the vehicle.
장착
경고
The ultrasonic sensor is a one time use
component. If the ultrasonic sensor is removed, it must be discarded and a new ultrasonic
sensor must be installed.
-
Use IPA wipes to clean the LH rear door ultrasonic sensor mounting area. Allow 1 minute dry time.
-
Use an infrared (IR) thermometer to read the temperature of the LH rear door ultrasonic sensor mounting area on the door panel prior to sensor installation. The door panel must be 25º C or warmer. Use a heat gun to warm the sensor mounting area until the required temperature range is achieved.
참고다음 공구 사용을 권장합니다.
- Heat gun
- IR thermometer
-
Peel off the adhesive from the new LH rear door ultrasonic sensor.
-
Use an infrared (IR) thermometer to
read the temperature of the LH rear door ultrasonic sensor prior to installation. The
sensor must be 70ºC (158ºF) Use a heat gun to warm the sensor until the required
temperature is achieved.
참고다음 공구 사용을 권장합니다.
- Heat gun
- IR thermometer
-
Install the LH rear door ultrasonic sensor on the door panel.
-
Attach the 22 mm tip to the force
gauge, and then apply a force of 65 N for 30 seconds to fully press the LH rear door
ultrasonic sensor onto the door.
참고다음 공구 사용을 권장합니다.
- Force gauge - 1080978-00-B
-
Install the cap, spring and spacer on the LH rear door ultrasonic sensor.
-
Connect the LH rear door ultrasonic sensor, and then engage the locking clip.
- Install the LH rear door closeout panel. See 클로즈아웃 패널 - 도어 - 후면 - LH(탈거 및 교체).
- Install the LH rear door trim panel. See 패널 - 도어 트림 - 후면 - LH(탈거 및 교체).
- Connect LV power. See LV 전원(연결 해제 및 연결).
-
Calibrate the LH and RH falcon wing doors.
참고If the "Calibration Needed" message appears on the vehicle touchscreen, touch and hold Calibrate to calibrate the rear doors.
- Raise the LH rear window.
- Raise the LH front window.
- Close the LH front door.