2025-03-30
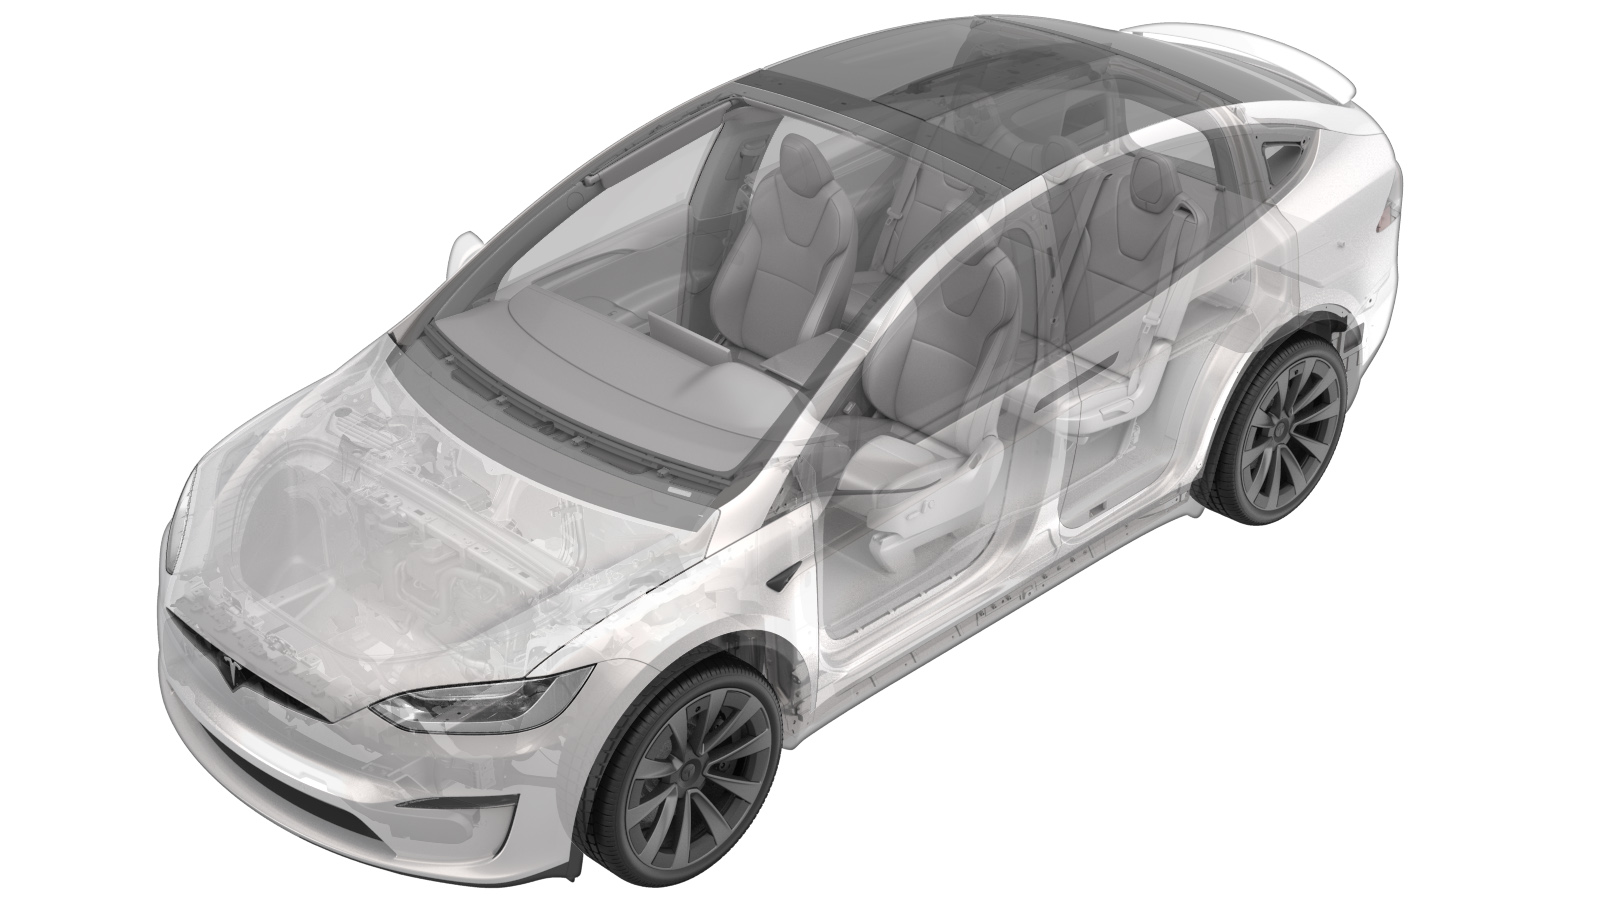
Harness - Ancillary - Front - LH (Remove and Replace)
 교정 코드
17107702
17107802
0.42
바고: 절차에서 명시적으로 언급하지 않는 한 위 교정 코드 및 FRT는 연결된 절차를 포함하여 이 절차를 수행하는 데 필요한 모든 작업을 반영합니다. 명시적으로 지시하지 않는 한 교정 코드를 누적하지 마십시오.
참고: FRT와 그 생성 방법에 대한 자세한 내용은 표준 정비 작업시간을 참조하십시오. FRT 값에 대한 피드백을 제공하려면 ServiceManualFeedback@tesla.com으로 이메일을 보내십시오.
참고: 아래 절차를 수행할 때 개인 보호의 내용을 참조하여 적절한 PPE를 착용했는지 확인하십시오.
참고: 안전하고 건강한 작업 사례는 인체공학적 주의 사항의 내용을 참조하십시오.
- 2025-03-24: Released new procedure.
경고
이 절차는 초안입니다. 따라서 검증은 되었지만 경고 및 주의 사항이 누락되었을 수 있습니다. 고전압 시스템 및 구성 요소에서 또는 그 근처에서 작업하는 경우에는 안전 요구 사항을 준수하고 최고 수준의 주의를 기울여야 합니다.
- Open the LH front door.
- Lower the LH front window.
-
Raise and support the vehicle.
-
Open the hood.
-
Remove the rear underhood apron.
-
Remove the RH underhood apron.
-
Remove the LH underhood apron.
-
Remove the front underhood apron.
-
Remove the underhood storage unit access
panel.
-
Remove the underhood storage unit
carpet.
-
Remove the underhood storage unit from
the vehicle.
-
Disconnect active noise cancellation
harness connector from frunk harness
참고1x connector, Release locking tab, 1x harness clip, Release clip securing active noise cancellation harness connector onto body
-
Remove the LH front wheel center
cap.
-
Loosen LH front wheel
참고5x nuts, 21mm, 175 Nm
-
Raise vehicle partially and lower onto
locks
참고Set vehicle to comfortable working height, Make sure there's an audible click of the locks on both sides before lowering, otherwise vehicle may tilt to the side
-
Remove the LH front wheel.
-
Release clips securing active noise
cancellation harness onto bracket
참고2x harness clip
-
Disconnect active noise cancellation
harness connector from sensor and remove harness from vehicle
참고1x connect, Release locking tab
-
Connect active noise cancellation
harness onto sensor
참고1x connect, Secure locking tab
-
Position active noise cancellation
harness into place
참고Ensure the harness is routed above the lower links and below the tie rod and halfshaft
-
Install clips securing active noise
cancellation harness onto bracket
참고2x harness clip
-
Install the LH front wheel.
-
Lower vehicle until tires are touching
ground
참고Raise lift off locks, then hold lock release lever to keep locks free while vehicle is lowered
-
Torque the LH front wheel lug
nuts.
-
Install the LH front wheel center
cap.
-
Connect active noise cancellation
harness connector to frunk harness
참고1x connector, Secure locking tab, 1x harness clip, Install clip securing active noise cancellation harness connector onto body
-
Install the underhood storage
unit.
-
Install the underhood storage unit
carpet.
-
Install the underhood storage unit
access panel.
-
Install the front underhood apron.
-
Install the LH underhood apron.
-
Install the RH underhood apron.
-
Install the rear underhood apron.
- Close the hood.
-
Lower and remove the vehicle from the
lift.
- Raise the LH front window.
- Close the LH front door.