Rear Node Webbing Repair

Repair Criteria
The image below shows one side of the Rear Node, and contain highlighted areas. Compare the damaged area of the vehicle's Rear Node to the image below, then use the repair criteria corresponding to the color of the highlighted area to find the criteria to use to determine if the damaged area of the Rear Node webbing can be repaired.
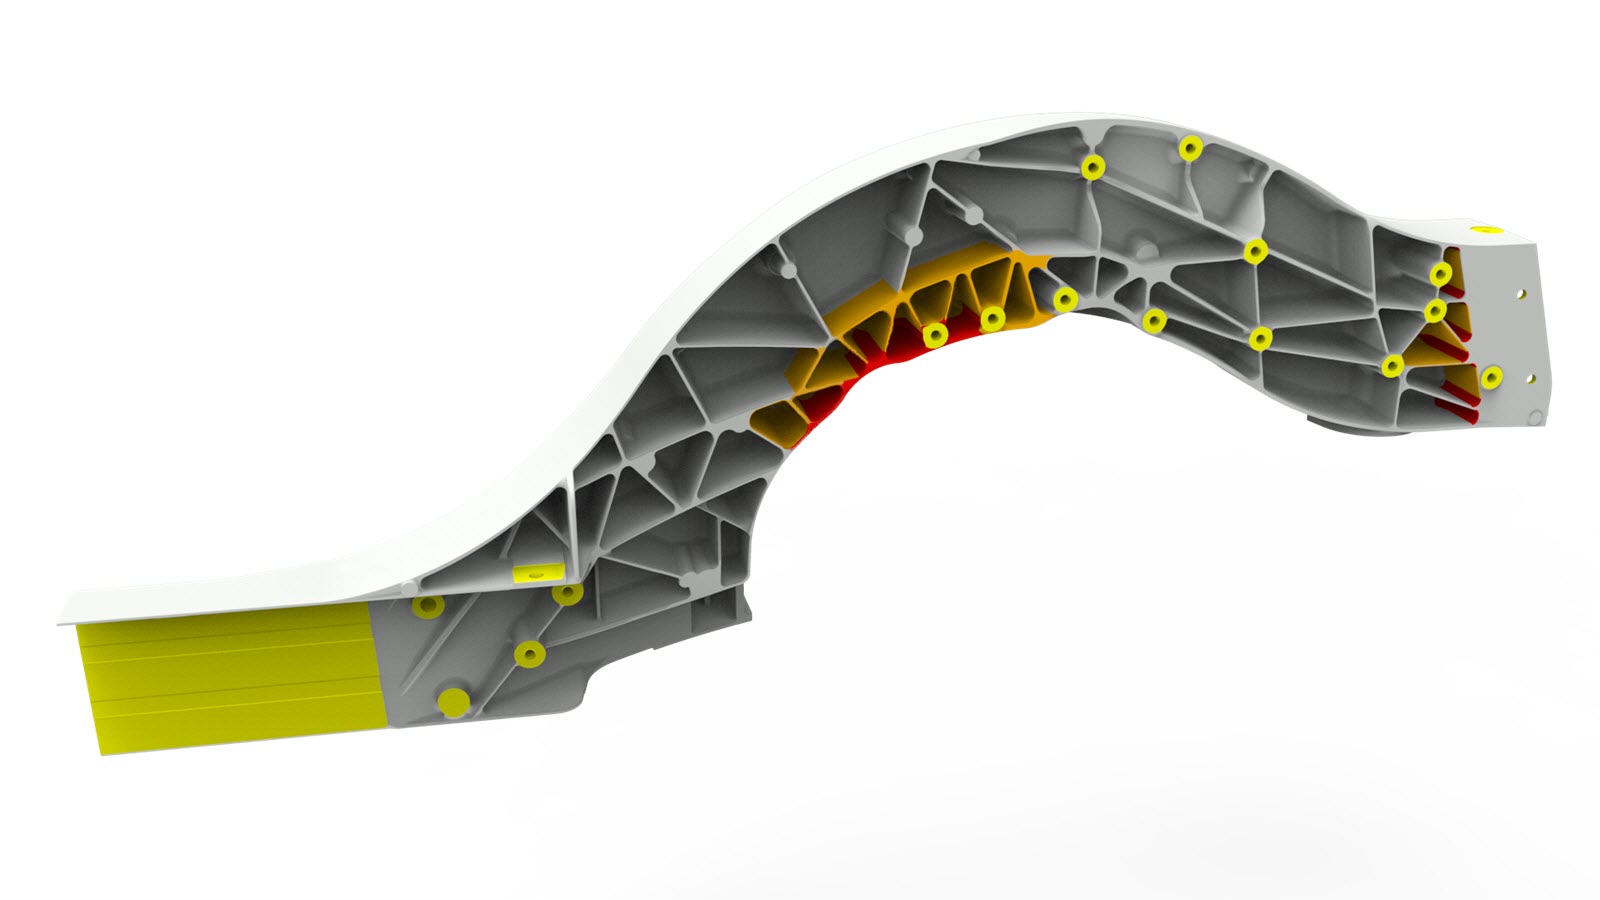
| Webbing Damage Length | Up to 10 mm | Between 10 and 20 mm | Between 20 and 30 mm | More than 30 mm |
|---|---|---|---|---|
| General |
|
|
|
Not repairable (component must be replaced) |
| Critical (Yellow) |
|
|
|
Not repairable (component must be replaced) |
| No Repair Zone (Red) | Not repairable (component must be replaced) | |||
Parts List
| Quantity | Part Number | Description | Image / Notes |
|---|---|---|---|
| 1-2 | 1076938-E0-B | Reinforcement Plate - Side Sill |
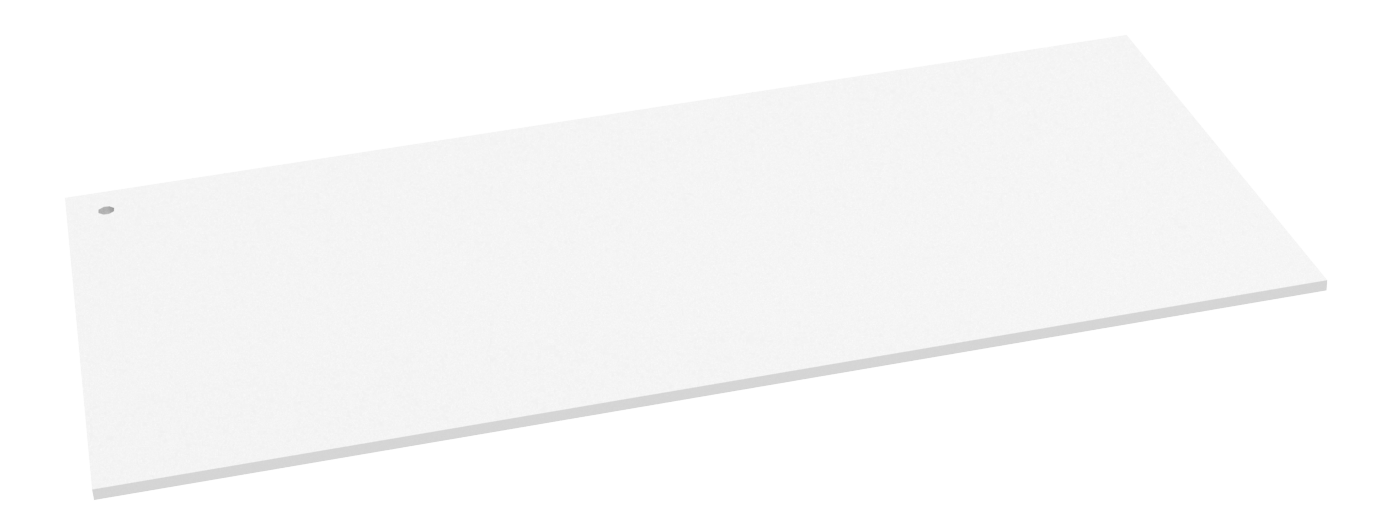
|
| 1 | — | Structural Adhesive |
Warning Adhesives,
sealants, and foam products must be used as specified in the
repair procedure. Use only Tesla-approved adhesives,
sealants, and foam products; refer to Approved Adhesives, Urethane Sealants, and Foam Products
for a list of currently approved products. |
When ordering parts, refer to the Parts Manual and enter the VIN of the vehicle being repaired to find the correct parts (and the part numbers) for the vehicle. Alternatively, use the search function in the Parts Manual to find a specific part for the vehicle.
Repair Procedure
-
Use a heat gun to heat the
damaged areas.
CAUTIONDo not heat any adhesive joints in adjacent areas.
- Use a hammer and dolly or pliers to straighten the damaged areas.
-
Use a belt sander with a
medium-abrasive belt to smooth any remaining sharp edges in the repair
area.
WarningUse only sanding wheels and belts that are 80 grit or finer on aluminum components. Using sanding wheels or belts that are coarser than 80 grit can cause fractures in the aluminum.
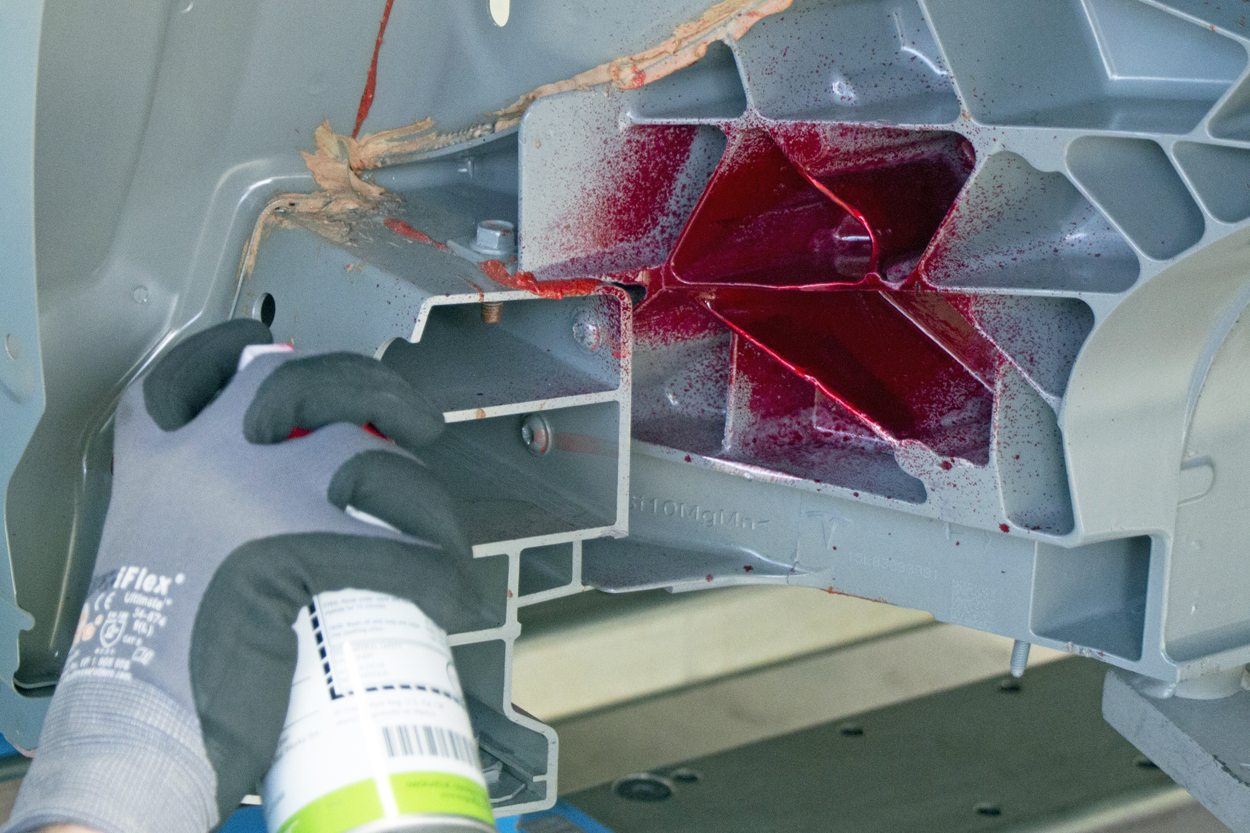
-
Use dye penetrant on the
repair area to check for micro cracks in the aluminum webbing.
If a crack is found, refer to Repair Criteria to determine what level of repair is required.
-
Cut reinforcement plates
from the side sill reinforcement plate.
Reinforcement plates are placed on both sides of cracked or straightened webbing according to the Repair Criteria.
-
Put each reinforcement plate
into position and trim it to fit if required.
NoteMake sure that each reinforcement plate covers the maximum surface area around the repair area and that the plate fits snugly against the surface being reinforced.
-
Prepare for installation.
NoteReinforcement plates on the Rear Node webbing are not installed by welding; Rear Node webbing reinforcement plates are installed only with structural adhesive.
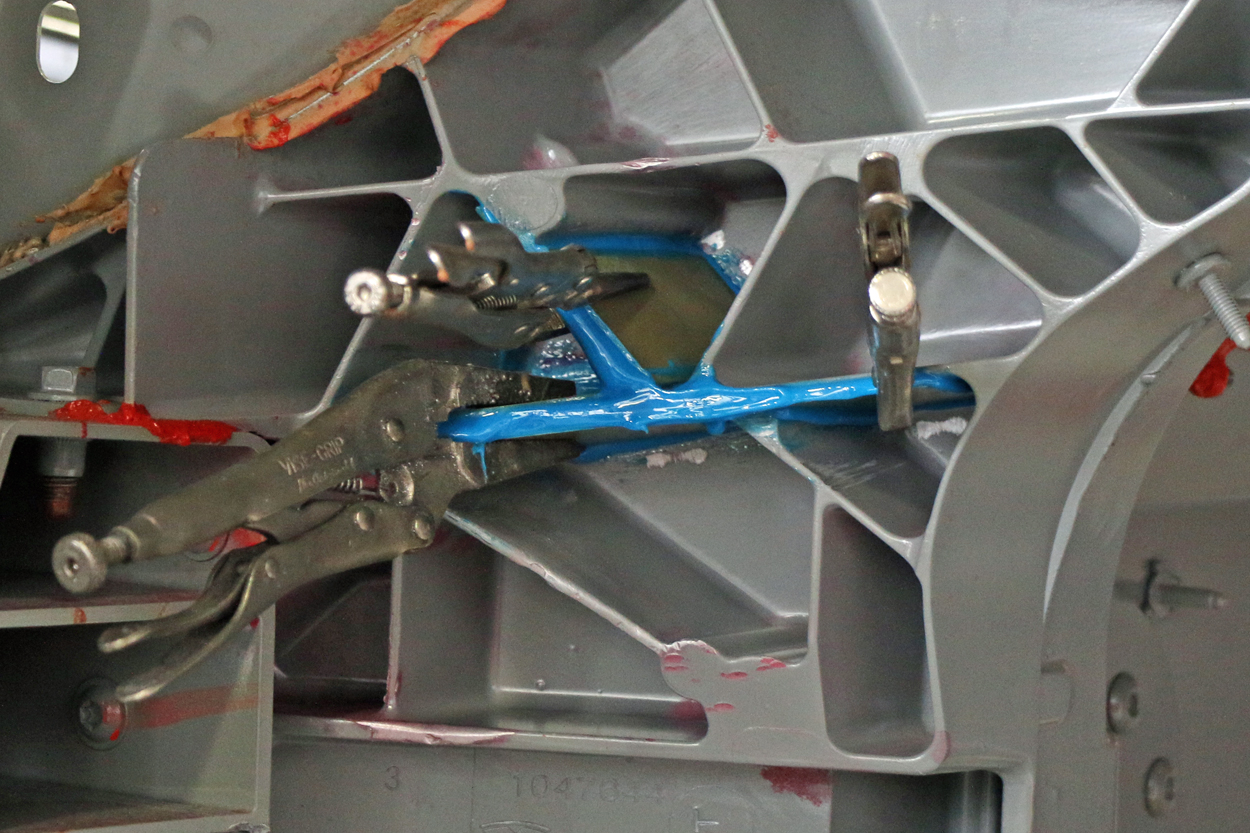
- Apply structural adhesive to the mating surfaces on the vehicle and the new component or components.
-
Use clamps to secure the
reinforcement plates in position.
- Wipe off any excess adhesive.
Contacting Tesla Body Repair
- Take photos of each of damaged area of the Cast Rub. (Show each damaged area from several angles.)
- Measure each damaged area of the Cast Rub.
- For each damaged area, note if there are missing pieces or damage to threaded holes.
- North America: bodyrepair@tesla.com
- Europe, Middle East, and Africa: EMEAbodyrepair@tesla.com
- Australia and New Zealand: DL-ANZ-BodyRepairProject@tesla.com
- Asia Pacific: bodyrepair-china@tesla.com