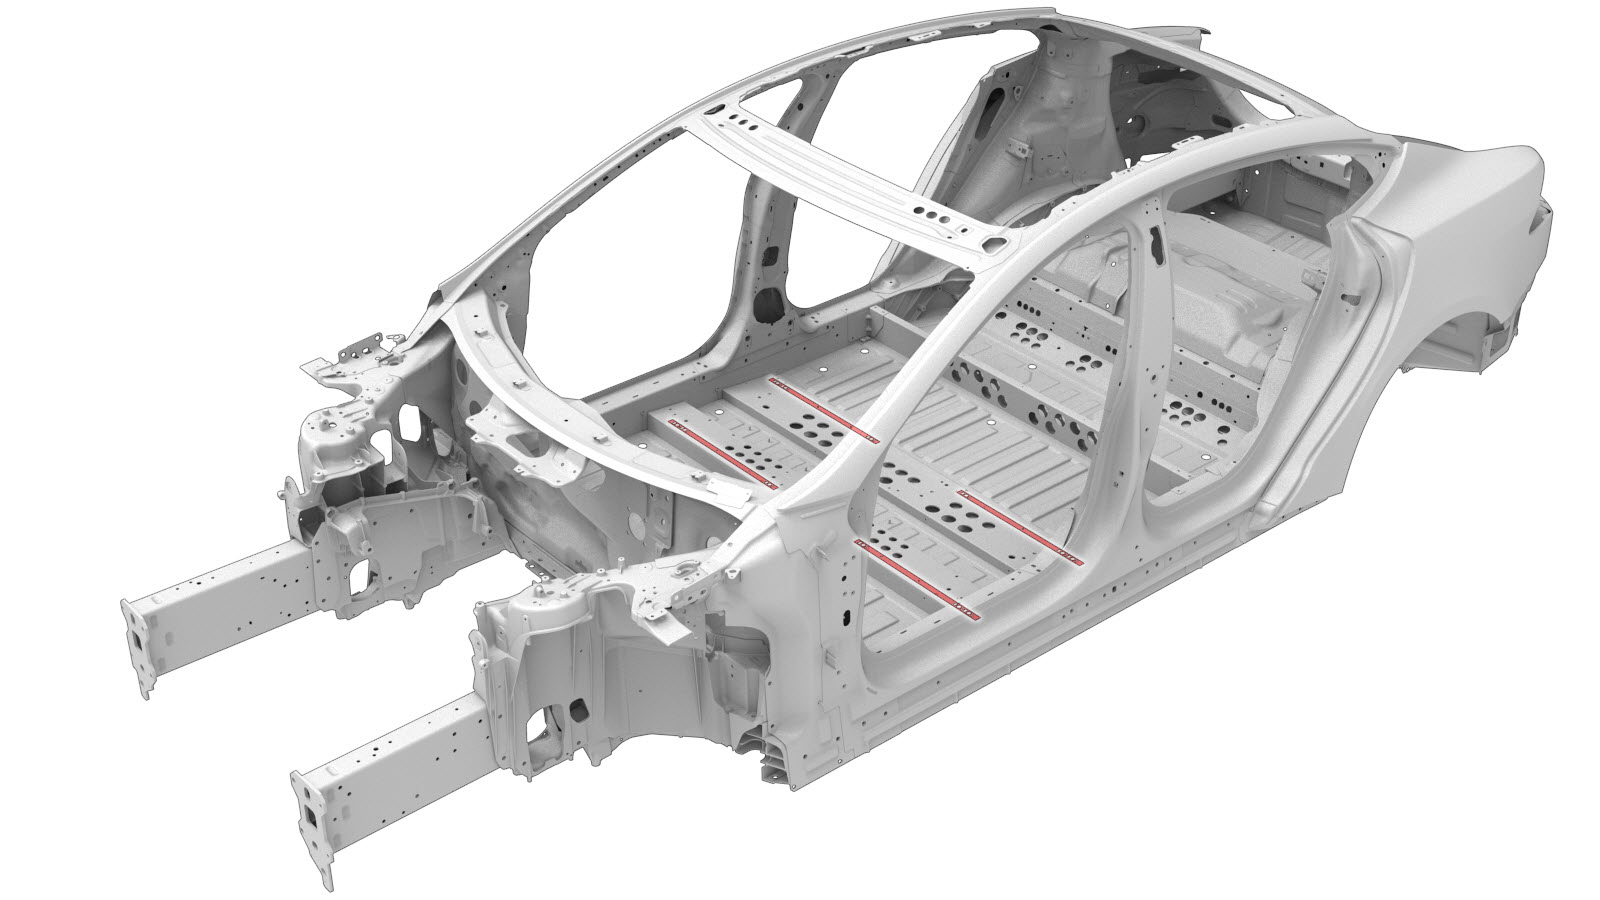
Battery Flow Nut Replacement
 Correction code:
10102902202
NOTE:
Unless explicitly stated in the procedure, the above
correction code includes all Collision Repair work required
to perform this procedure, including the linked Collision
Repair procedures. Do not stack Collision Repair
correction codes unless explicitly told to do
so. Add any associated mechanical procedures
needed to perform this procedure.
Repair Information
- Review all collision repair general practices and safety documentation and wear the appropriate PPE (Personal Protective Equipment) before beginning this procedure.
- This procedure can be completed without using a frame bench.
Parts List
| Quantity | Description | Image / Notes |
|---|---|---|
| 1 | M8 SQUARE NUT (Square Nut) | |
| 1 | RETAINER SEAT EXTRUSION (Retainer Rail) |
Note If the
original retainer rail is not damaged, it can be
reused. |
| 2 | Pop Rivets | |
| 1 | BUTYL FOIL PATCH 40x40x1mm |
When ordering parts, refer to the Parts Catalog and enter the VIN of the vehicle being repaired to find the correct parts (and the part numbers) for the vehicle. Alternatively, use the search function in the Parts Catalog to find a specific part for the vehicle.
Repair Procedure
-
Cut an access window on the
bottom of the affected crossmember.
Cut Line
Reference Line/Point
Front crossmember:
- A = 224 mm.
- B = 196 mm.
- C = 78 mm.
- D = 101 mm.
Rear crossmember:- A = 224 mm.
- B = 196 mm.
- E = 27 mm.
- F = 49 mm.
-
Remove the factory rivets in
the repair area.
or Factory Structural Rivets
-
Remove the Retainer Rail
through the access window.
NoteIf the original retainer rail is not damaged, it can be reused.
- Remove the Battery Flow Nut from the Retainer Rail.
- Install the Battery Flow Nut on the Retainer Rail.
- Install the Retainer Rail through the access window.
-
Install fasteners through
the crossmember and the Retainer Rail.
or Pop Rivets
- Apply an anti-corrosion coating to any bare metal.
-
Install a butyl patch over the access window.
- Perform any necessary post-repair operations.