2025-04-06

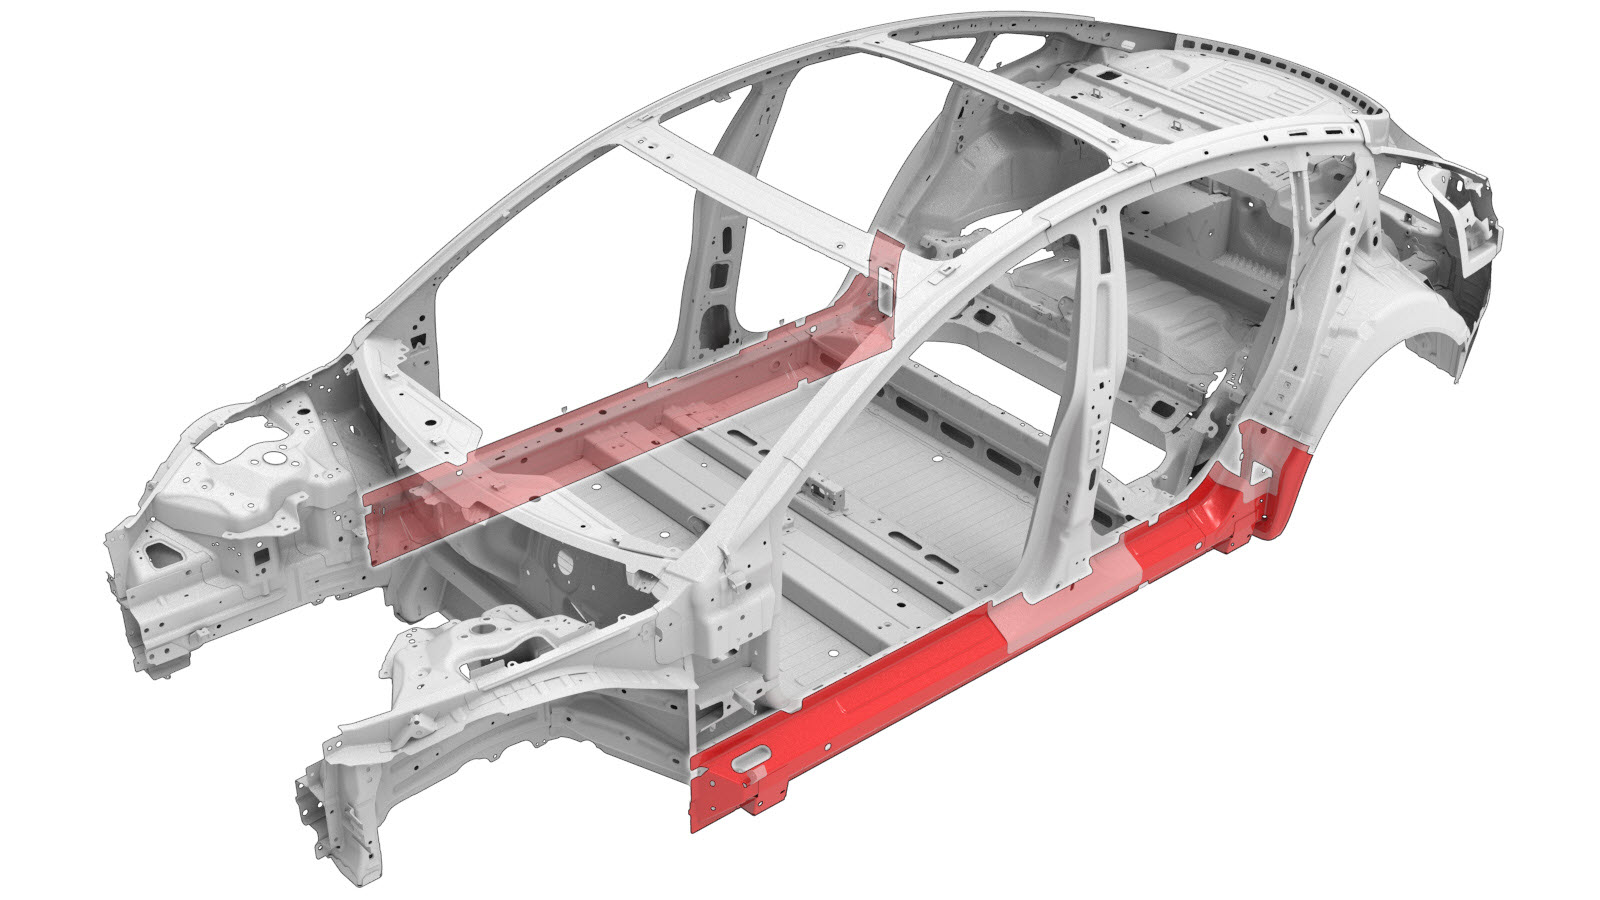
门槛外件(整体)

Parts List

Quantity Description Image / Notes
1 ASSY - Sill Outer(门槛外件总成)
1 门槛插件
2 门槛插件安装支架
18 High Strength Structural Rivet, 6.5 mm
6 Structural Bulb Rivet, 6.5 mm
4 Rivet, 4.8 mm
1 Flow Form Rivet S08
1 Flow Form Rivet S18
3 Flow Form Rivet S38

When ordering parts, refer to the Parts Catalog and enter the VIN of the vehicle being repaired to find the correct parts (and the part numbers) for the vehicle. Alternatively, use the search function in the Parts Catalog to find a specific part for the vehicle.

Repair Procedure

  1. 拆下车身侧外件总成的必要部分,以便露出下方所要更换的组件。
  2. 拆下铰链柱(区块)
  3. 拆下C 柱加固件下部。
  4. Remove the original component.
    Cut Line

    or Factory SPRs

    or Factory Structural Rivets

    or Factory Spot Welds

    or Drill through factory spot welds
    Informational PurposesAn informational icon, calling your attention
    When drilling out spot welds, use a drill bit that creates a hole correctly sized for the fastener that will replace the spot weld.
  5. 拆卸门槛插件。
  6. 从门槛外件的背面,分开 B 柱外件底部法兰处的点焊焊缝(红色圆圈标示区域)。
    or Factory Spot Welds
    Informational PurposesAn informational icon, calling your attention
    切勿钻通或损坏 B 柱外件的底部法兰。
  7. 在新门槛插件上,为门槛插件安装支架标记安装中线,如下所示。
    • A = 260 mm
    • B = 221 mm
    Informational PurposesAn informational icon, calling your attention
    测量值以门槛插件的末端为起点,至门槛插件安装支架的中心为止。
  8. 将新门槛插件夹到新门槛外件的指定位置。
    • C = 173 mm
    • D = 51 mm
  9. 沿着此前划好的中线,将门槛插件安装支架放置在门槛插件和门槛外件之间,然后调整支架,以便让它们与门槛外件相接触。
  10. 准备安装门槛插件安装支架。
  11. 在门槛插件安装支架和门槛插件的接合面上涂抹结构型粘合剂
  12. 在门槛插件上安装门槛插件安装支架。
  13. 做好准备工作,以便在新门槛外件上安装新门槛插件
  14. 向门槛插件安装支架、门槛插件和门槛外件的接合面上涂抹结构型粘合剂
  15. 在新门槛外件总成上安装门槛插件
  16. 准备安装新门槛外件总成
    Informational PurposesAn informational icon, calling your attention
    A red X indicates a location where a factory-installed fastener is not being replaced.

    or Installation Spot Welds

    or High Strength Structural Rivets, 6.5 mm
    Informational PurposesAn informational icon, calling your attention
    固定在 B 柱底部的顶排铆钉应该与原厂点焊焊缝的位置相匹配。
    • E = 15 mm
    Informational PurposesAn informational icon, calling your attention
    底排结构型铆钉上所有铆钉的中心必须距离新组件下边缘指定的高度,如下所示。
    or Rivets, 4.8 mm
    • F = 10 mm
    • G = 74 mm

    or Structural Bulb Rivets, 6.5 mm

    or Flow Form Rivets, S08

    or Flow Form Rivets, S18

    GMA Weld

  17. Apply structural adhesive to the mating surfaces on the vehicle and the new component or components.
  18. Install the new component or components.
  19. Perform resistance spot welding.
    or Installation Spot Welds
    Warning IconA warning icon, calling your attention to a possibly risky situation
    警告
    Failure to follow all welding safety precautions, including the use of personal protective equipment, could result in serious injury or property damage. Only technicians who have completed Tesla’s approved welding training are authorized to weld structural components on Tesla vehicles.
    Warning IconA warning icon, calling your attention to a possibly risky situation
    警告
    Do not weld on a Tesla vehicle before performing the Vehicle Electrical Isolation Procedure (refer to the vehicle-specific Service Manual for more information on the Vehicle Electrical Isolation Procedure). Welding on a Tesla vehicle with an energized high or low voltage system might damage vehicle components.
  20. Perform GMA welding.

    GMA Weld

    Warning IconA warning icon, calling your attention to a possibly risky situation
    警告
    Failure to follow all welding safety precautions, including the use of personal protective equipment, could result in serious injury or property damage. Only technicians who have completed Tesla’s approved welding training are authorized to weld structural components on Tesla vehicles.
    Warning IconA warning icon, calling your attention to a possibly risky situation
    警告
    To maintain vehicle crash integrity, use only approved welding wire and an approved GMA welder to perform GMA welding on Tesla vehicles. Refer to 已批准的气体保护金属极弧 (GMA) 焊接器和焊丝 for information on approved GMA welders and welding wire.
    Warning IconA warning icon, calling your attention to a possibly risky situation
    警告
    Do not weld on a Tesla vehicle before performing the Vehicle Electrical Isolation Procedure (refer to the vehicle-specific Service Manual for more information on the Vehicle Electrical Isolation Procedure). Welding on a Tesla vehicle with an energized high or low voltage system might damage vehicle components.
    Informational PurposesAn informational icon, calling your attention
    Before GMA welding, a test weld using material of the same gauge and type should be performed to make sure that the welding equipment settings produce a satisfactory joint.
  21. 安装C 柱加固件下部。
  22. 安装铰链柱(区块)
  23. 安装先前为露出更换组件而拆下的车身侧外件总成部分。
  24. Install the fasteners as indicated.
  25. Perform any necessary post-repair operations.