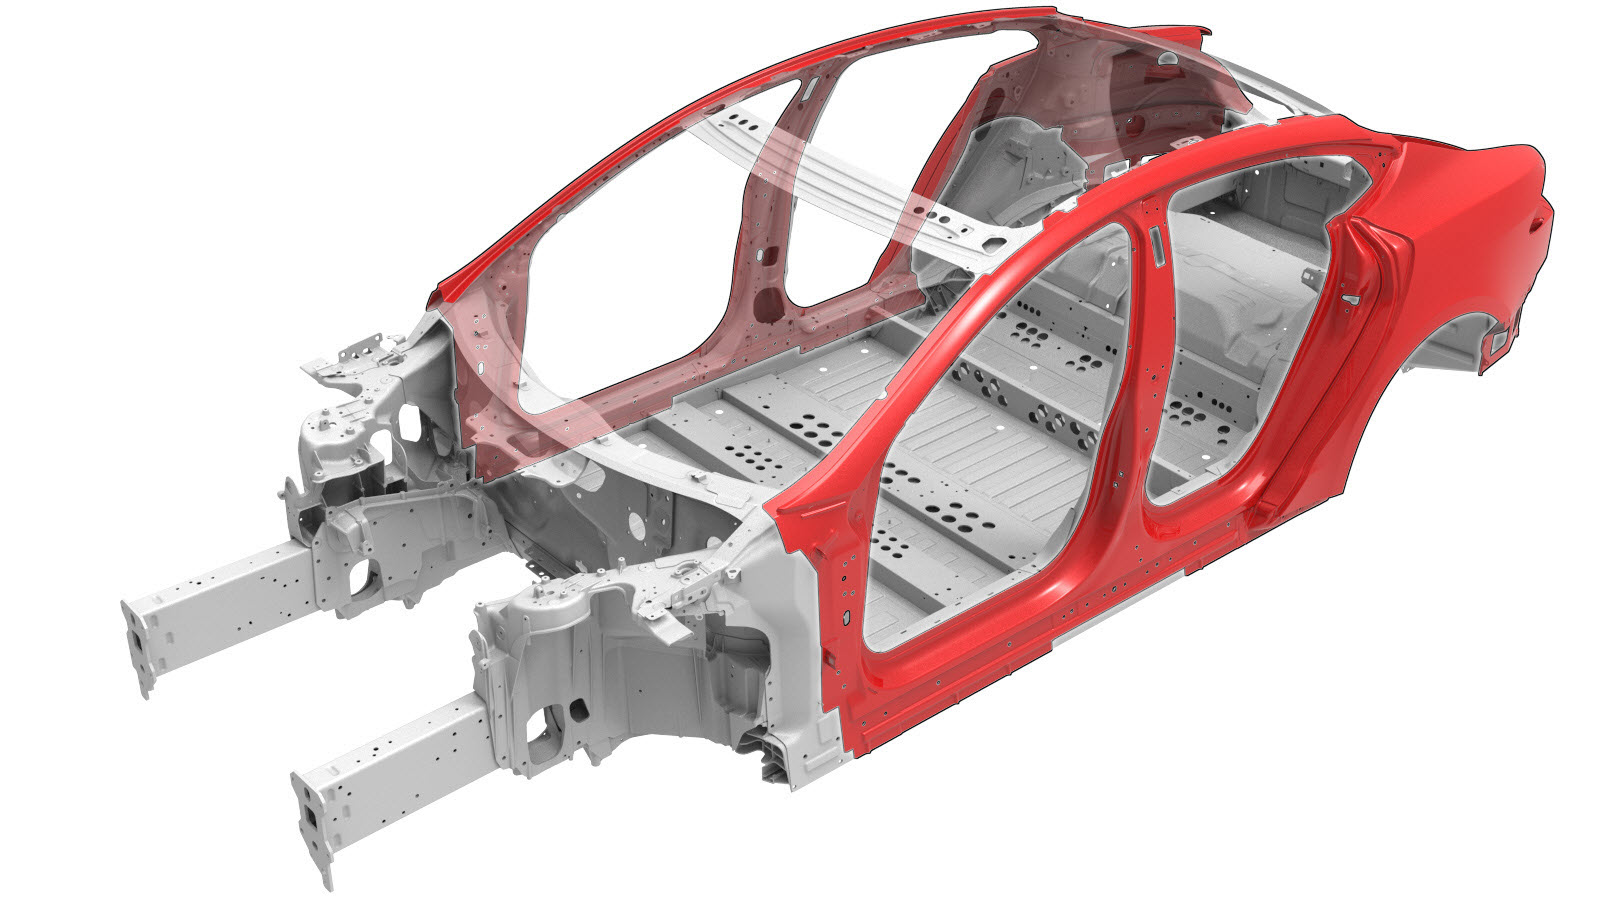
Lateral de la cubierta de la carrocería (vehículos fabricados a partir del 17 de febrero de 2022)
 10100142902
10100143002
10100142902
10100143002
Información de reparación
- Antes de iniciar este procedimiento, revise todas las prácticas generales y la documentación de seguridad de reparación de colisiones, y utilice el equipo de protección individual (EPI) adecuado.
- Este procedimiento se puede realizar sin utilizar un banco de bastidor.
- Verifique que este es el procedimiento correcto: Consulte Exterior del lateral de la carrocería
- El exterior del lateral de la carrocería puede:
- Sustituirse en una sola reparación como un único componente completo, utilizando la pieza de recambio Exterior del lateral de la carrocería completo y las instrucciones de la sección Procedimiento de reparación de este documento.
- Repararse con cualquiera de los conjuntos de servicio precortados que se muestran en Conjuntos de recambio exterior del lateral de la carrocería. Si se sustituye una sección del exterior del lateral de la carrocería (en lugar de todo el conjunto exterior del lateral de la carrocería) con un conjunto de recambio, utilice las partes correspondientes de cada paso de Procedimiento de reparación para determinar qué piezas y sujeciones se necesitan y los pasos necesarios para completar la reparación.
- Reparados en secciones más grandes o más pequeñas que los conjuntos de servicio. Se puede sustituir cualquier sección individual o combinación de secciones del conjunto exterior del lateral de la carrocería, siempre que se respeten las directrices de Directrices de división en secciones.
Verifique que este es el procedimiento correcto
Hay diversas variaciones del procedimiento Exterior del lateral de la carrocería. Siga este procedimiento únicamente si el vehículo se fabricó después del 17 de febrero de 2022. Si el vehículo se fabricó antes del 17 de febrero de 2022, consulte el procedimiento Exterior del lateral de la carrocería (vehículos fabricados hasta el 17 de febrero de 2022).
Si la fecha de fabricación del vehículo es incierta, consulte el procedimiento Exterior del lateral de la carrocería para obtener más información.
Lista de piezas
| Cantidad | Descripción | Imagen / Notas |
|---|---|---|
| 1 | BODY SIDE OUTER COMPLETE (Exterior del lateral de la carrocería completo) | |
| 2 | Remache avellanado, 4,8 mm, corto | |
| 10 | Remache abombado estructural, 6,5 mm | |
| 2 | Remache avellanado estructural, 6,5 mm | |
| 3 | Remache Flow Form S08 | |
| 5 | Remache Flow Form S18 | |
| 9 | Remache Flow Form S28 | |
| 15 | Remache Flow Form S38 | |
| 7 | Remache Flow Form S48 | |
| 7 | Perno , M8x27 | Referencia de Tesla 1621820-00-A. |
| 2 | Instapak (Pack de espuma expansible) | Referencia de Tesla 1046403-00-A. |
Al solicitar piezas, consulte el Catálogo de piezas e introduzca el VIN del vehículo que se va a reparar para encontrar las piezas correctas (y los números de pieza) para el vehículo. También puede utilizar la función de búsqueda del Catálogo de piezas para buscar una pieza específica para el vehículo.
Conjuntos de recambio exterior del lateral de la carrocería
| Conjuntos de recambio exteriores del lateral de la carrocería | |
|---|---|
| ASSY - BODY SIDE OTR COMP | ASSY - PNL-BODY SIDE OTR |
| ASSY - BODY SIDE OTR A-PILLAR | ASSY - BODY SIDE OTR C-PILLAR |
Directrices de división en secciones
- Si la reparación de secciones requiere la extracción o la instalación de conjuntos o paneles adicionales, realice los pasos necesarios del procedimiento de reparación concreto de cada conjunto o panel.
- Al dividir en secciones la zona en la que el pilar C se encuentra con la aleta trasera:
- corte como se describe a continuación:
Línea de corte
Línea/punto de referencia
- A = 30 mm.
- B = 25 mm.
- C = 110 mm.
- Cree e instale una placa de respaldo bajo la junta a tope:
Soldadura MIG
o Soldaduras de relleno de aluminio
- corte como se describe a continuación:
- Al dividir en secciones la zona en la que el pilar C se encuentra con el raíl del techo:
- Retire la soldadura por puntos de la zona superior en la que el pilar C se encuentra con la aleta trasera:
o Soldaduras por puntos de fábrica
- Preparación para la instalación.
- Retire la soldadura por puntos de la zona superior en la que el pilar C se encuentra con la aleta trasera:
- Se puede cortar a través de un orificio de una abertura o un orificio no funcional (orificio del guarnecido exterior), como se describe a continuación.
- No corte a menos de 25 mm del centro de un orificio de perno.
- Las secciones no requieren fijaciones en las juntas a tope a menos que se indique específicamente.
- Se puede instalar una placa de apoyo en una junta a tope entre secciones (como se describe en creación e instalación de placas de respaldo).
- Las separaciones entre los paneles de las juntas a tope deben ser lo más pequeñas posible para maximizar la resistencia de la junta.
- Juntas a tope de la sección de soldadura GMA.
- Selle todas las juntas abiertas después de soldar.
- Si una junta a tope incluye una brida, no suelde esta última (las bridas se fijan únicamente con adhesivo estructural).
| División en secciones del exterior del lateral de la carrocería | |
|---|---|
|
Nota La división en secciones de Conjuntos de recambio exterior del lateral de la carrocería es idéntica al área correspondiente del exterior del lateral de la carrocería (completo). |
|
| Al dividir en secciones la zona del paso de rueda, se puede soldar la brida del paso de rueda de la zona que se marca en rojo. |
Según los colores utilizados en la imagen anterior, las reparaciones permitidas son las siguientes:
| Color de la zona | Reparabilidad de la zona |
|---|---|
| Zonas verdes: | En estas zonas se permite la división en secciones. |
| Zonas amarillas: | En estas zonas se permite la división en secciones. Puede encontrarse espuma detrás del panel exterior de estas zonas. Nota Si realiza la división en secciones en estas zonas, retire la espuma y limpie la zona para evitar la contaminación de la soldadura. |
| Zonas rojas: | La división en secciones no está permitida. |
Procedimiento de reparación
-
Si se repara la sección de faldón del exterior del lateral de la carrocería: Retire Capa exterior de la aleta (vehículos fabricados después del 17 de febrero de 2022).
-
Separe la brida del paso de rueda trasero.
NotaSi se repara solo una sección del exterior del lateral de la carrocería, separe únicamente la parte necesaria de la brida con reborde.
-
Retire el componente original.
o Soldaduras por puntos de fábrica
o Perfore a través de las soldaduras por puntos de fábricaNotaAl perforar soldaduras por puntos, utilice una broca que cree un orificio del tamaño correcto para la fijación que sustituirá a la soldadura por puntos.o SPR de fábrica
o Pernos
-
Aplique sellador de juntas en el nuevo componente.
-
Preparación para la instalación.
NotaUna X roja indica una ubicación en la que no se está sustituyendo una fijación instalada de fábrica.
o Remaches abombados estructurales, 6,5 mm
o Remaches avellanados, 4,8 mm, cortos
o Remaches avellanados estructurales, 6,5 mm
o Pernos
- Si se repara una sección del exterior del lateral de la carrocería: Si hay espacio disponible debajo de las juntas a tope entre secciones, cree e instale una placa de respaldo debajo de cada junta de tope.
- Aplique adhesivo estructural en las superficies de contacto del vehículo y en el nuevo componente o componentes.
-
Instale el componente o los componentes nuevos.
Apriete los pernos a 24 Nm.
-
Si se sustituye una sección del exterior del lateral de la carrocería,
realice una soldadura GMA en las juntas a tope.
Soldadura MIG
o Soldaduras de relleno de aluminio
AvisoNo suelde el panel donde esté en contacto directo con los paneles de alta resistencia situados debajo. El calor provocado por la soldadura puede debilitar la resistencia de la estructura subyacente de acero de alta resistencia.AvisoSi no se respetan todas las precauciones de seguridad durante la soldadura, incluyendo el uso de equipo de protección individual, podrían provocarse lesiones graves o daños en la propiedad. Solo los técnicos que han completado satisfactoriamente el curso de formación para soldadura de Tesla están autorizados para soldar componentes estructurales en vehículos Tesla.AvisoPara mantener la integridad del vehículo en caso de choque, utilice únicamente alambre de soldadura aprobado y un soldador GMA aprobado para realizar soldaduras GMA en los vehículos Tesla. Consulte Soldadoras de gas y arco metálico (GMA) e hilo de soldadura aprobados para obtener información sobre los soldadores y el hilo de soldadura GMA aprobados.AvisoAntes de la soldadura GMA, asegúrese de que el adhesivo estructural está seco al tacto. Si el adhesivo estructural no está seco al tacto antes de la soldadura GMA, la resistencia de la junta adhesiva podría comprometerse.PRECAUCIÓNNo suelde en un vehículo Tesla antes de realizar el procedimiento de aislamiento eléctrico del vehículo (consulte el Manual de servicio específico del vehículo para obtener más información sobre el procedimiento de aislamiento eléctrico del vehículo). Soldar en un vehículo Tesla con un sistema de alta o baja tensión energizado podría dañar los componentes del vehículo.NotaAntes de la soldadura GMA, debe efectuarse una prueba de soldadura utilizando material del mismo calibre y tipo para asegurarse de que la configuración del equipo de soldadura cree una junta correcta. -
Si se repara la sección de faldón del exterior del lateral de la carrocería: Instale Capa exterior de la aleta (vehículos fabricados después del 17 de febrero de 2022).
-
Doble la brida del paso de rueda.
-
Instale los Instapaks.
Instale Instapaks en la cavidad entre la capa exterior de la aleta y el refuerzo del pilar C.
- Efectúe las operaciones posteriores a la reparación necesarias.