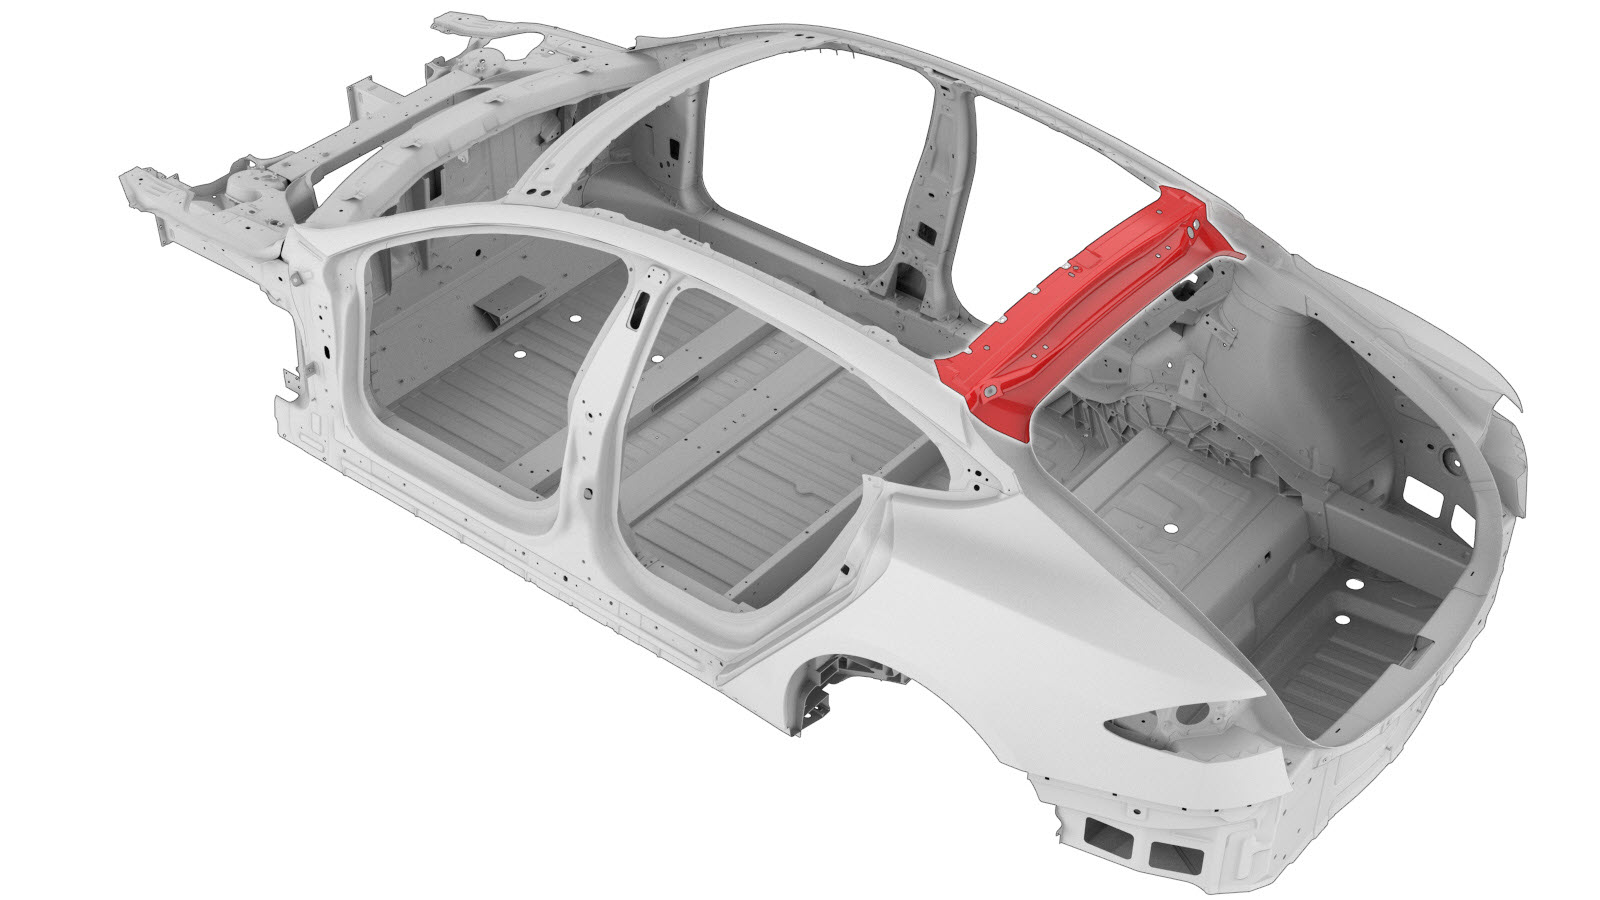
Rear Header Upper
 Correction code:
10102701702
NOTE:
Unless explicitly stated in the procedure, the above
correction code includes all Collision Repair work required
to perform this procedure, including the linked Collision
Repair procedures. Do not stack Collision Repair
correction codes unless explicitly told to do
so. Add any associated mechanical procedures
needed to perform this procedure.
Repair Information
- Review all collision repair general practices and safety documentation and wear the appropriate PPE (Personal Protective Equipment) before beginning this procedure.
- This procedure can be completed without using a frame bench.
Parts List
| Quantity | Description | Image / Notes |
|---|---|---|
| 1 | REAR HEADER UPPER (Rear Header Upper) | |
| 10 | Countersunk Rivet, 4.8 mm Long | |
| 4 | Countersunk Rivet, 4.8 mm Short | |
| 24 | SPR, 5x4.5 | |
| 8 | SPR, 5x5 | |
| 2 | SPR, 5x6 H4 | |
| 4 | SPR, 5x6 H2 |
When ordering parts, refer to the Parts Catalog and enter the VIN of the vehicle being repaired to find the correct parts (and the part numbers) for the vehicle. Alternatively, use the search function in the Parts Catalog to find a specific part for the vehicle.
Repair Procedure
-
Remove the component that
covers the Rear Header Assembly:
Depending on the vehicle build date, the component that covers the Rear Header Assembly may be any of the following:
- Roof Assembly (refer to procedure)
- Roof Glass (refer to procedure)
- Panoramic Roof Assembly frame (refer to procedure)
-
Remove the original component.
or Factory Spot Welds
-
Prepare for installation.
or Countersunk Rivets, 4.8 mm Long
or SPRs, 5x4.5NoteThe following Tesla SPR die is used to install this SPR: KA 075 2113.or SPRs, 5x5NoteThe following Tesla SPR die is used to install this SPR: KA 075 2113.or SPRs, 5x6 H4NoteThe following Tesla SPR die is used to install this SPR: SM 085 0125.or SPRs, 5x6 H2NoteThe following Tesla SPR die is used to install this SPR: SM 085 0125. - Apply structural adhesive to the mating surfaces on the vehicle and the new component or components.
- Install the new component or components.
-
Install the component that
was removed to provide access to the Rear Header Assembly:
- Roof Assembly (refer to procedure)
- Roof Glass (refer to procedure)
- Panoramic Roof Assembly frame (refer to procedure)
- Perform any necessary post-repair operations.