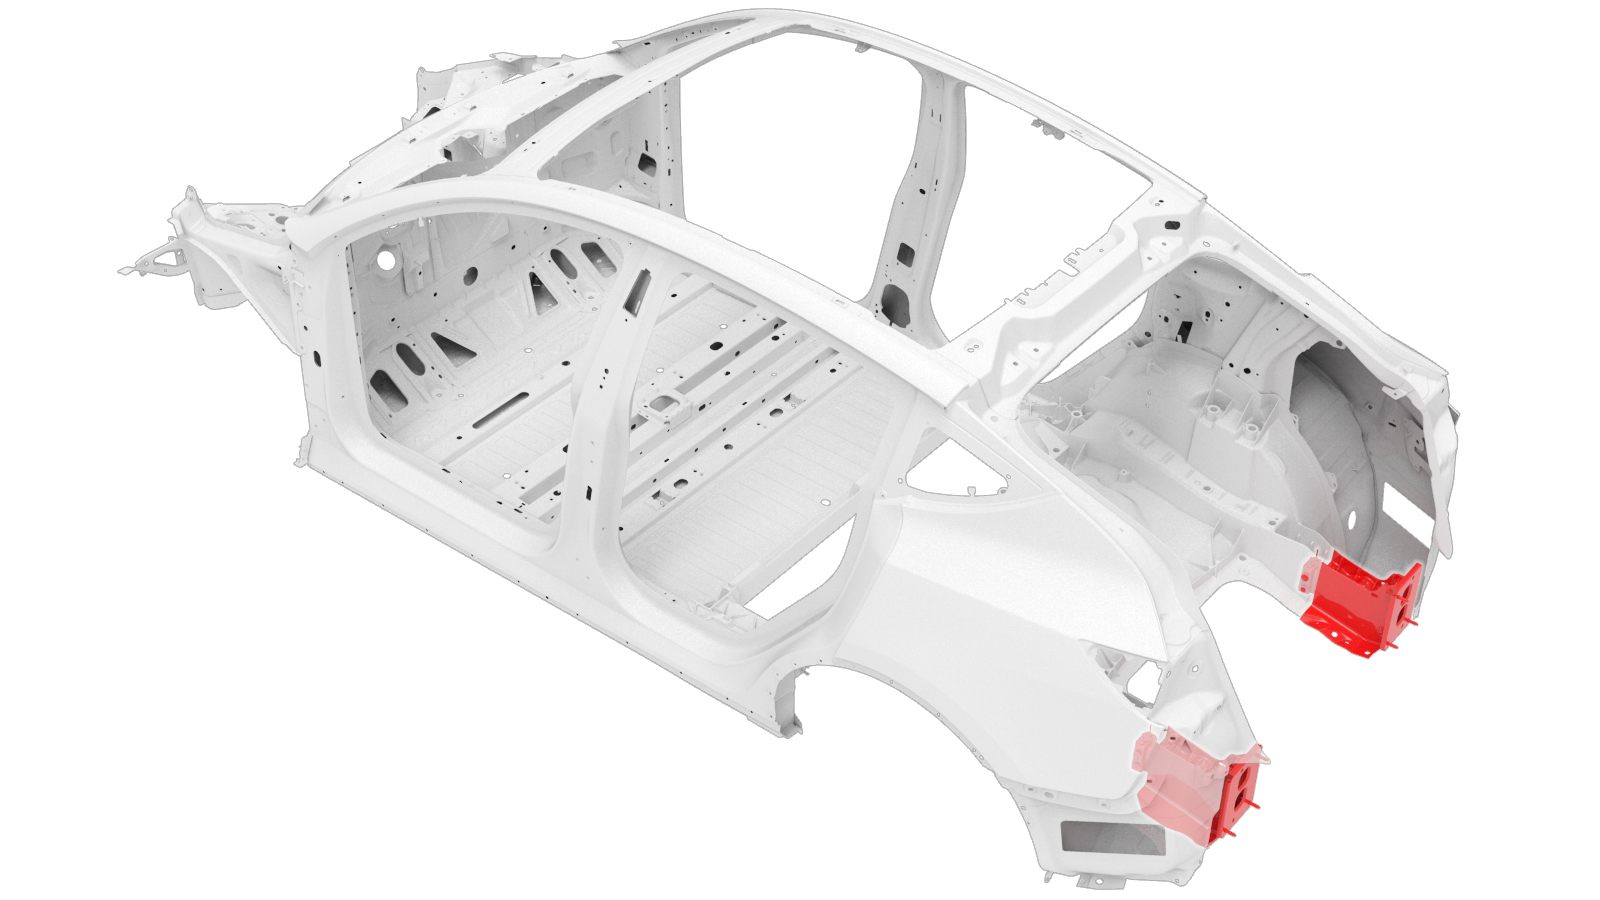
Rear Rail (Cast)
 Correction code:
10102100702
10102100602
NOTE:
Unless explicitly stated in the procedure, the above
correction code includes all Collision Repair work required
to perform this procedure, including the linked Collision
Repair procedures. Do not stack Collision Repair
correction codes unless explicitly told to do
so. Add any associated mechanical procedures
needed to perform this procedure.
Repair Information
- Review all collision repair general practices and safety documentation and wear the appropriate PPE (Personal Protective Equipment) before beginning this procedure.
- Properly mount the vehicle on a frame bench when performing this procedure.
Parts List
| Quantity | Description | Image / Notes |
|---|---|---|
| 1 | CASTING REAR RAIL SERVICE ASSEMBLY (Rear Frame Rail - Small Section) | |
| 1 | BUTYL FOIL PATCH - M3 480 X 240 X 2.0 (Butyl foil patch) |
Tesla part number 1004964-00-A. |
| 5 | High Strength Structural Rivet, 6.5 mm | |
| 4 | Bolt, Torx-head , M8X22,STL[10.9],PC | Tesla part number 1056534-00-C. |
| 4 | Nut , HEX,FLGS,M8-1.25X18.2[8]-TBD | Tesla part number 1014348-00-A. |
When ordering parts, refer to the Parts Catalog and enter the VIN of the vehicle being repaired to find the correct parts (and the part numbers) for the vehicle. Alternatively, use the search function in the Parts Catalog to find a specific part for the vehicle.
Repair Procedure
-
Remove the Rear Panel Side Assembly.
-
Remove the Wing Bracket (Lower).
-
Remove the original component.
- Cut Line
NoteCut just to the rear of the cast cut line on the original component, then trim the original component as necessary to fit. Keep any gaps as small as possible. -
Trim the service part in the indicated
area.
Lightly grind and smooth the edges of the service part in the area shown in red, and trim only as needed to ensure proper fitment. Do not grind more material than necessary, and do not cause a gap. Grinding may extend beyond the indicated area if necessary.NoteKeep the amount of material removed to the minimum necessary for proper fitment of the service part without introducing a gap. If a gap results from excessive grinding, contact Tesla Collision Repair for assistance.
-
Prepare for installation.
- Reference Line/Point
- Bolt, Torx-head A = 109 mm B = 153 mm C = 35 mm D = 34 mm
-
Prepare for installation.
NoteInstall the outboard bolts using the same measurements as used to install the inboard bolts.
- Prepare for installation.
- Apply structural adhesive to the mating surfaces on the vehicle and the new component or components.
-
Install the new component or components.
Torque the bolts to 48 Nm.
-
Apply seam sealer to the joint
between the new component and the Cast Rear Under Body.
-
Prepare to install the rivets that secure the Rear Rail End Plate to the Rear
Rail.
- Reference Line/Point
- or High Strength Structural Rivets, 6.5 mm E = 15 mm F = 30 mm
-
Prepare to install the rivets that secure the Rear Rail End Plate to the Rear
Rail.
- Reference Line/Point
- or High Strength Structural Rivets, 6.5 mm E = 15 mm F = 30 mm G = 80 mm
-
If the new component does not have
structural adhesive securing the Rear Rail End Plate to the Rear Rail: Remove the
Rear Rail End Plate.
NoteRetain the Rear Rail End Plate (it is installed in a later step).
- If the new component does not have structural adhesive securing the Rear Rail End Plate to the Rear Rail: Apply structural adhesive to the mating surfaces on the Rear Rail End Plate and the Rear Rail.
- If the new component did not have structural adhesive securing the Rear Rail End Plate to the Rear Rail: Install the Rear Rail End Plate.
- Install the rivets that secure the Rear Rail End Plate to the Rear Rail.
-
Install the Wing Bracket (Lower).
-
Install the Rear Panel Side Assembly.
-
Install the Butyl Foil patch as
indicated.
- Perform any necessary post-repair operations.