Rear Node (Complete) (Vehicles Built From November 15, 2021 Through March 6, 2022 and After April 7, 2022)
Repair Information
- Depending on the damage to this component, it may be possible to repair this component. Refer to Cast Rear Node Repair Guidelines (Vehicles Built Through October 12, 2022) for more information.
- Review all collision repair general practices and safety documentation and wear the appropriate PPE (Personal Protective Equipment) before beginning this procedure.
- Properly mount the vehicle on a frame bench when performing this procedure.
Parts List
| Quantity | Description | Image / Notes |
|---|---|---|
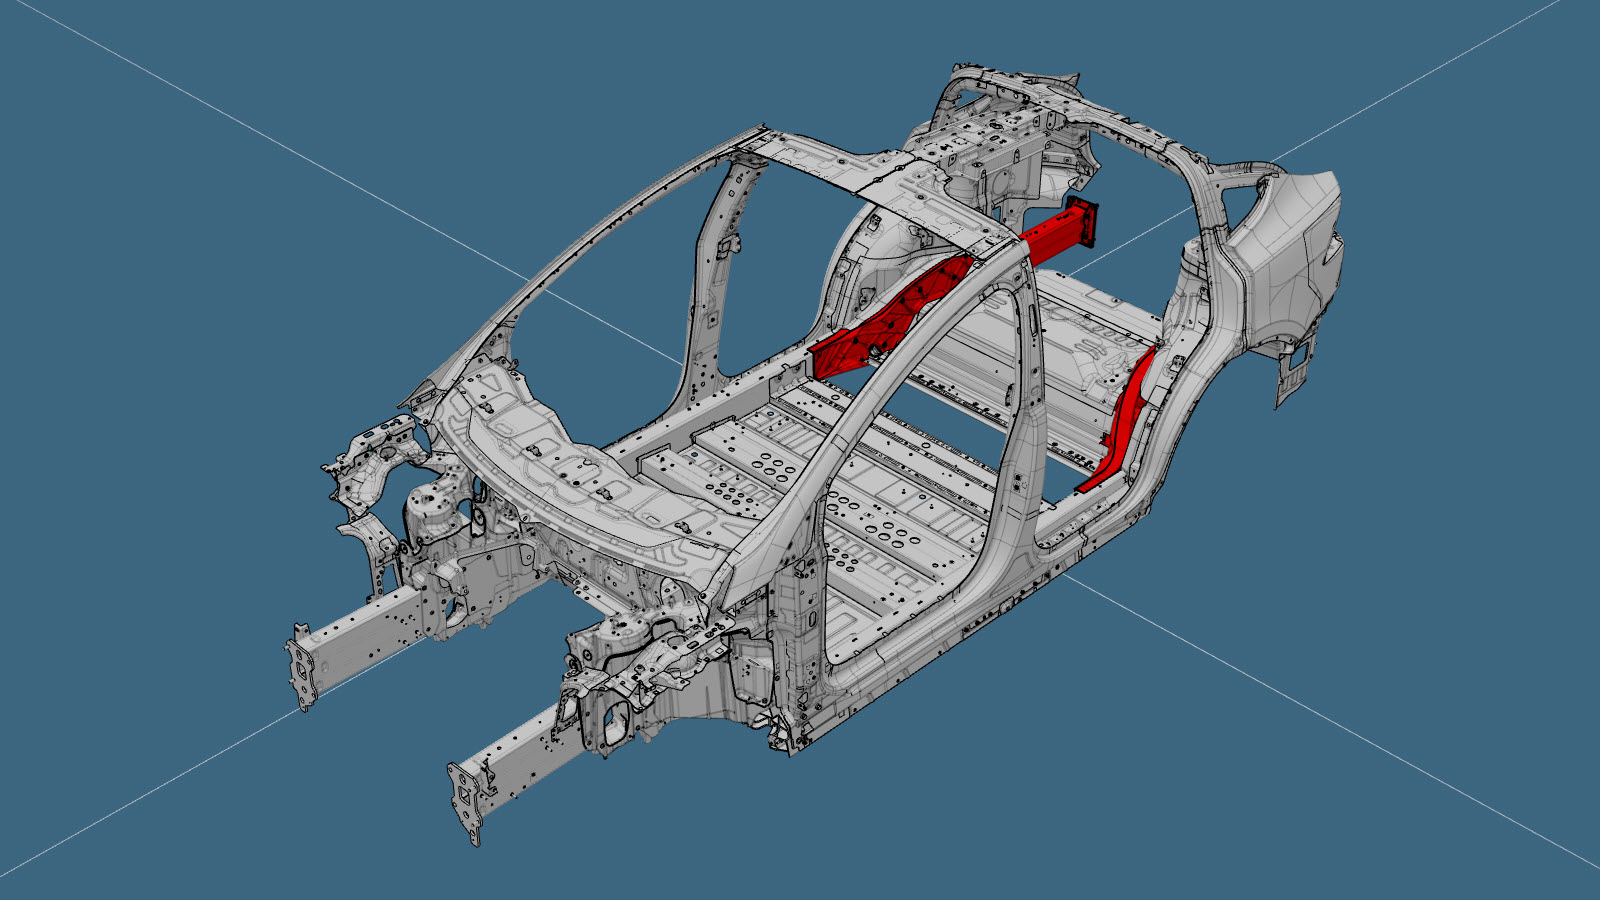
| 1 | ASY-MEMBER RAIL RR (Rear Node – Complete) | |
|
LH: 23 RH: 21 |
High Strength Structural Rivet, 6.5 mm | |
| 4 | Structural Countersunk Rivet, 6.5 mm | |
| 1 | Bolt , M6-1x19 | Tesla part number 1454541-00-A. |
| 1 | Bolt , M8x20 | Tesla part number 1552447-00-A. |
| 2 | Bolt , M8x20 | Tesla part number 1007580-00-A. |
| 1 | Bolt , M8x50 | Tesla part number 1046838-00-A. |
| 1 | Bolt , M8x27 | Tesla part number 1621820-00-A. |
| 2 | Bolt, Torx-head , M8x20 | Tesla part number 1014747-00-B. |
| 2 | Nut , M8-1.25,HF,Steel[10],ZnAl,BLACK | Tesla part number 1006628-01-A. |
When ordering parts, refer to the Parts Catalog and enter the VIN of the vehicle being repaired to find the correct parts (and the part numbers) for the vehicle. Alternatively, use the search function in the Parts Catalog to find a specific part for the vehicle.
Repair Procedure
-
Remove the Second Row Seat Floor Panel.
-
Remove the Rear Panel.
Based on the vehicle build date, remove the Rear Panel using the appropriate procedure:
-
Remove the Rear Trunk Floor.
Based on the vehicle build date, remove the Rear Trunk Floor using the appropriate procedure:
-
Remove the Rear Trunk Waterfall Panel.
Based on the vehicle build date, remove the Rear Trunk Waterfall Panel using the appropriate procedure:
-
Remove the Rear Node Upper Reinforcement (Front).
-
Remove the Rear Node Upper Reinforcement (Rear).
-
Remove the Rear Torque Box Lower Reinforcement.
-
Remove the Rear Trunk Floor Panel Extension.
-
Remove the Rear Node Outer Reinforcement.
-
Remove the Rear Shock Tower Reinforcement.
-
Remove the original component.
or Factory Spot Welds
or Drill through factory spot weldsNoteWhen drilling out spot welds, use a drill bit that creates a hole correctly sized for the fastener that will replace the spot weld.or RIVTAC
or Factory Structural Rivets
or Bolts
-
Use structural adhesive to
attach the nuts in position on the inside of the Rear Node.
NoteIf necessary, grind the edges of the nuts to make them flush with the mounting location.
-
Prepare for installation.
NoteA red X indicates a location where a factory-installed fastener is not being replaced. Secure this location using structural adhesive only.or High Strength Structural Rivets, 6.5 mm
- A = 260 mm
- B = 15 mm
- C = 24 mm
- D = 9 mm
- E = 21 mm
- F = 11 mm
or Structural Countersunk Rivets, 6.5 mm
or BoltsNoteInstall the M6-1x19 bolt, part number 1454541-00-A, in the location indicated by the red circle.NoteInstall the M8-1.25x22 bolt, part number 1552447-00-A, in the location indicated by the green circle. - Apply structural adhesive to the mating surfaces on the vehicle and the new component or components.
-
Install the new component or components.
Torque the bolts as follows:
- Hex-head M8x27 bolts part number 1621820-00-A: 20 Nm.
- Hex-head M6x19 bolts part number 1454541-00-A: 11 Nm.
- Hex-head M8x50 bolts part number 1046838-00-A: 24 Nm.
- Hex-head M8x20 bolts part number 1007580-00-A: 25 Nm.
- Hex-head M8x22 bolts part number 1552447-00-A: 25Nm.
- Torx bolts (all): 24 Nm.
-
Install the Rear Node Upper Reinforcement (Front).
-
Install the Rear Node Upper Reinforcement (Rear).
-
Install the Rear Torque Box Lower Reinforcement.
-
Install the Rear Trunk Waterfall Panel.
Install the Rear Trunk Waterfall Panel using the appropriate procedure:
-
Install the Rear Trunk Floor.
Install the Rear Trunk Floor using the appropriate procedure:
-
Install the Rear Trunk Floor Panel Extension.
-
Install the Rear Node Outer Reinforcement.
-
Install the Rear Shock Tower Reinforcement.
-
Install the Rear Panel.
Install the Rear Panel using the appropriate procedure:
-
Install the Second Row Seat Floor Panel.
- Perform any necessary post-repair operations.