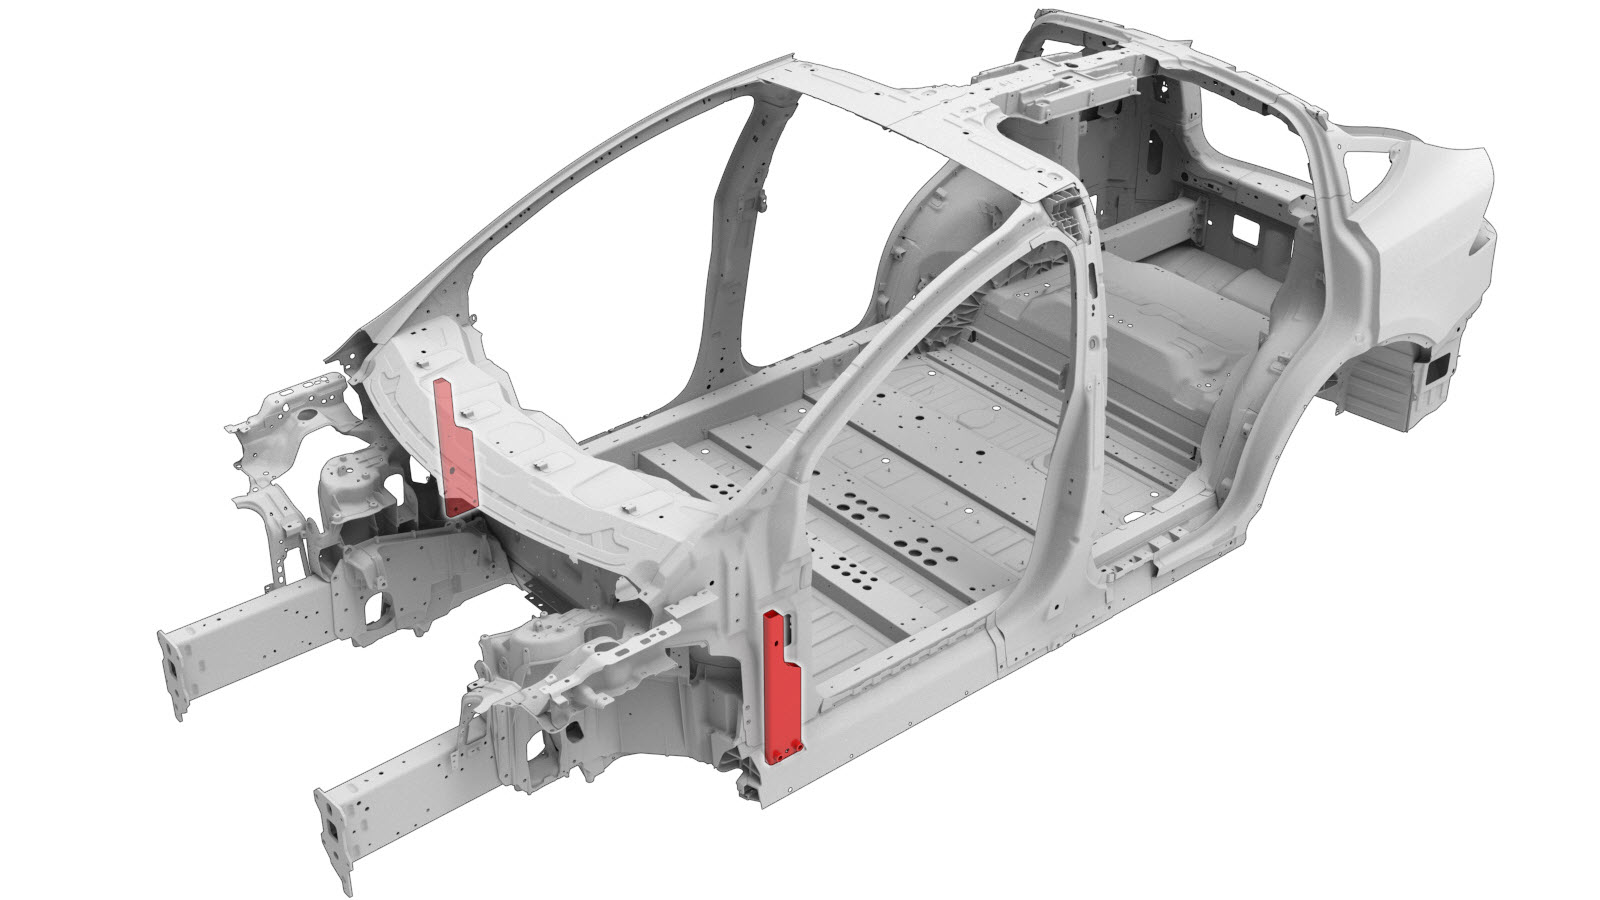
Hinge Pillar Reinforcement
 Correction code:
10100130302
10100130402
NOTE:
Unless explicitly stated in the procedure, the above
correction code includes all Collision Repair work required
to perform this procedure, including the linked Collision
Repair procedures. Do not stack Collision Repair
correction codes unless explicitly told to do
so. Add any associated mechanical procedures
needed to perform this procedure.
Repair Information
- Review all collision repair general practices and safety documentation and wear the appropriate PPE (Personal Protective Equipment) before beginning this procedure.
- Properly mount the vehicle on a frame bench when performing this procedure.
Parts List
| Quantity | Description | Image / Notes |
|---|---|---|
| 1 | ASY-REINF HINGE PILLAR LWR (Hinge Pillar Reinforcement) | |
| 2 | Bolt | Tesla part number 1006529-00-A. |
| 1 | Rivnut | Tesla part number 1038174-00-A. |
When ordering parts, refer to the Parts Catalog and enter the VIN of the vehicle being repaired to find the correct parts (and the part numbers) for the vehicle. Alternatively, use the search function in the Parts Catalog to find a specific part for the vehicle.
Repair Procedure
-
Remove the necessary portion
of the Body Side Outer to expose the
underlying component being replaced.
-
Remove the A–Pillar Reinforcement.
-
Cut the original component at the indicated locations.
This cut will allow access to a Rivnut that must be removed so the original component can be removed.
Cut Line
Reference Line/Point
- A = 85 mm.
- B = 175 mm.
- C = 27 mm.
- D = 112 mm.
-
Remove the original component.
Rivnut
or Bolts
-
Remove the Rivnut from the Hinge Pillar Reinforcement service part.
-
Drill a 20 mm. hole in the
Hinge Pillar Reinforcement service part in the indicated location.
Cut Line
Reference Line/Point
- E = 20 mm.
- F = 185 mm.
-
Prepare for installation.
or Bolts
Rivnut
-
Install the new component or components.
Torque the bolts to 10 Nm.
-
Install the A–Pillar Reinforcement.
-
Install the necessary
portion of the Body Side Outer that was removed to
expose the component being replaced.
- Perform any necessary post-repair operations.