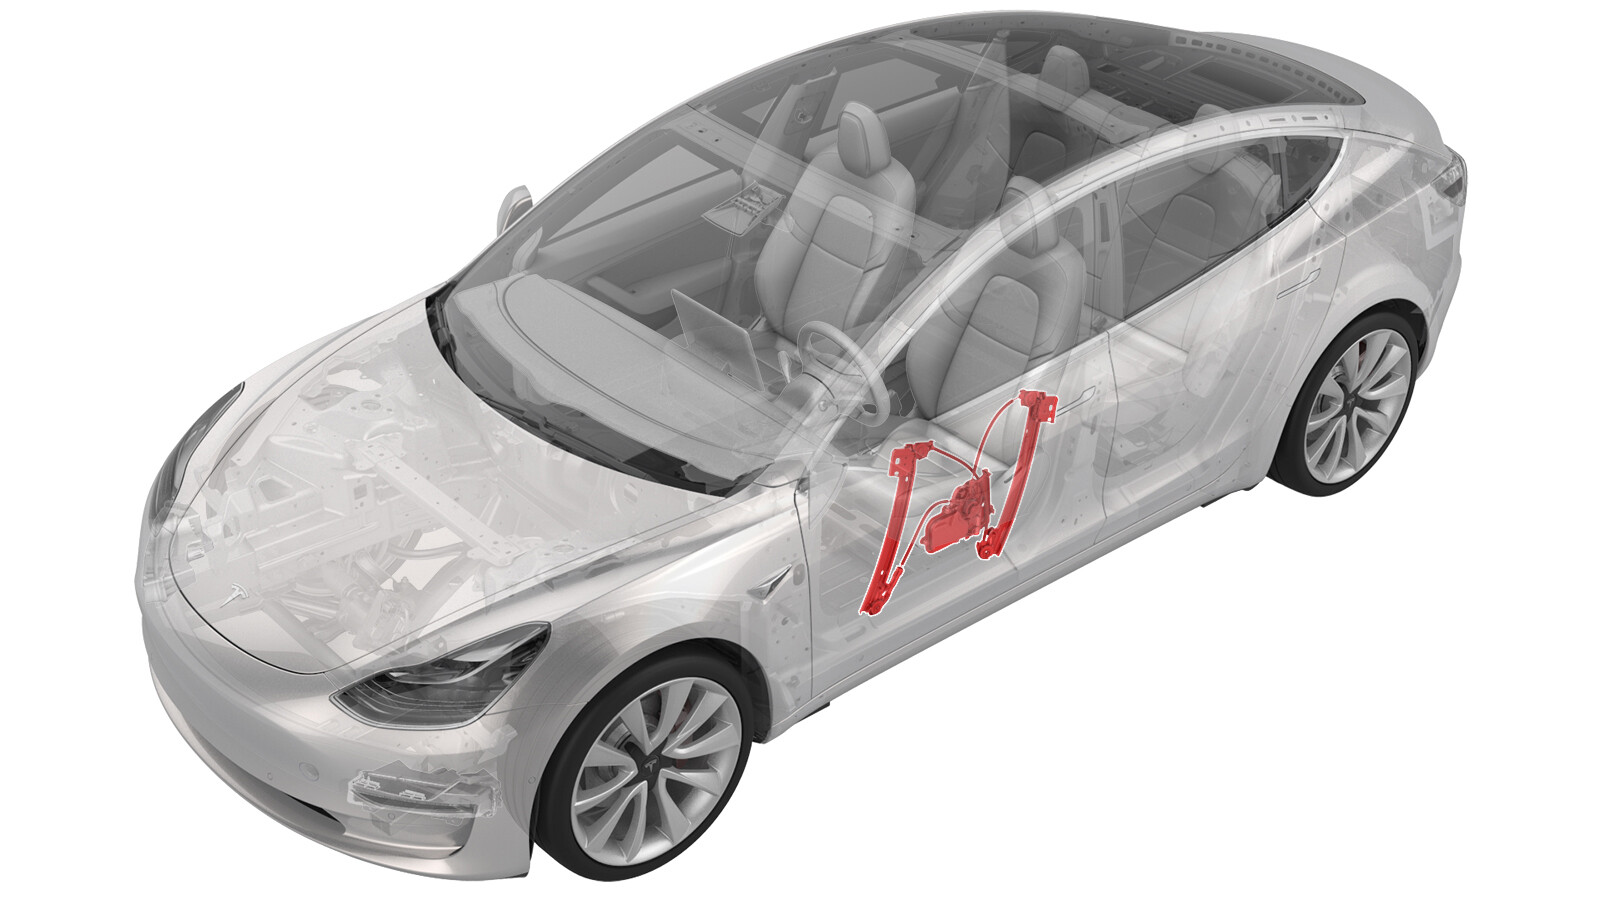
Window Motor / Regulator Assembly - Front - LH (Remove and Replace)
 Correction code
11502002
0.60
NOTE: Unless otherwise explicitly
stated in the procedure, the above correction code and FRT reflect all of the work
required to perform this procedure, including the linked procedures. Do not stack correction codes unless
explicitly told to do so.
NOTE: See Flat Rate
Times to learn more about FRTs and how they are created.
NOTE: See Personal Protection to make sure wearing proper PPE when
performing the below procedure. NOTE: See Ergonomic Precautions for safe and healthy working
practices.
Correction code
11502002
0.60
NOTE: Unless otherwise explicitly
stated in the procedure, the above correction code and FRT reflect all of the work
required to perform this procedure, including the linked procedures. Do not stack correction codes unless
explicitly told to do so.
NOTE: See Flat Rate
Times to learn more about FRTs and how they are created.
NOTE: See Personal Protection to make sure wearing proper PPE when
performing the below procedure. NOTE: See Ergonomic Precautions for safe and healthy working
practices.
- 2025-12-09: Added disconnecting/connecting LV battery power caution and steps.
Torque Specifications
| Description | Torque Value | Recommended Tools | Reuse/Replace | Notes |
|---|---|---|---|---|
| Nuts (x4) that attach the window motor/regulator assembly to the front LH door |
 10 Nm (7.4 lbs-ft) |
|
Reuse |
Remove
- Remove the LH front door trim panel. See Panel - Door Trim - Front - LH (Remove and Install).
- Remove the LH front door inner belt seal from the door. See Seal - Inner Belt - Front Door - LH (Remove and Replace).
- Remove the LH front window glass. See Glass - Door - LH - Front (Remove and Replace).
- Disconnect the LV battery power. See 12V/LV Power (Disconnect and Connect).
- Disconnect the window switch special tool.
- Remove the LH front door closeout panel. See Closeout Panel - Door - Front - LH (Remove and Replace).
-
Remove the plugs (x2) that cover the access holes to the window regulator
nuts.
-
Remove the nuts (x4) that
attach the window motor/regulator assembly to the front LH door.
TIpUse of the following tool(s) is recommended:
- 10 mm deep socket
-
Remove the clip that attaches the window regulator to the door assembly,
and then remove the window motor/regulator assembly from the door.
NoteManeuver studs away from door and remove one arm at a time
Install
-
Position the window
motor/regulator assembly into the LH front door for installation.
NoteManeuver the regulator arms into the door one at a time to ease installation, and then position the studs into the door.
-
Install the nuts (x4) that attach the window motor/regulator assembly to
the front LH door.10 Nm (7.4 lbs-ft)TIpUse of the following tool(s) is recommended:
- 10 mm deep socket
-
Install the plugs that allow
for access to the window motor/regulator assembly.
- Install the LH front door closeout panel. See Closeout Panel - Door - Front - LH (Remove and Replace).
- Connect the LV battery power. See 12V/LV Power (Disconnect and Connect).
- Install the LH front window glass. See Glass - Door - LH - Front (Remove and Replace).
-
Loosen the lower regulator mounting nuts 3 turns to allow adjustment.
NoteHold the jack screws with a 3mm allen to prevent movement.
-
Adjust the regulator angle by turning the mounting studs.
-
Hand-tighten the regulator nuts.
- Close the LH front door.
- Raise the LH front window fully by accessing the window switch tool through the LH rear door.
- Check again the gap and flushness of the front LH door glass and make adjustments, if necessary.
- Open the LH front door.
- Adjust glass for access to regulator guide blocks.
-
Tighten the bolts that
secure the glass to the regulator isolator clamps.9.5 Nm (7.0 lbs-ft)TIpUse of the following tool(s) is recommended:
- 13 mm socket
-
Torque the loosen nuts that attach the window motor/regulator assembly to
the front LH door.10 Nm (7.4 lbs-ft)TIpUse of the following tool(s) is recommended:
- 10 mm deep socket
- Disconnect the window switch special tool.
-
Install the plugs that cover
the openings in the door regulator isolation clamps.
- Install the puddle lamp to the front door panel.
- Install the LH front door trim panel. See Panel - Door Trim - Front - LH (Remove and Install).
- Sit in the driver seat and close the LH front door.
- Use the vehicle touchscreen to calibrate the window regulator. See Window Regulator (Recalibrate).