Blower Motor - HVAC (Non-Heat Pump) (Remove and Replace)
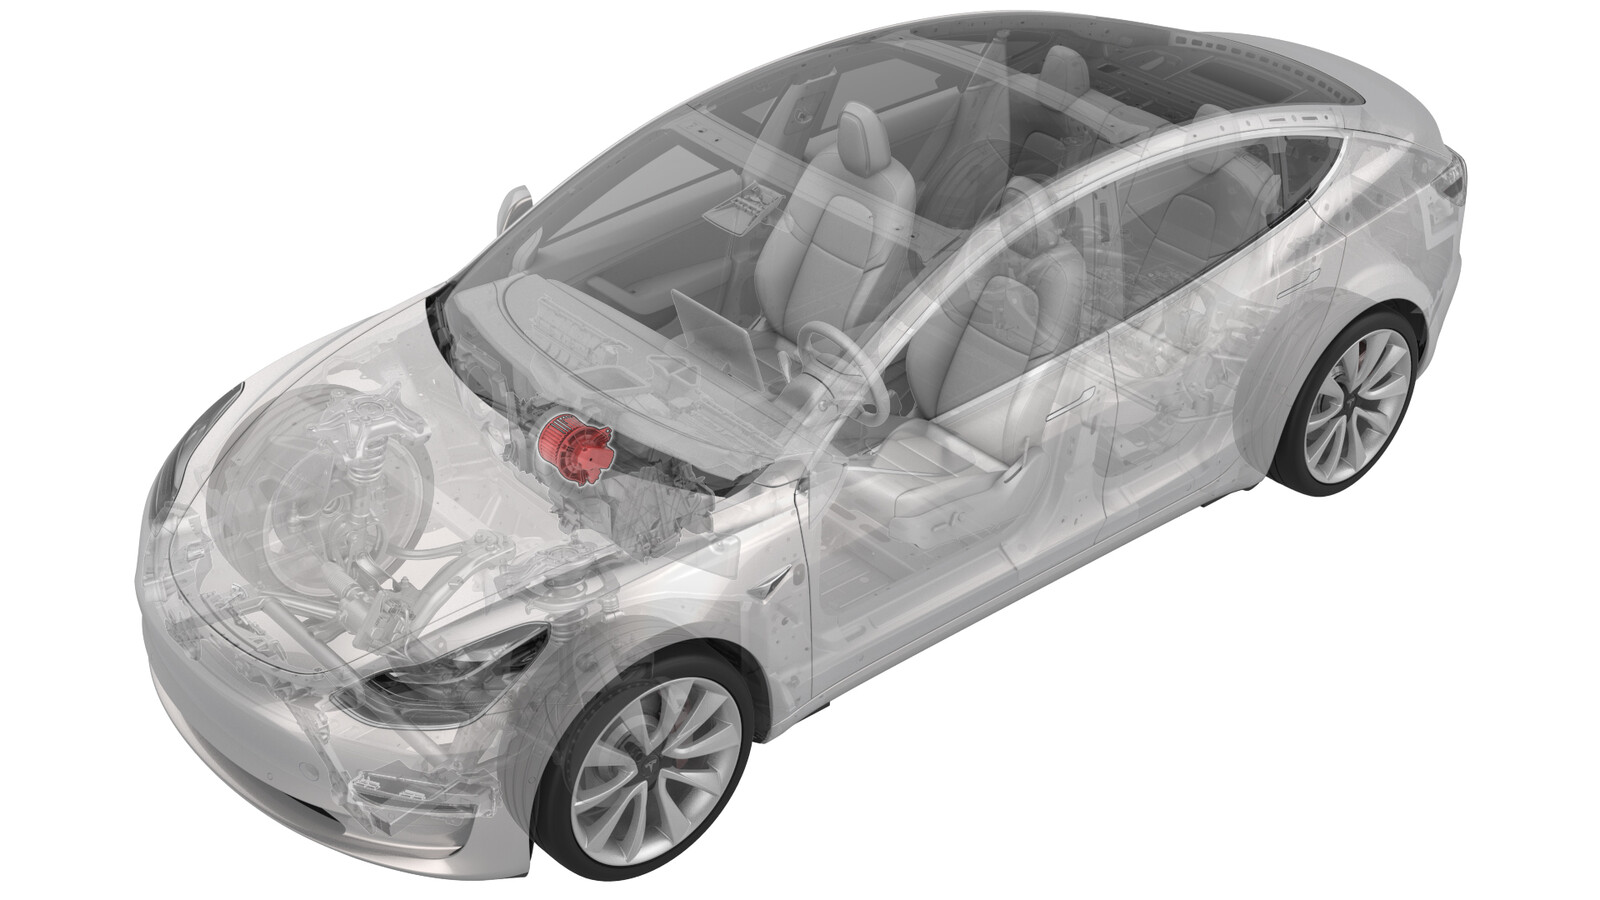 Correction code
18103202
3.84
NOTE: Unless otherwise explicitly
stated in the procedure, the correction code and its associated FRT reflect all of the
work required to perform this procedure, including the linked procedures. Do not stack correction codes unless
explicitly told to do so.
NOTE: See Flat Rate
Times to learn more about FRTs and how they are created.
NOTE: See Personal Protection to make sure wearing proper PPE when
performing the below procedure. NOTE: See Ergonomic Precautions for safe and healthy working
practices.
- 2026-11-04: Replaced the two-post lift with a floor jack to remove the washer reservoir, removed the steps for removing the LH wheel and the left front seat, and updated the steps to move the main floor duct aside instead of removing it.
- 2026-09-17: Updated Note on replacing the blower motor with the same part number as the original one.
- 2026-08-10: Added Note on replacing the blower motor with the same part number as the original one.
- 2026-04-02: Added steps to remove and install brake pedal assembly.
- 2024-01-25: Added a note to remind that it is not necessary to separate the IP harness from the cross car beam when removing the cross car beam.
Remove
- Open all four doors and lower all four windows.
-
Partially jack up the LH front of the vehicle to create clearance between
the wheel and the wheelhouse.
NoteDo not lift wheel off the ground.
-
Pull the wheel liner aside and remove the lower bolt that attach the washer
tank to the body.
NoteUse of the following tool(s) is recommended:
- 10 mm deep socket
- Ratchet/torque wrench
- Lower the vehicle and remove the floor jack.
- Remove the rear underhood apron. See Underhood Apron - Rear (Remove and Replace).
- Remove the underhood storage unit. See Underhood Storage Unit (Remove and Replace).
- Remove the cabin intake duct. See Duct - Upper - Cabin Intake (Remove and Replace).
- Remove the LH and RH wiper arms. See Wiper Arms (Remove and Replace).
- Remove the LH and RH shock tower covers. See Cover - Shock Tower - LH (Remove and Replace).
- Remove the cowl screen panel. See Panel - Cowl Screen (Remove and Replace).
- Remove the wiper module. See Wiper Module (Remove and Replace).
-
Release the clip that
attaches the electrical harness to the windshield washer reservoir.
-
Disconnect the electrical
connector from the windshield washer reservoir.
- Remove the outer HVAC plenum duct. See Plenum - Inlet - HVAC (Remove and Replace).
- Remove the inner HVAC plenum duct. See Duct - HVAC Plenum - Inner (Remove and Replace).
-
Remove the upper bolt that
attaches the windshield washer reservoir to the body.
TipUse of the following tool(s) is recommended:
- 10 mm socket
-
Remove the windshield washer
reservoir from the vehicle.
Note2x connectors. Keep the washer reservoir upright to keep contents from spilling.
- Remove the 2nd row lower seat cushion. See Seat Cushion - Lower - 2nd Row (Remove and Replace).
- Remove the LH and RH middle A-pillar trim. See Trim - A-Pillar - Middle - LH (Remove and Replace).
- Remove the LH and RH upper A-pillar trim. See Trim - A-Pillar - Upper - LH (Remove and Replace).
- Remove the LH and RH lower A-pillar trim. See Trim - A-Pillar - Lower - LH (Remove and Replace).
- Remove the LH and RH instrument panel end caps. See End Cap - Instrument Panel - LH (Remove and Replace).
- Remove the driver and front passenger footwell cover. See Cover - Footwell - Driver (Remove and Replace).
- Disconnect 12V/LV power. See 12V/LV Power (Disconnect and Connect)
- Remove the driver knee airbag. See GUID-8E1590E5-0A0D-4E40-A119-BB20C6C07C71.html#GUID-8E1590E5-0A0D-4E40-A119-BB20C6C07C71.
- Remove the LH footwell duct. See Duct - Footwell - LH (LHD) (Remove and Replace).
- Remove the center console. See Center Console (Remove and Install).
- Remove the front passenger knee airbag. See GUID-60C1D5D7-2E88-4CDC-B9F9-5B77640CD30D.html#GUID-60C1D5D7-2E88-4CDC-B9F9-5B77640CD30D.
- Remove the main instrument panel decor trim. See Decor Trim - Instrument Panel - Main (Remove and Replace).
- Remove the LH and RH air wave end cap. See End Cap - Air Wave - LH (Remove and Replace).
- Remove the glove box. See Glove Box - With Knee Airbags (Non-Heat Pump) (Remove and Replace).
- Remove the RH footwell duct. See Duct - Footwell - LH (LHD) (Remove and Replace).
- Remove the RH air wave duct. See Duct - Air Wave - RH (LHD) (Remove and Replace).
- Remove the driver air bag. See GUID-091C66CC-E2B0-48D8-A698-207C42F2F5DC.html#GUID-091C66CC-E2B0-48D8-A698-207C42F2F5DC.
- Remove the steering wheel. See Steering Wheel (Remove and Install).
- Remove the steering column control module. See Module - Steering Column Control (Remove and Replace).
- Remove the touchscreen. See Touchscreen (Remove and Replace).
- Remove the LH front vent. See Vent - Front - LH (Remove and Replace).
- Remove the RH front vent. See Vent - Front - RH (Remove and Replace).
- Remove the LH, center, and RH dash speakers. See Speaker - Dash - LH (Remove and Replace).
- Remove the IP carrier. See IP Carrier (Remove and Install).
- Remove the LH air wave duct. See Duct - Air Wave - LH (LHD) (Non-Heat Pump) (Remove and Replace).
-
-
-
Remove the cross car beam.
See Beam - Cross Car (LHD) (Remove and Replace).
NoteNo need to separate the IP harness from the cross car beam.
-
Remove the clip that attaches the RH front main carpet to the body.
-
Remove the clips that attach the LH front main carpet to the vehicle.
NoteNumber of clips on vehicles may vary.
-
Lift the LH front main carpet towards the LH front seat.
-
Remove the main floor duct
from the HVAC assembly and set aside.
NoteUse a bungee cord as needed to hold the floor duct in position.
-
Remove the bolt that
attaches the HVAC module to the body.
-
Remove the bolt that
attaches the lower LH side of the HVAC assembly to the vehicle.
- Remove the brake pedal assembly. See Brake Pedal (Remove and Replace)
-
Remove the screws (x3) that
attach the HVAC fan motor to the HVAC assembly
-
Slightly move the HVAC
assembly towards the RH side of the vehicle and rotate the blower motor
towards the rear of the vehicle, and then remove the motor from the HVAC
assembly.
Install
- Slightly move the HVAC assembly towards the RH side of the vehicle and position the HVAC fan motor on the HVAC assembly.
-
Install the screws (x3) that
attach the HVAC fan motor to the HVAC assembly.
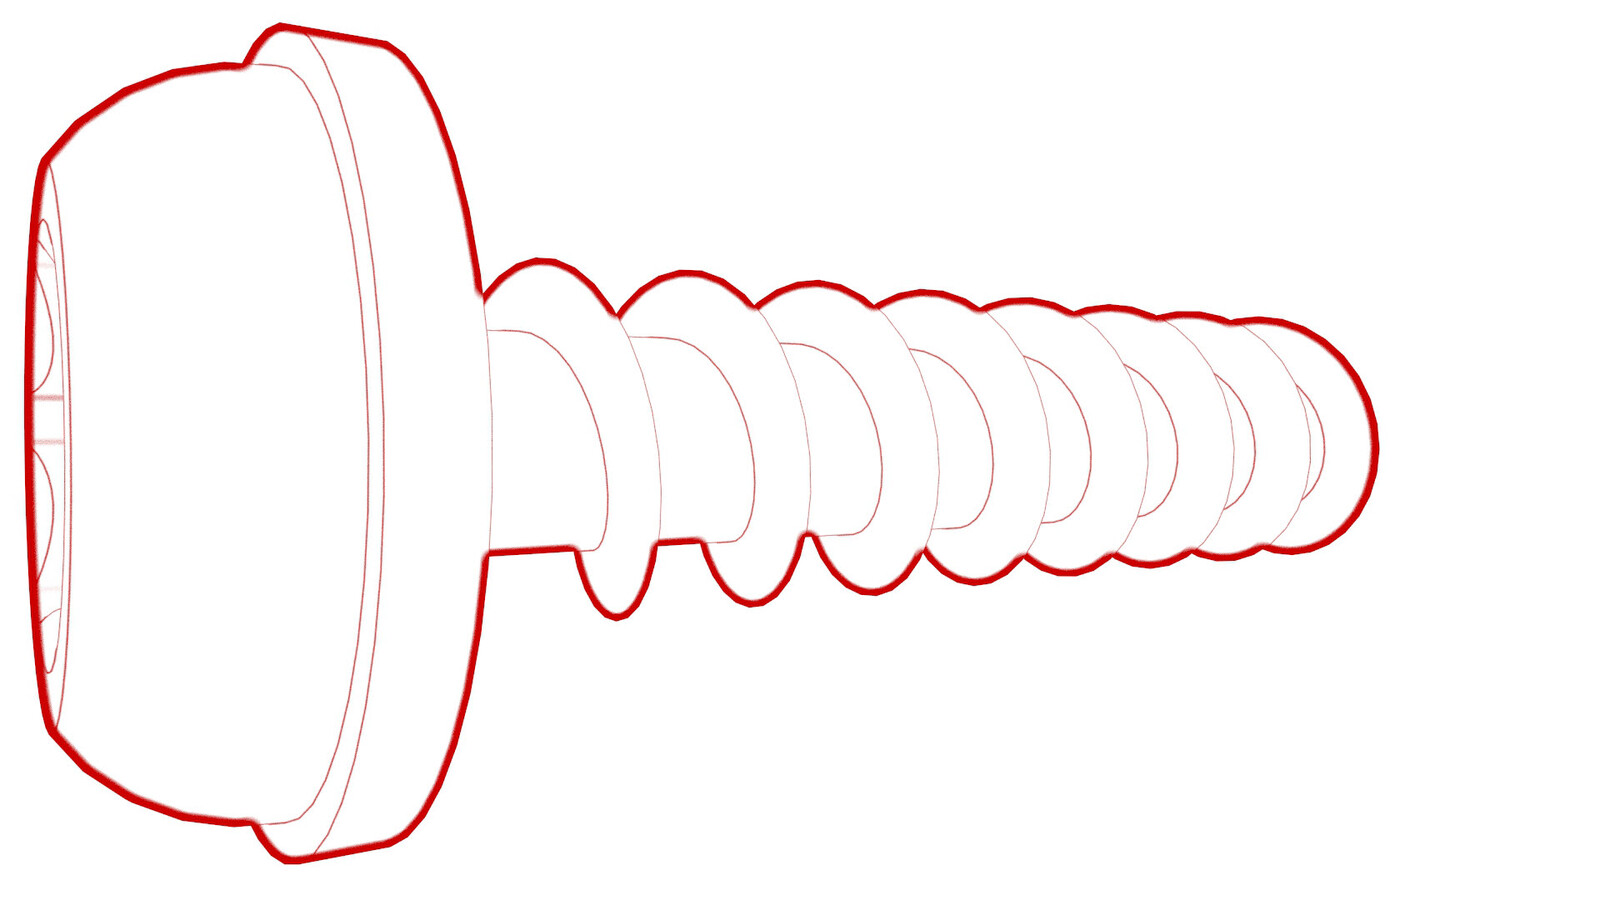 1.2 Nm (.9 lbs-ft)
- Install the brake pedal assembly. See Brake Pedal (Remove and Replace)
-
Install the bolt that
attaches the lower LH side of the HVAC assembly to the vehicle.
 5.5 Nm (4.1 lbs-ft)
-
-
Install the bolt that
attaches the HVAC module to the body.5.5 Nm (4.1 lbs-ft)
-
-
Install the main floor duct
to the HVAC assembly.
- Install the cross car beam together with the IP harness. See Beam - Cross Car (LHD) (Remove and Replace).
- Position the front carpets back and install the clips that attach the LH and RH front carpets.
- Install the LH air wave duct. See Duct - Air Wave - LH (LHD) (Non-Heat Pump) (Remove and Replace).
- Install the IP carrier. See IP Carrier (Remove and Install).
- Install the LH, center, and RH dash speakers. See Speaker - Dash - LH (Remove and Replace).
- Install the LH front vent. See Vent - Front - LH (Remove and Replace).
- Install the RH front vent. See Vent - Front - RH (Remove and Replace).
- Install the RH air wave duct. See Duct - Air Wave - RH (LHD) (Remove and Replace).
- Install the RH footwell duct. See Duct - Footwell - LH (LHD) (Remove and Replace).
- Install the glove box. See Glove Box - With Knee Airbags (Non-Heat Pump) (Remove and Replace).
- Install the main instrument panel decor trim. See Decor Trim - Instrument Panel - Main (Remove and Replace).
- Install the LH and RH air wave end cap. See End Cap - Air Wave - LH (Remove and Replace).
- Install the touchscreen. See Touchscreen (Remove and Replace).
- Install the steering column control module. See Module - Steering Column Control (Remove and Replace).
- Install the steering wheel. See Steering Wheel (Remove and Install).
- Install the driver air bag. See GUID-091C66CC-E2B0-48D8-A698-207C42F2F5DC.html#GUID-091C66CC-E2B0-48D8-A698-207C42F2F5DC.
- Install the center console. See Center Console (Remove and Install).
- Install the front passenger knee airbag. See GUID-60C1D5D7-2E88-4CDC-B9F9-5B77640CD30D.html#GUID-60C1D5D7-2E88-4CDC-B9F9-5B77640CD30D.
- Install the LH footwell duct. See Duct - Footwell - LH (LHD) (Remove and Replace).
- Install the driver knee airbag. See GUID-8E1590E5-0A0D-4E40-A119-BB20C6C07C71.html#GUID-8E1590E5-0A0D-4E40-A119-BB20C6C07C71.
- Install the driver and front passenger footwell cover. See Cover - Footwell - Driver (Remove and Replace).
-
-
Install the windshield
washer reservoir into the vehicle, and then install the upper bolt that
attaches the windshield washer reservoir to the body.3 Nm (2.2 lbs-ft)TipUse of the following tool(s) is recommended:
- 10 mm socket
-
Partially jack up the LH front of the vehicle to create clearance between
the wheel and the wheelhouse.
NoteDo not lift wheel off the ground.
-
Pull the wheel liner aside and install the lower bolt that attach the
washer tank to the body.3 Nm (2.2 lbs-ft)NoteUse of the following tool(s) is recommended:
- 10 mm deep socket
- Ratchet/torque wrench
- Lower the vehicle and remove the floor jack.
-
Connect the electrical harness to the windshield washer pump connector and
level sensor connector.
-
Fasten the clip that attaches the electrical harness to the windshield
washer reservoir.
- Install the inner HVAC plenum duct. See Duct - HVAC Plenum - Inner (Remove and Replace).
- Install the outer HVAC plenum duct. See Plenum - Inlet - HVAC (Remove and Replace).
- Install the wiper module. See Wiper Module (Remove and Replace).
- Install the cowl screen panel. See Panel - Cowl Screen (Remove and Replace).
- Install the LH and RH shock tower covers. See Cover - Shock Tower - LH (Remove and Replace).
- Install the LH and RH wiper arms. See Wiper Arms (Remove and Replace).
- Install the LH and RH upper A-pillar trim. See Trim - A-Pillar - Upper - LH (Remove and Replace).
- Install the LH and RH lower A-pillar trim. See Trim - A-Pillar - Lower - LH (Remove and Replace).
- Install the LH and RH middle A-pillar trim. See Trim - A-Pillar - Middle - LH (Remove and Replace).
- Install the LH and RH instrument panel end caps. See End Cap - Instrument Panel - LH (Remove and Replace).
- Reconnect 12V/LV power. See 12V/LV Power (Disconnect and Connect)
- Install the cabin intake duct. See Duct - Upper - Cabin Intake (Remove and Replace).
- Install the underhood storage unit. See Underhood Storage Unit (Remove and Replace).
- Install the rear underhood apron. See Underhood Apron - Rear (Remove and Replace).
- Verify the correct operation of the windshield washers and wipers.
- Install the 2nd row lower seat cushion. See Seat Cushion - Lower - 2nd Row (Remove and Replace).
- Move the LH and RH front seats to their original positions.
- Raise all windows and close all doors.