Radiator (Heat Pump) (Remove and Replace)
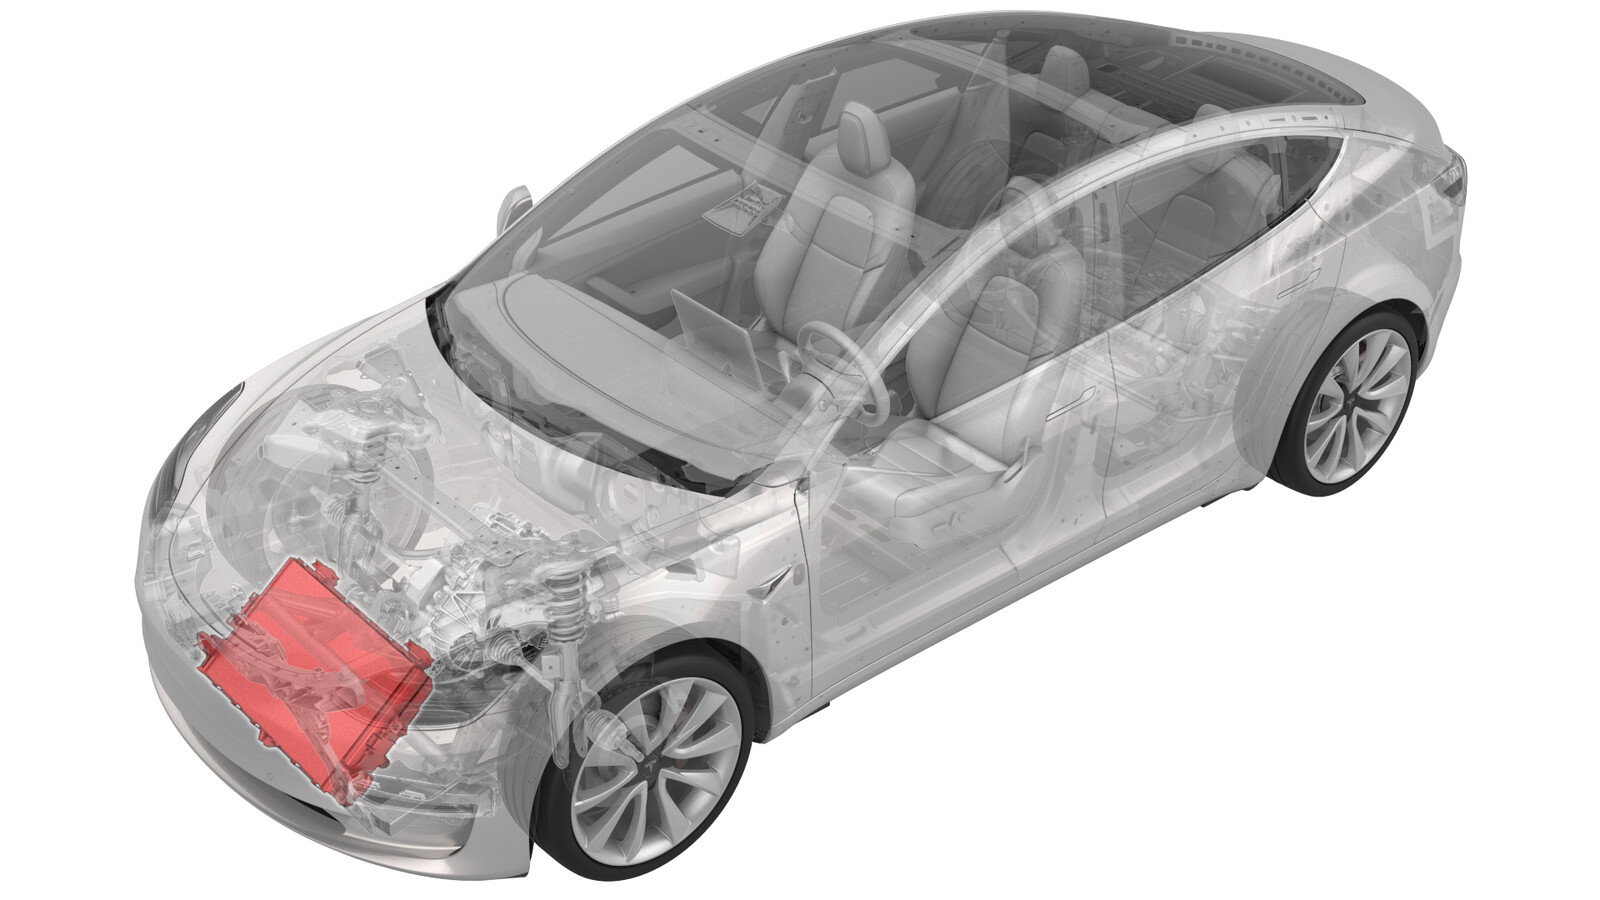 Correction code
18301022
1.26
NOTE: Unless otherwise explicitly
stated in the procedure, the correction code and its associated FRT reflect all of the
work required to perform this procedure, including the linked procedures. Do not stack correction codes unless
explicitly told to do so.
NOTE: See Flat Rate
Times to learn more about FRTs and how they are created.
NOTE: See Personal Protection to make sure wearing proper PPE when
performing the below procedure. NOTE: See Ergonomic Precautions for safe and healthy working
practices.
Correction code
18301022
1.26
NOTE: Unless otherwise explicitly
stated in the procedure, the correction code and its associated FRT reflect all of the
work required to perform this procedure, including the linked procedures. Do not stack correction codes unless
explicitly told to do so.
NOTE: See Flat Rate
Times to learn more about FRTs and how they are created.
NOTE: See Personal Protection to make sure wearing proper PPE when
performing the below procedure. NOTE: See Ergonomic Precautions for safe and healthy working
practices.
- 2026-08-28: Added routine to reset the radiator health value.
- 2024-08-22: Updated linked to procedure to Cooling Fan Module to correct missing steps.
Remove
- Open the LH front door and lower the LH front window.
- Raise and support the vehicle.
- Remove the underhood storage unit. See Underhood Storage Unit (Remove and Replace).
- Connect a laptop with Toolbox to the vehicle. See Toolbox (Connect and Disconnect).
- Enable Service Mode through the touchscreen. See Service Mode.
-
Access the thermal system routines on the touchscreen: Touch Quick Controls > Service Mode >
Diagnostics > Thermal.
NoteAuthorize routines by holding the turn signal stalk full up (right hand turn) while applying brake with the key in the vehicle.
-
Touch Start Thermal Fill
Drain (Coolant Only) on the touchscreen.
NoteTouch the X at the top left of window to close once completed.NoteVerify the indicator displays green and the vehicle is ready for the coolant fill/drain.NoteThermal "Fill Drain" routine has a 5 hour time limit. After 5 hours, the routine must be performed again.
- Disconnect the LV power. See 12V/LV Power (Disconnect and Connect).
- Remove the cooling fan module assembly. See Module - Cooling Fan (Heat Pump) (Remove and Install).
- Remove the active grille shutter. See Active Grille Shutter (Remove and Replace).
-
Release the locking tabs that attach
the radiator to the cooling fan and shroud assembly, and then remove the radiator from
the fan and shroud assembly.
-
Remove the stone guard. See
Stone Guard(Heat Pump) (Remove and Replace).
NotePerform this step only if the following conditions are met:
- the old radiator is equipped with a stone guard.
- the new radiator does not include a stone guard.
Install
- If removed, install the stone guard. See Stone Guard(Heat Pump) (Remove and Replace).
-
Install the radiator to the cooling
fan and shroud assembly, and then fasten the locking tabs that attach the radiator to
the fan and shroud assembly.
- Install the active grille shutter. See Active Grille Shutter (Remove and Replace).
- Install the cooling fan module assembly. See Module - Cooling Fan (Heat Pump) (Remove and Install).
-
Perform the routine PROC_VC_X_RESET-RADIATOR-UA-INDEXvia Toolbox:(link)
NotePerform this step for firmware versions develop/2026.14.3 and later.
-
Perform the routine using Service Mode
or Toolbox: TEST-SELF_VCFRONT_X_THERMAL-PERFORMANCEvia Service Mode:Thermal ➜
Actions ➜ Test Thermal Performancevia Service Mode Plus:
- Drive Inverter ➜ Front Drive Inverter Replacement ➜ Thermal System Test
- Drive Inverter ➜ Rear Drive Inverter Replacement ➜ Thermal System Test
- Drive Inverter ➜ Rear Left Drive Inverter Replacement ➜ Thermal System Test
- Drive Inverter ➜ Rear Right Drive Inverter Replacement ➜ Thermal System Test
- Drive Unit ➜ Front Drive Unit Replacement ➜ Thermal System Test
- Drive Unit ➜ Rear Drive Unit Replacement ➜ Thermal System Test
- Disconnect the laptop with Toolbox from the vehicle. See Toolbox (Connect and Disconnect).
- Exit Service Mode Plus.
- Install the underhood storage unit. See Underhood Storage Unit (Remove and Replace).
- Raise the LH front window and close the LH front door.
- Remove the vehicle from the lift.