2026-10-08
Car Computer (Remove and Replace)
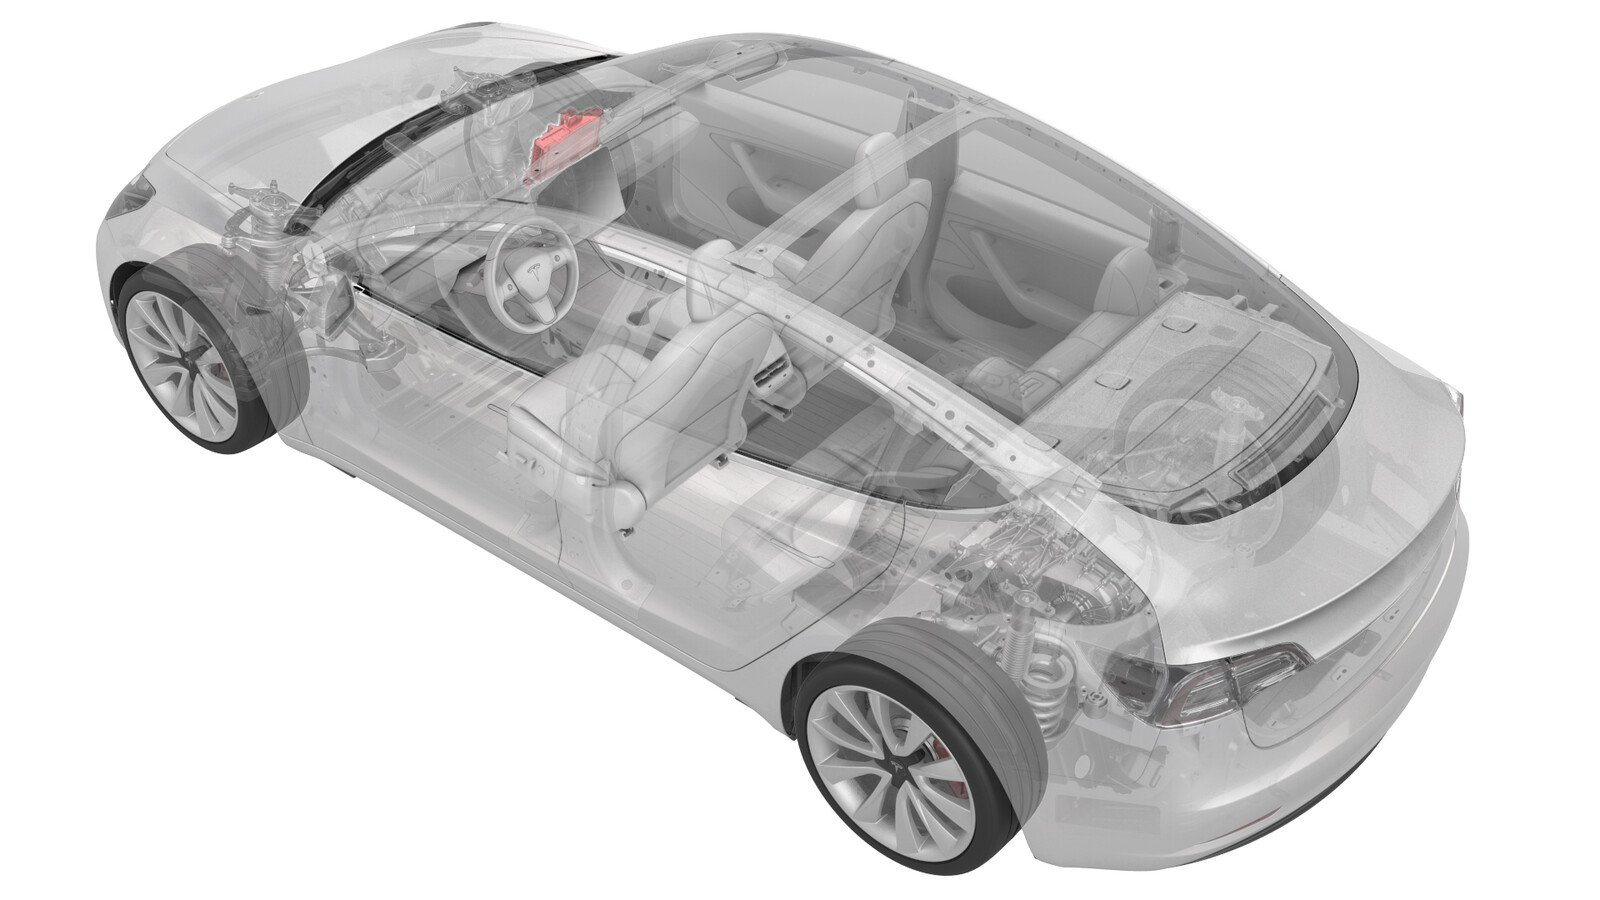 Correction code
See below for
correction codes and FRTs
NOTE: Unless otherwise explicitly
stated in the procedure, the correction code and its associated FRT reflect all of the
work required to perform this procedure, including the linked procedures. Do not stack correction codes unless
explicitly told to do so.
NOTE: See Flat Rate
Times to learn more about FRTs and how they are created.
NOTE: See Personal Protection to make sure wearing proper PPE when
performing the below procedure. NOTE: See Ergonomic Precautions for safe and healthy working
practices.
Correction code
See below for
correction codes and FRTs
NOTE: Unless otherwise explicitly
stated in the procedure, the correction code and its associated FRT reflect all of the
work required to perform this procedure, including the linked procedures. Do not stack correction codes unless
explicitly told to do so.
NOTE: See Flat Rate
Times to learn more about FRTs and how they are created.
NOTE: See Personal Protection to make sure wearing proper PPE when
performing the below procedure. NOTE: See Ergonomic Precautions for safe and healthy working
practices.
- 2026-08-05: Removed step to cool car computer with a fan.
- 2026-06-18: Added step to cool car computer with a fan.
- 2026-04-30: Removed the air purge note, as the cooling system vacuum refill is included in the Car Computer (Remove and Install) and not required to operate the air purge routine again.
- 2026-01-07: Added the Toggle SIM routine, applicable only if the vehicle is equipped with a physical SIM card.
- 2025-03-13: Added 3rd party security credentials check.
- 2024-10-16: Added instruction for car computer disposal.
- 2024-09-06: Added owner authorization request and LV maintainer steps.
Correction code information:
- Car Computer (HW2.5) (LHD), 21153102, FRT: 1.86
- Car Computer (HW2.5) (RHD), 21153102, FRT: 1.38
- Car Computer (HW3) (LHD), 21153202, FRT: 1.68
- Car Computer (HW3) (RHD), 21153212, FRT: 1.86
Procedure
- Connect a laptop with Toolbox 3 to the vehicle. See Toolbox (Connect and Disconnect).
-
For Third Party repairs only: Perform
the Toolbox Owner Authorization Request.
NoteIf the repair was booked through Tesla Service, the customer has already given authorization. Go to the next step.
- Log in to https://toolbox.tesla.com/help/owner_authorization.
- On the left panel, click Owner Authorization Request, and then click Request Owner Authorization in the main panel.
- Complete and submit the form.
- Ask the vehicle owner to approve the authorization request that was sent to their email.
- Click on and on the "Getting Started" page, click on Next Step.
-
On the "Backup & Factory Reset"
page, click Next
Step and follow the prompts to perform a profile backup and factory reset
on the car computer.
NoteThe car computer will reboot several times during this step.NoteIf a connection cannot be established , the backup process may be skipped.
-
Once the "Replace" page appears, the
car computer can be replaced. Use the instructions in the appropriate "Remove and
Install" procedure to replace the car computer:
Select the appropriate Car Computer (Remove and Install) procedure:
Figure 1. Install jumper cable 1533065-00-A if the RH side of the car computer has 2x coax connections (HW3.2) - Connect the vehicle to a LV maintainer. See LV Maintainer (Connect and Disconnect).
-
Reestablish the Toolbox laptop
connection, and in the "Replace" page, click Next Step.
-
For Third Party repairs only: Enter the vehicle security professional login credentials that are required in order to proceed to the "Associate Car Computer" section.
NoteParts considered security and/or theft-relevant, or which may require special programming and/or setup, are only able to be configured by automotive professionals that are registered with a vehicle security accreditation organization, or by Tesla Service Technicians.
- Follow the prompts to transfer configs and associate the replacement car computer. The car computer will reboot several times.
-
When association is complete and the
VIN is confirmed online, click Next Step to go to the "Update" page.
NoteIf necessary, Reconnect the Toolbox connection.
-
Click Start Part Replacement OTA
to deploy a software update to the vehicle.
NoteIf necessary, Reconnect the Toolbox connection.
- Use the vehicle touchscreen to install the software package. See Software Reinstall - Touchscreen.
-
In Toolbox, click Next Page to go to the
"Restore" page, and then follow the prompts to restore the vehicle profile.
-
If the car computer is equipped with a physical SIM card, perform the routine below; otherwise skip this step.
- Perform the following routine using Service Mode or Toolbox (see 0005 - Service Modes): PROC_ICE_X_ENABLE-DISABLE-SIM-CARDvia Service Mode Plus:Infotainment ➜ Connectivity ➜ Toggle SIMvia Toolbox:(link)
- Disconnect the laptop from the vehicle.
-
Install the remaining components that
were removed for access.
Select the appropriate Car Computer (Remove and Install) procedure:NoteFor China only: after replacement, activate the SIM card.
- Make sure to properly dispose of the old car computer. Follow the instructions in Car Computer (Dispose) and add correction code 21151007 as a separate activity to the Service Visit.