Receiver Dryer and Desiccant (Add-On) (Remove and Replace)
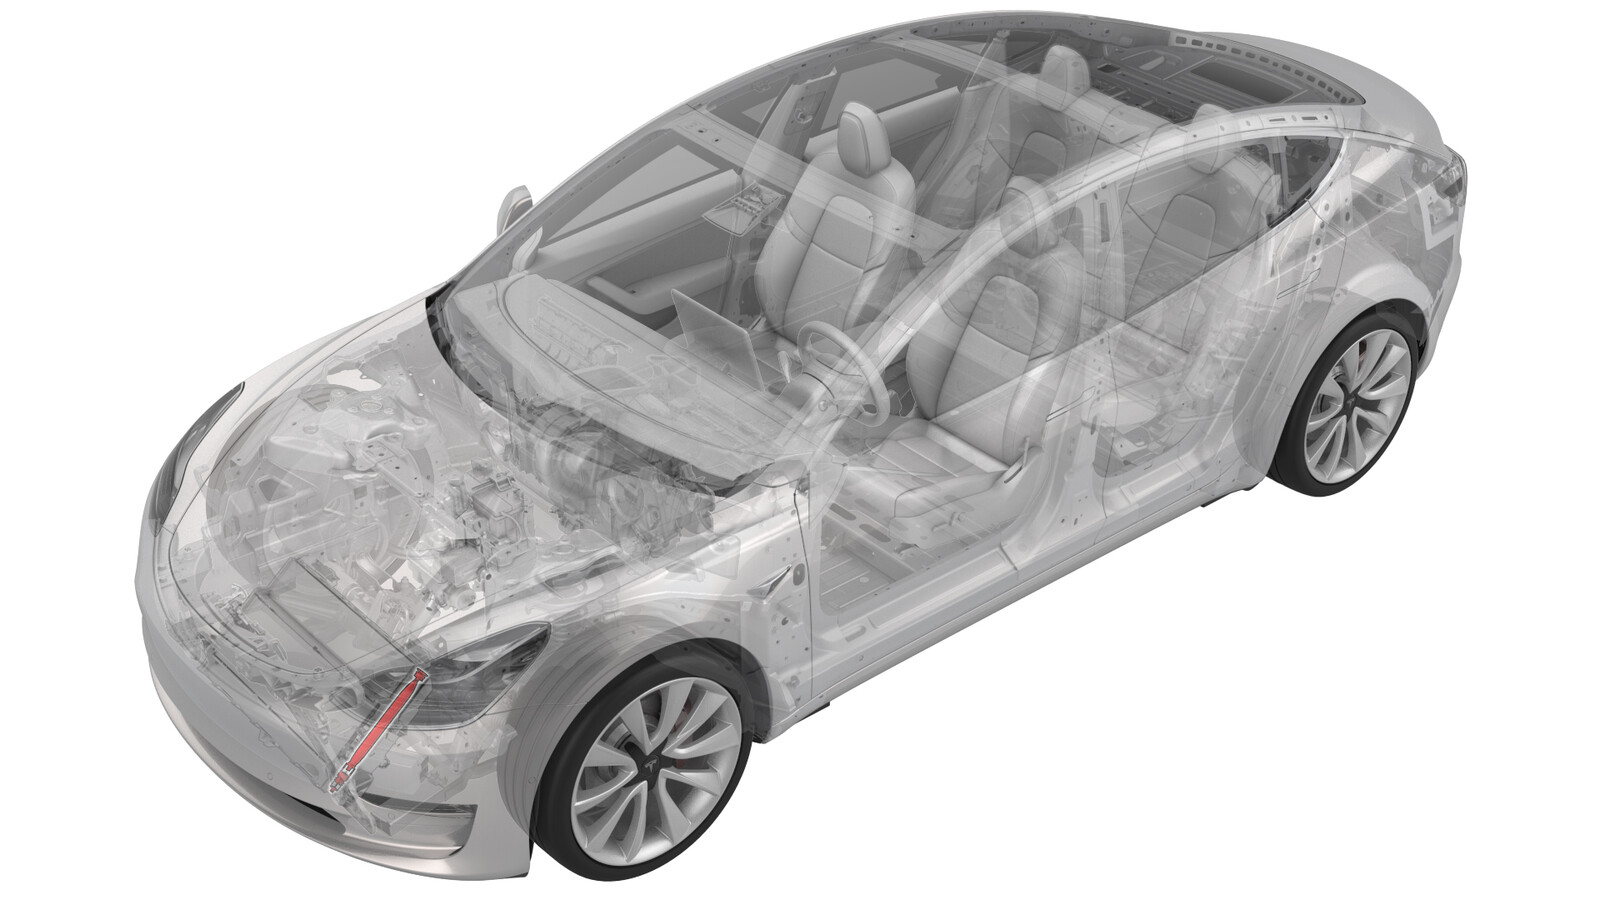 Correction code
18202032
0.15
NOTE: Unless
otherwise explicitly stated in the procedure, the correction code and its
associated FRT reflect all of the work required to perform this procedure,
including the linked procedures. Do not stack correction
codes unless explicitly told to do so.
NOTE: See Flat Rate Times to
learn more about FRTs and how they are created.
NOTE: See Personal Protection to make
sure you are wearing proper PPE when performing the procedure below.
NOTE: See Ergonomic Precautions for safe and healthy
working practices.
Correction code
18202032
0.15
NOTE: Unless
otherwise explicitly stated in the procedure, the correction code and its
associated FRT reflect all of the work required to perform this procedure,
including the linked procedures. Do not stack correction
codes unless explicitly told to do so.
NOTE: See Flat Rate Times to
learn more about FRTs and how they are created.
NOTE: See Personal Protection to make
sure you are wearing proper PPE when performing the procedure below.
NOTE: See Ergonomic Precautions for safe and healthy
working practices.
- 2026-04-16: Released new procedure.
Equipment:
- 1081547-00-B - SMALL SLIDE HAMMER
- 1145232-00-A - TOOL, DESSICANT FILTER, MODEL 3
Remove
-
Remove the bolts (x2) that
attach the underhood reinforcement bracket to the body, and then remove the
bracket from the cooling fan module.
-
Remove the cap from the LH
side of the condenser.
-
Use an 11 mm socket to
slightly depress the inner cap in the condenser for snap ring removal.
WarningWear the Face Shield throughout the entire process to protect against foreign objects flying out under pressure.
-
Remove the snap ring from
the condenser.
-
Thread an M8 x 1.25mm bolt
into the inner cap, and use the bolt to pull out the inner cap.
-
Remove the desiccant bag
from the condenser.
-
Use the desiccant filter
removal tool with a slide hammer to remove the desiccant filter
screen.
Install
-
Install the desiccant filter
screen into the condenser.
NoteSet the filter screen onto the extension and push it down into the condenser until the filter screen bottoms out. Tap with a hammer to ensure the filter screen is fully seated.
-
Install the desiccant bag
into the accumulator.
NoteMake sure the tab on the desiccant bag faces upward.
-
Lubricate the new
accumulator cap O-rings with the appropriate A/C oil. See Fluids and Capacities for A/C oil
specifications. Then install the cap into the condenser.
-
Install the new accumulator
cap snap ring.
NoteMake sure the snap ring is fully seated in the groove on the inside of the accumulator bore.
-
Install the cap onto the LH
side of the condenser.
-
Install the bracket from the
cooling fan module, and then install the bolts (x2) that attach the
underhood reinforcement bracket to the body.
 10 Nm (7.4 lbs-ft)
 -
Loosen the bolts (x2) for
the LH cooling fan module isolator.
-
Push the isolator forward,
and while doing so, tighten the bolts (x2).6 Nm (4.4 lbs-ft)
- Repeat the previous 2 steps for the RH cooling fan module isolator.