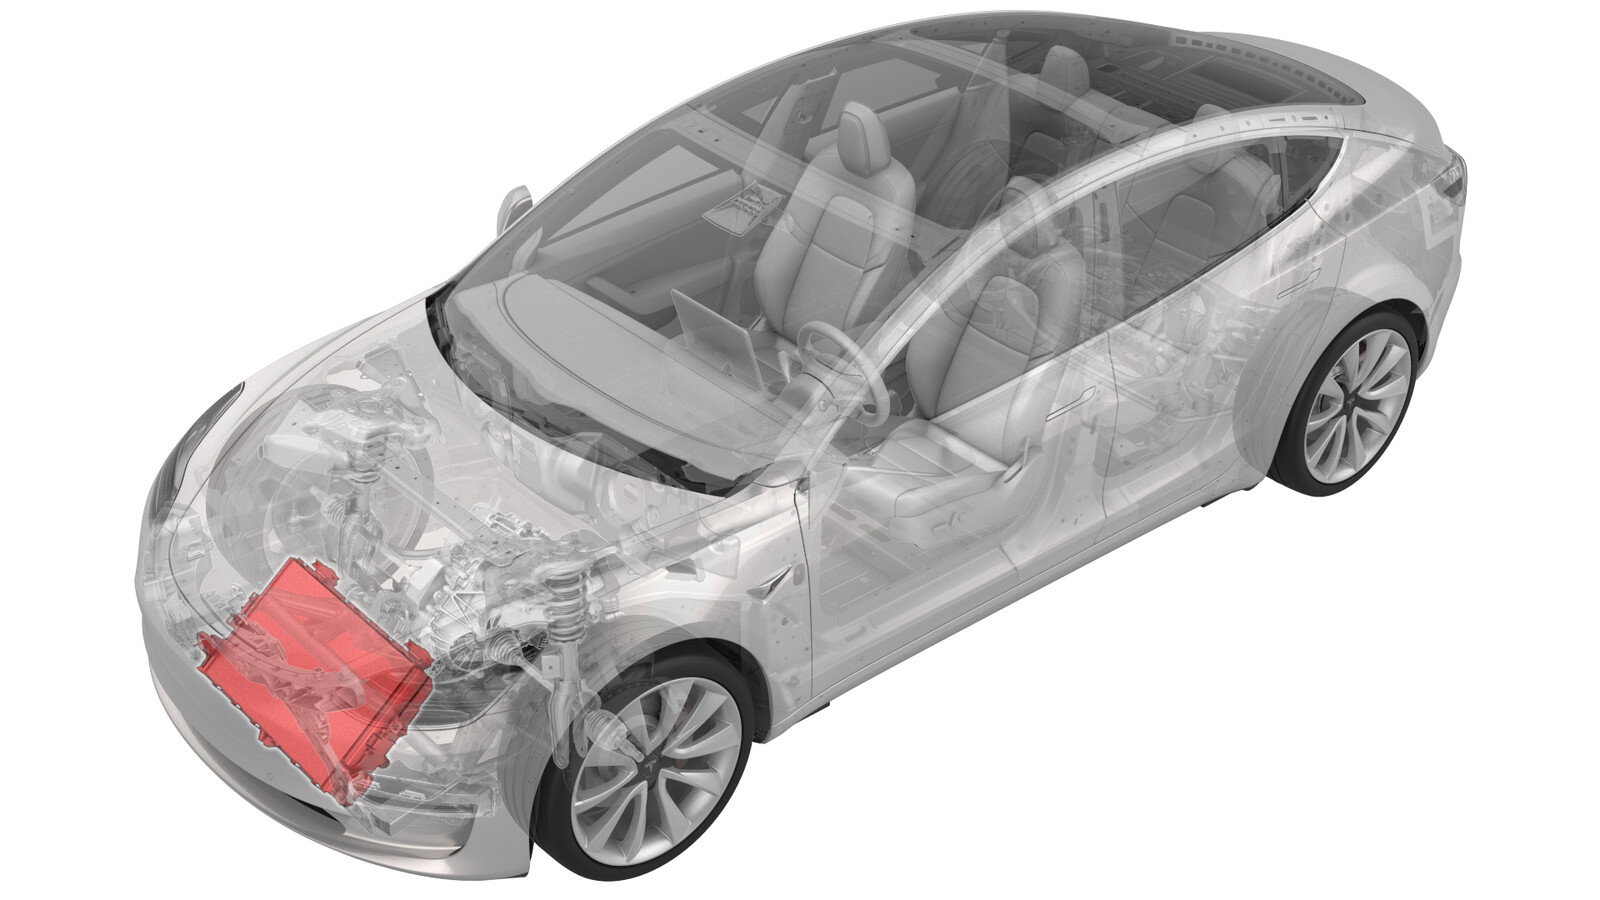
Clean Radiator (Heat Pump)
 Correction code
18301000
0.90
NOTE: Unless otherwise explicitly
stated in the procedure, the above correction code and FRT reflect all of the work
required to perform this procedure, including the linked procedures. Do not stack correction codes unless
explicitly told to do so.
NOTE: See Flat Rate
Times to learn more about FRTs and how they are created. To provide feedback on
FRT values, email ServiceManualFeedback@tesla.com.
NOTE: See Personal Protection to make sure wearing proper PPE when
performing the below procedure. See Ergonomic Precautions for safe and healthy working practices.
Correction code
18301000
0.90
NOTE: Unless otherwise explicitly
stated in the procedure, the above correction code and FRT reflect all of the work
required to perform this procedure, including the linked procedures. Do not stack correction codes unless
explicitly told to do so.
NOTE: See Flat Rate
Times to learn more about FRTs and how they are created. To provide feedback on
FRT values, email ServiceManualFeedback@tesla.com.
NOTE: See Personal Protection to make sure wearing proper PPE when
performing the below procedure. See Ergonomic Precautions for safe and healthy working practices.
- 2025-11-11: Add a step to clean the small stones remaining on the back of the radiator and the lower part of the cooling fan housing.
- 2023-11-02: Updated the AGS-related steps.
Procedure
- Place the vehicle on the 2-post lift.
- Open the LH front door and lower the LH front window.
- Use the touchscreen to place the vehicle in Service Mode. See Service Mode.
- Remove the active grille shutter. See Active Grille Shutter (Heat Pump) (Remove and Replace).
-
Remove the locking tabs (x8) that
attach the plastic grille to the radiator.
-
Use a vacuum to clean the dirt on the
radiator.
NoteIf necessary, remove the large debris.
-
Use a blow gun to clean the dirt on
the radiator again.
NoteDo not get too close to the radiator blades.NoteDust and debris may fly out during the process; make sure to wear proper PPE for protection, such as a mask, safety glasses, etc.
-
Release the upper and lower locking
tabs that secure the radiator to the cooling and shroud assembly.
-
Use an inflatable airbag to separate
the radiator.
NoteUse an inflatable airbag to raise the edge of the radiator at an angle. Be careful not to damage the surface of the radiator and the two holding mounts.
-
Clean the bottom of the cooling
fan.
-
Inspect the bottom of the cooling fan
for debris.
-
Remove the inflatable airbag.
-
Install the radiator into the cooling
fan and shroud assembly.
-
Install the locking tabs (x8) that
attach the plastic grille to the radiator.
-
Install the active grille shutter. See Active Grille Shutter (Heat Pump) (Remove and Replace).
NoteTerminate after connecting the LV power.
- Unlock the vehicle gateway. See Gateway (Unlock).
- On the touchscreen, select , then tap the START button next to "Test Thermal Performance". Select Run, then allow the routine to complete.
- On the touchscreen, select , then tap the START button next to "Test HVAC Performance". Select Run, then allow the routine to complete.
- Disable Service Mode. See Service Mode.
- Install the underhood storage unit. See Underhood Storage Unit (Remove and Replace).
- Raise the LH front window and close the LH front door.
- Remove the vehicle from the lift.