2026-05-04
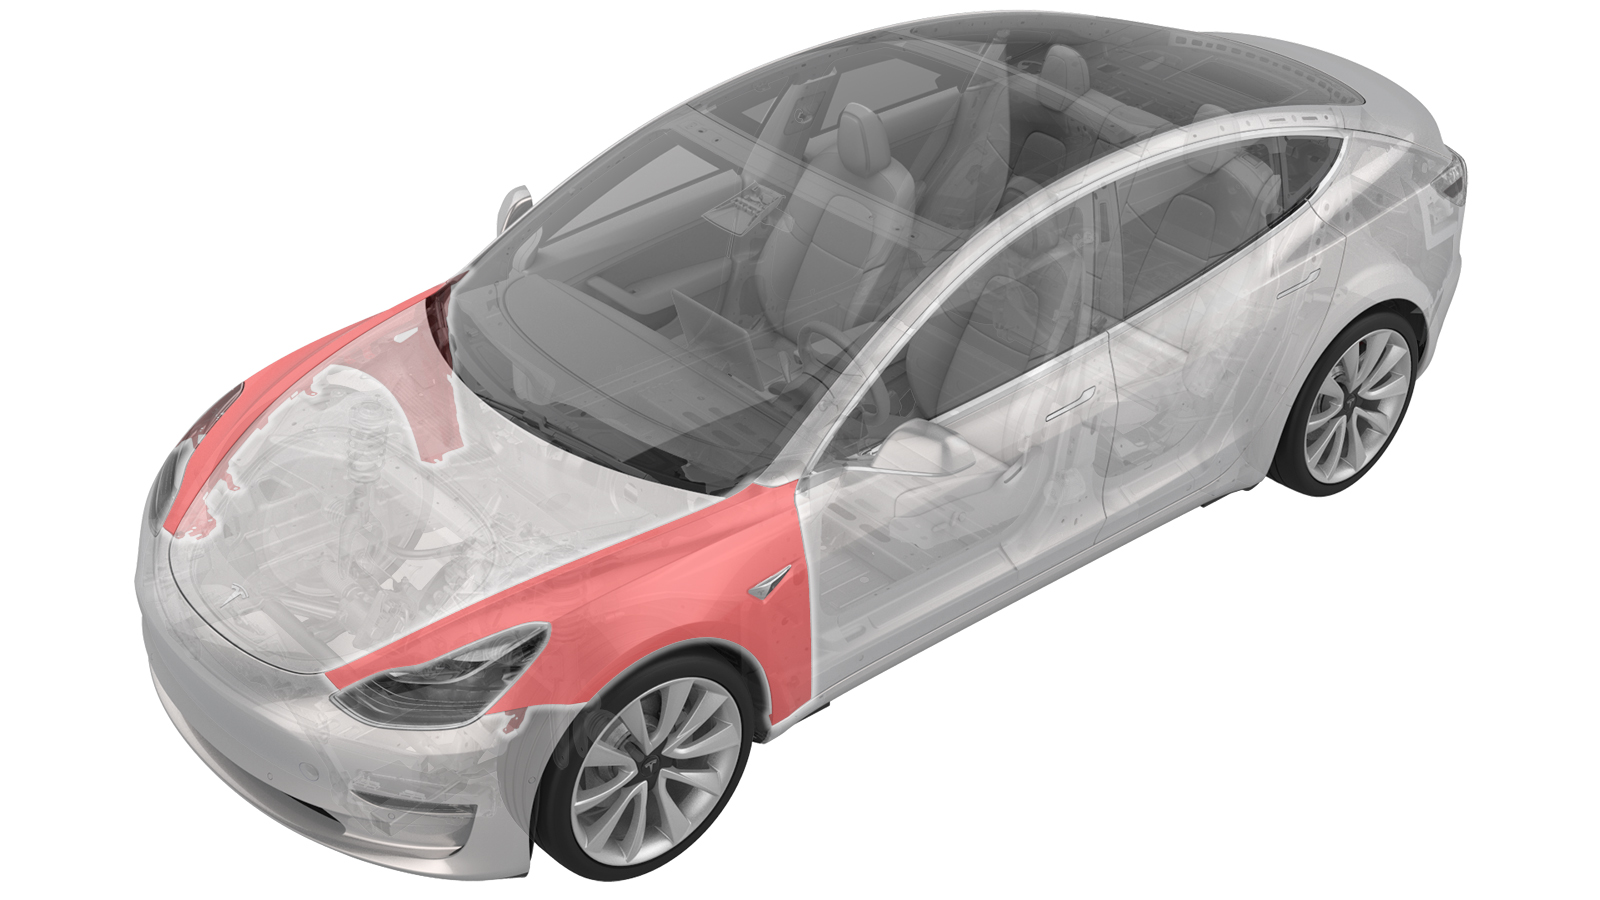
Kotflügelbaugruppe – Vorne – LH (Aus- und Einbauen)
 Korrekturcode
101030010.90
HINWEIS: Sofern im Verfahren nicht ausdrücklich anders angegeben, spiegeln der obige Korrekturcode und die FRT den gesamten für die Durchführung dieses Verfahrens erforderlichen Aufwand wider, einschließlich der damit verbundenen Verfahren. Schichten Sie keine Korrekturcodes, wenn Sie nicht ausdrücklich dazu aufgefordert werden.
HINWEIS: Unter Richtzeiten erfahren Sie mehr über FRTs und wie sie erstellt werden.
HINWEIS: Siehe Persönlicher Schutz, um sicherzustellen, dass Sie die richtige persönliche Schutzausrüstung tragen, wenn Sie das folgende Verfahren durchführen. HINWEIS: Siehe für sichere und gesunde Arbeitsmethoden.
Korrekturcode
101030010.90
HINWEIS: Sofern im Verfahren nicht ausdrücklich anders angegeben, spiegeln der obige Korrekturcode und die FRT den gesamten für die Durchführung dieses Verfahrens erforderlichen Aufwand wider, einschließlich der damit verbundenen Verfahren. Schichten Sie keine Korrekturcodes, wenn Sie nicht ausdrücklich dazu aufgefordert werden.
HINWEIS: Unter Richtzeiten erfahren Sie mehr über FRTs und wie sie erstellt werden.
HINWEIS: Siehe Persönlicher Schutz, um sicherzustellen, dass Sie die richtige persönliche Schutzausrüstung tragen, wenn Sie das folgende Verfahren durchführen. HINWEIS: Siehe für sichere und gesunde Arbeitsmethoden.
Ausbauen
- Raise and support the vehicle. See Fahrzeug heben – Zweisäulenhebebühne.
- Remove the rear underhood apron. See Unterhaubenschürze – Hinten (Ausbauen und Ersetzen).
- Remove the cabin intake duct. See Kanal – Oben – Innenraumeinlass (Ausbauen und Ersetzen).
- Remove the hood latch cover. See Abdeckung – Haubenverriegelung (Ausbauen und Ersetzen).
- Remove the underhood storage unit. See .
- Remove the LH shock tower cover. See Abdeckung – Stoßdämpferbrücke – LH (Ausbauen und Ersetzen).
- Remove the front wheels. See Radbaugruppe (Aus- und Einbauen).
- Remove the front aero shield panel. See Verkleidung – Windabweiser – Vorne (Ausbauen und Ersetzen).
- Remove the front fascia. See Stoßfänger – Vorn (Ausbauen und Einbauen).
- Remove the LH headlight. See .
-
Disconnect the electrical
connectors (2x) from the front side repeater light.
-
Release the two leftmost
clips on the cowl screen panel from the LH front fender bracket.
-
Remove the bolts that attach
the upper LH front fender to the vehicle.
-
Remove the bolt that
attaches the lower LH front fender to the vehicle.
-
Remove the bolt that
attaches the rear LH front fender to the vehicle.
-
Remove the bolt and nut that
attach the lower LH front fender to the vehicle.
-
Inspect the area between the
upper LH front fender and the vehicle body for foam sealant. If present,
carefully cut the sealant with a blade, and then separate the upper fender
from the body with a plastic trim tool.
-
Remove the LH front fender
from the vehicle.
-
Use a flat scraper blade and
isopropyl alcohol (IPA) to remove the foam sealant from the LH outer shotgun
panel. Any remaining sealant should be flush with the shotgun panel.
- Apply primer to the LH outer shotgun panel, completely covering the previous foam application area.
Montieren
- Load urethane into a caulking gun, and then cut an opening that is 3.5 mm wide and 1.5 mm tall.
-
Apply a dollop of urethane
on top of the primed surface of the LH outer shotgun panel.
-
Position the LH front fender
on the vehicle.
-
Install the bolt and nut
that attach the lower LH front fender to the vehicle.
 9.8 Nm (7.2 lbs-ft)
 9.8 Nm (7.2 lbs-ft)
 -
Install the bolt that
attaches the rear LH front fender to the vehicle.
 9.8 Nm (7.2 lbs-ft)
 -
Install the bolt that
attaches the lower LH front fender to the vehicle.9.8 Nm (7.2 lbs-ft)
-
Install the bolts that
attach the upper LH front fender to the vehicle.9.8 Nm (7.2 lbs-ft)
-
Install the cowl screen
panel clips (2x) on the LH front fender bracket.
-
Connect the electrical connectors (2x) to the front side repeater
light.
- Install the LH headlight. See .
- Install the front fascia. See Stoßfänger – Vorn (Ausbauen und Einbauen).
- Install the front aero shield panel. See Verkleidung – Windabweiser – Vorne (Ausbauen und Ersetzen).
- Install the front wheels. See Radbaugruppe (Aus- und Einbauen).
- Install the LH shock tower cover. See Abdeckung – Stoßdämpferbrücke – LH (Ausbauen und Ersetzen).
-
For China, Japan and Korea
only: Install a new motor ID label on the fender.
- Install the underhood storage unit. See .
- Install the hood latch cover. See Abdeckung – Haubenverriegelung (Ausbauen und Ersetzen).
- Install the cabin intake duct. See Kanal – Oben – Innenraumeinlass (Ausbauen und Ersetzen).
- Install the rear underhood apron. See Unterhaubenschürze – Hinten (Ausbauen und Ersetzen).
- Remove the vehicle from the lift.