Commission the System Ahead of Solar Installation
Powerwall Installation Crew Instructions
- Close the AC circuit breaker for Powerwall 3and Gateway 3.
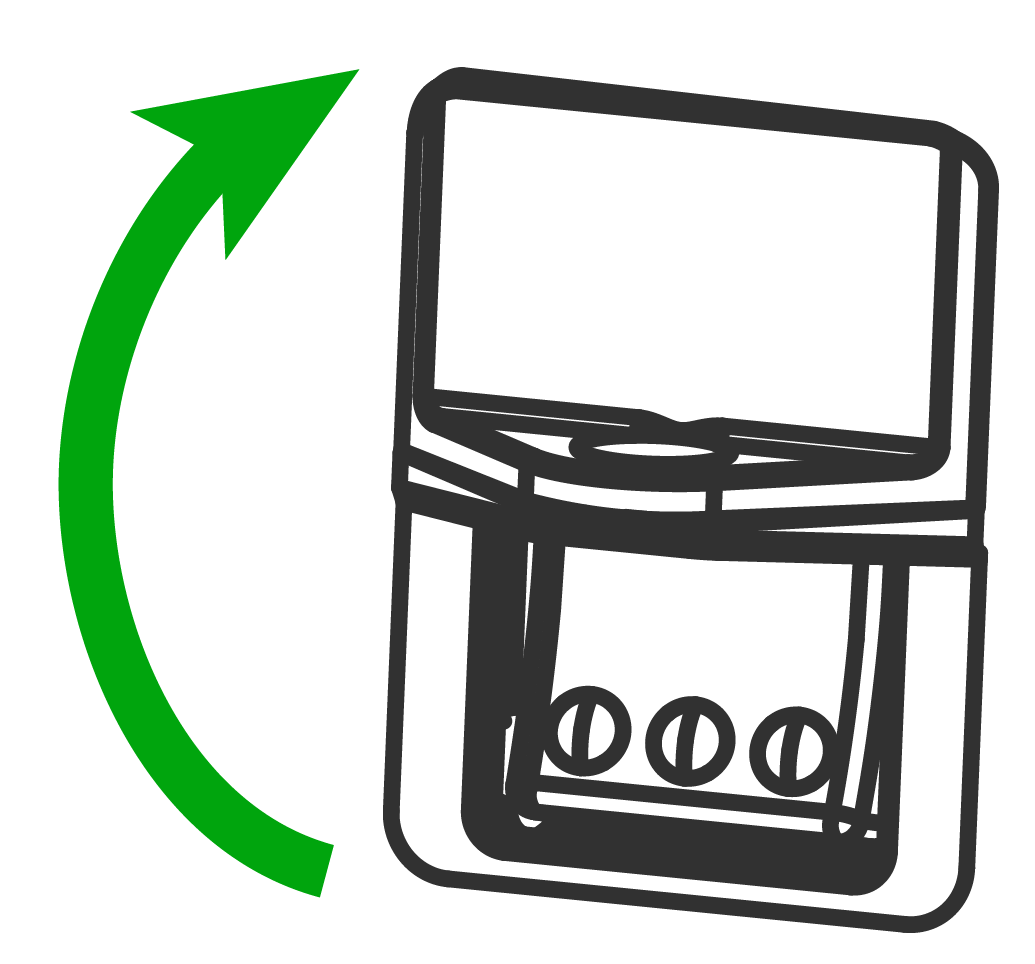
- Turn the Powerwall 3 switch ON.
- Launch the Tesla One app.NoteEnsure Tesla One is updated to version 7.9.1 or greater, or install Tesla One if using for the first time.
- Navigate to Device Setup to begin commissioning.
- Select Scan and scan the Powerwall 3 QR label to connect to the TeslaPW Wi-Fi network.
- Address any alerts to
complete commissioning, skipping PV commissioning steps. NoteWhen commissioning a system with no solar, Powerwall will charge from grid until State of Energy (SOE) is 20%. This is expected behavior.

- Perform the Backup Test,
selecting Solar not
required.
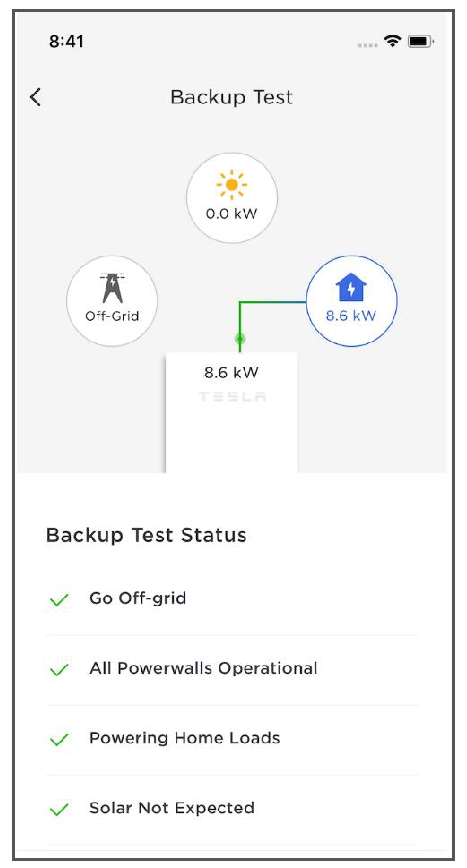 NoteThe Backup Test can be performed during the Gateway 3 device update. There is no need to wait for the update to complete before performing the Backup Test.
 - Leave the system running in Tesla One.
- Leave the Powerwall 3 switch ON and the breaker CLOSED to enable charging.
- Leave the Powerwall 3OFF.
- Leave the following
accessories with the customer, for use by the Solar installation crew:
- Extra T20 fasteners for front cover
- Installation quick guide (for guidance on correctly installing PV wiring)
Note
See the Powerwall
3 Device Setup commissioning guide for additional instructions on
navigating Setup App.
Solar Installation Crew Instructions
- Retrieve the Powerwall 3 accessories from the customer. These should have been left by the Powerwall crew.
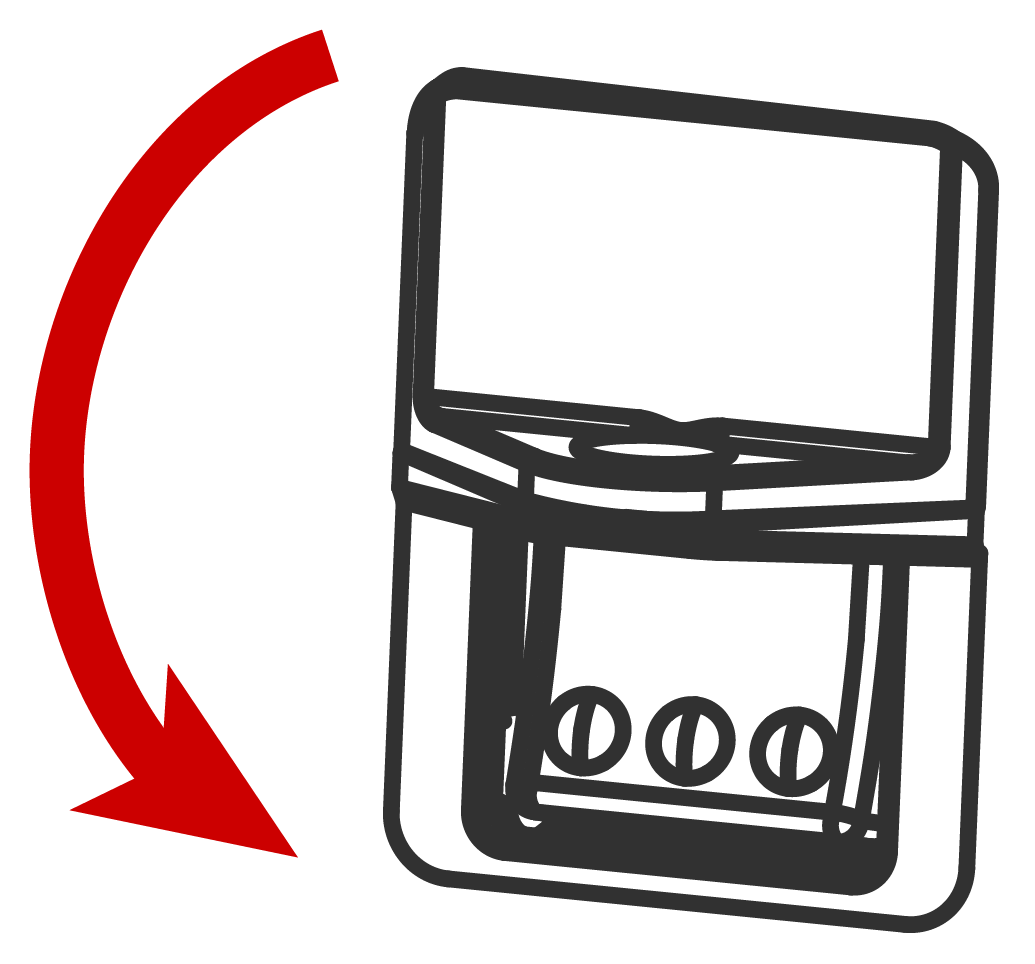
- Turn the Powerwall 3 switch OFF
to de-energize the system; see Appendix H: Shutting Down Powerwall 3 for complete de-energization instructions.
 WarningConfirm lack of voltage at the AC and PV terminals before proceeding.
 - See STEP 4: Make Solar PV Connections for instructions to complete the solar installation.
- Re-energize Powerwall 3:
- Remove the lock / tag and breaker hasp from the Powerwall 3 breaker, then turn the breaker ON.
- Turn the Powerwall 3 switch ON.
- Launch the Tesla One app.NoteEnsure Tesla One is updated to version 7.9.1 or greater, or install Tesla One if using for the first time.
- Navigate to Device Setup to begin commissioning.
- Select Scan and scan the Powerwall 3 QR label to connect to the TeslaPW Wi-Fi network.
- Address any alerts to complete commissioning.
- On the Powerwall 3Device page, compare the MPPT voltages with those listed on the planset to confirm the installation matches what is expected for the strings.
- Perform the Backup Test with solar.
- Install the Powerwall 3 front cover, fastening with the new T20 fasteners that were left with the customer.
- Leave the system running in Tesla One.
- Leave the Powerwall switch ON and the breaker CLOSED to enable charging.
Note
See the Powerwall
3 Device Setup commissioning guide for additional instructions on
navigating Device Setup in Tesla One.
Note
The Powerwall 3 On / Off switch has a
locking mechanism. When the switch is locked it cannot be turned on. See Powerwall 3 Switch Locking Mechanism for more
information.