Steering Controller (Remove and Replace)
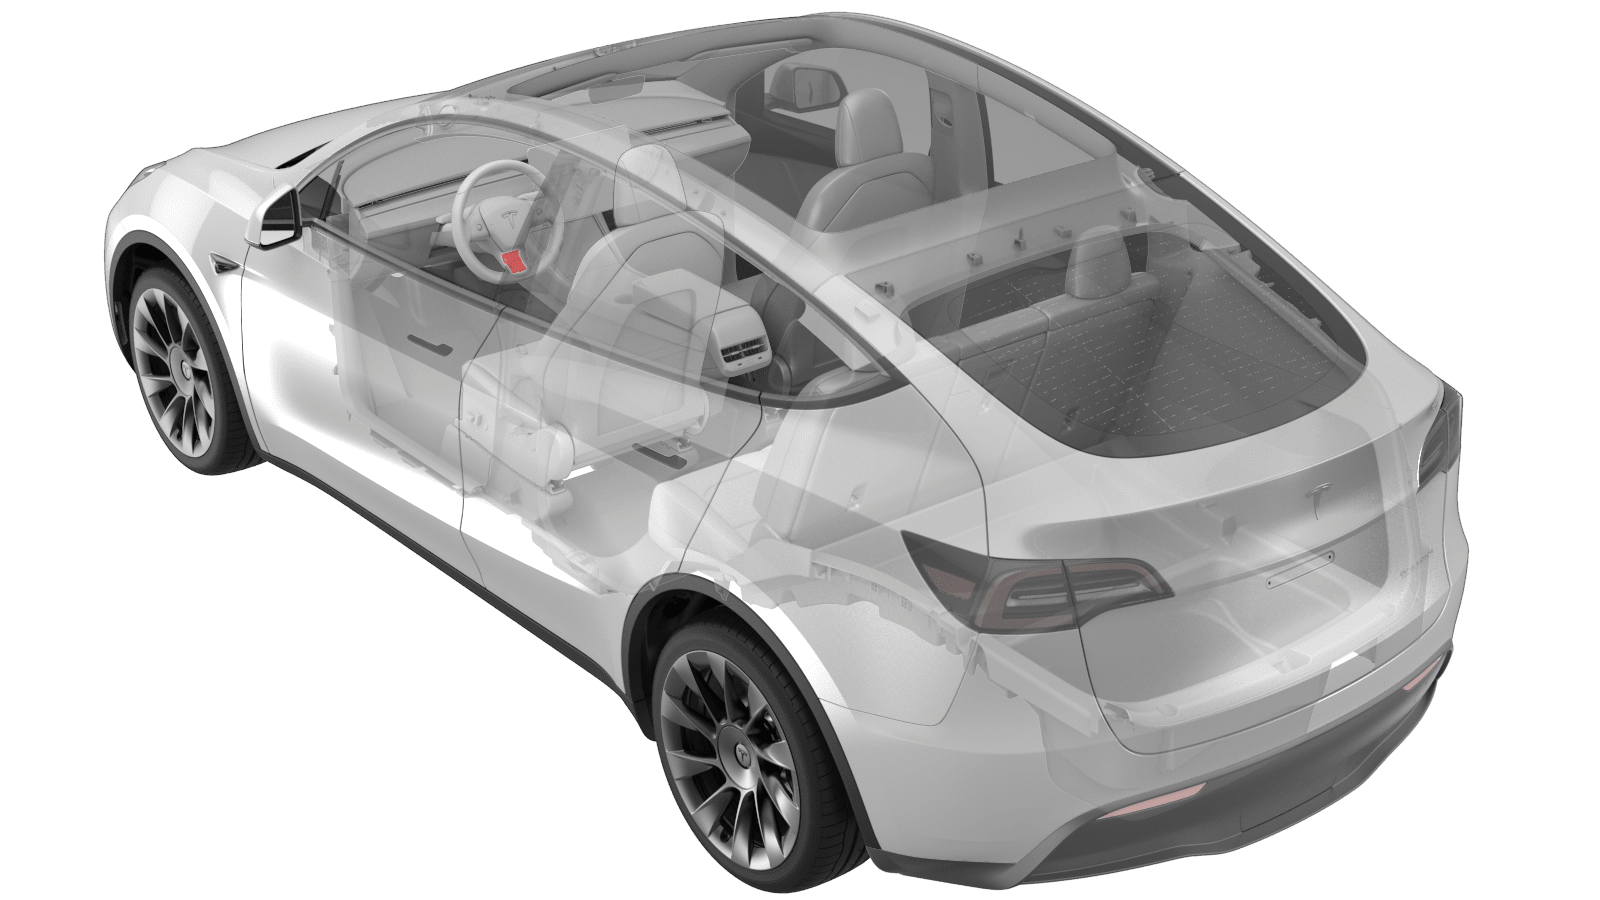 Correction code
17154802
0.24
NOTE: Unless otherwise explicitly
stated in the procedure, the correction code and its associated FRT reflect all of the
work required to perform this procedure, including the linked procedures. Do not stack correction codes unless
explicitly told to do so.
NOTE: See Flat Rate
Times to learn more about FRTs and how they are created.
NOTE: See Personal Protection to make sure wearing proper PPE when
performing the below procedure. NOTE: See Ergonomic Precautions for safe and healthy working
practices.
- 2026-11-03: Updated the specification of the screws (x4) that attach the bright surround to the steering wheel.
Torque Specifications
| Description | Torque Value | Recommended Tools | Reuse/Replace | Notes |
|---|---|---|---|---|
| Screws (x4) that attach the bright surround to the steering wheel, and then remove the surround |
 2.5 Nm (1.8 lbs-ft) 1.8 Nm (1.3 lbs-ft) |
|
Reuse |
T25 bolts: 2.5 Nm PH1 bolts: 1.8 Nm |
| Screws (x2) that attach the steering wheel controls ECU to the bright surround |
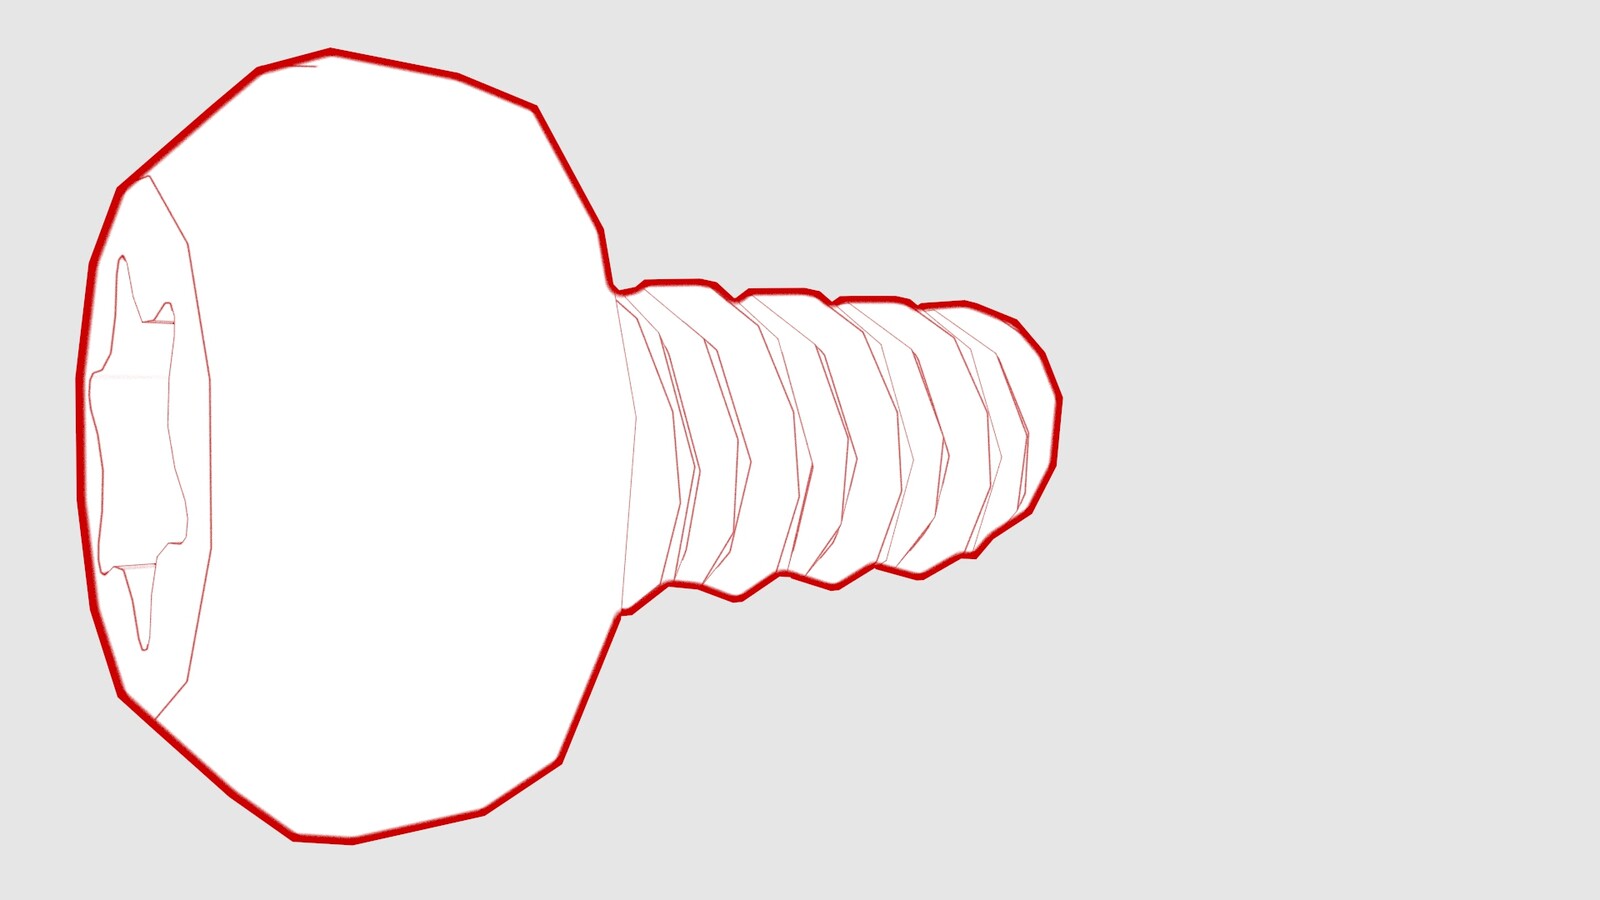 0.9 Nm (8 lbs-in) |
|
Reuse |
Remove
- Remove the rear underhood apron. See Underhood Apron - Rear (Remove and Replace).
- Disconnect 12V power. See 12V/LV Power (Disconnect and Connect).
- Remove the driver airbag. See GUID-091C66CC-E2B0-48D8-A698-207C42F2F5DC.html#GUID-091C66CC-E2B0-48D8-A698-207C42F2F5DC.
-
Disconnect the steering wheel electrical wiring harness from the connector.
-
Release the clips that attach the horn assembly, and then move the horn assembly to the side.
-
Remove the screws (x4) that attach the bright surround to the steering wheel, and then remove the surround.
NoteDepending on the vehicle batch, some vehicles are equipped with T25 bolts while others are equipped with PH1 bolts.NotePry the lower portion of the bright surround assembly away from the steering wheel, and then work your way around. Do not remove it now. Wait until the steering wheel is removed.TipUse of the following tool(s) is recommended:
- Torx T25 bit
- PH1 Stubby Phillips Screwdriver
-
Disconnect the electrical harness from the steering wheel controls ECU connector.
-
Remove the screws (x2) that attach the steering wheel controls ECU to the bright surround, and then remove the ECU from the surround.
TipUse of the following tool(s) is recommended:
- T10 Torx bit
Install
-
Install the steering wheel controls ECU into the bright surround, and then install the screws (x2) that attach the ECU to the surround.0.9 Nm (8 lbs-in)TipUse of the following tool(s) is recommended:
- T10 Torx bit
-
Connect the electrical harness to the steering wheel controls ECU connector.
-
Install the bright surround into the
steering wheel, and then install the screws (x4) that attach the surround to the
steering wheel.2.5 Nm (1.8 lbs-ft)1.8 Nm (1.3 lbs-ft)NoteDepending on the vehicle batch, some vehicles are equipped with T25 bolts while others are equipped with PH1 bolts.NoteTorque the T25 bolts to 2.5 Nm; torque the PH1 bolts to 1.8 Nm.TipUse of the following tool(s) is recommended:
- Torx T25 bit
- PH1 Stubby Phillips Screwdriver
-
Move the horn assembly to the center, and then fasten the clips that attach the horn assembly.
-
Connect the steering wheel electrical harness to the connector.
- Install the driver airbag. See GUID-091C66CC-E2B0-48D8-A698-207C42F2F5DC.html#GUID-091C66CC-E2B0-48D8-A698-207C42F2F5DC.
- Connect 12v power. See 12V/LV Power (Disconnect and Connect).
- Reinstall the vehicle firmware. See Software Reinstall - Touchscreen.
- Install the rear underhood apron. See Underhood Apron - Rear (Remove and Replace).