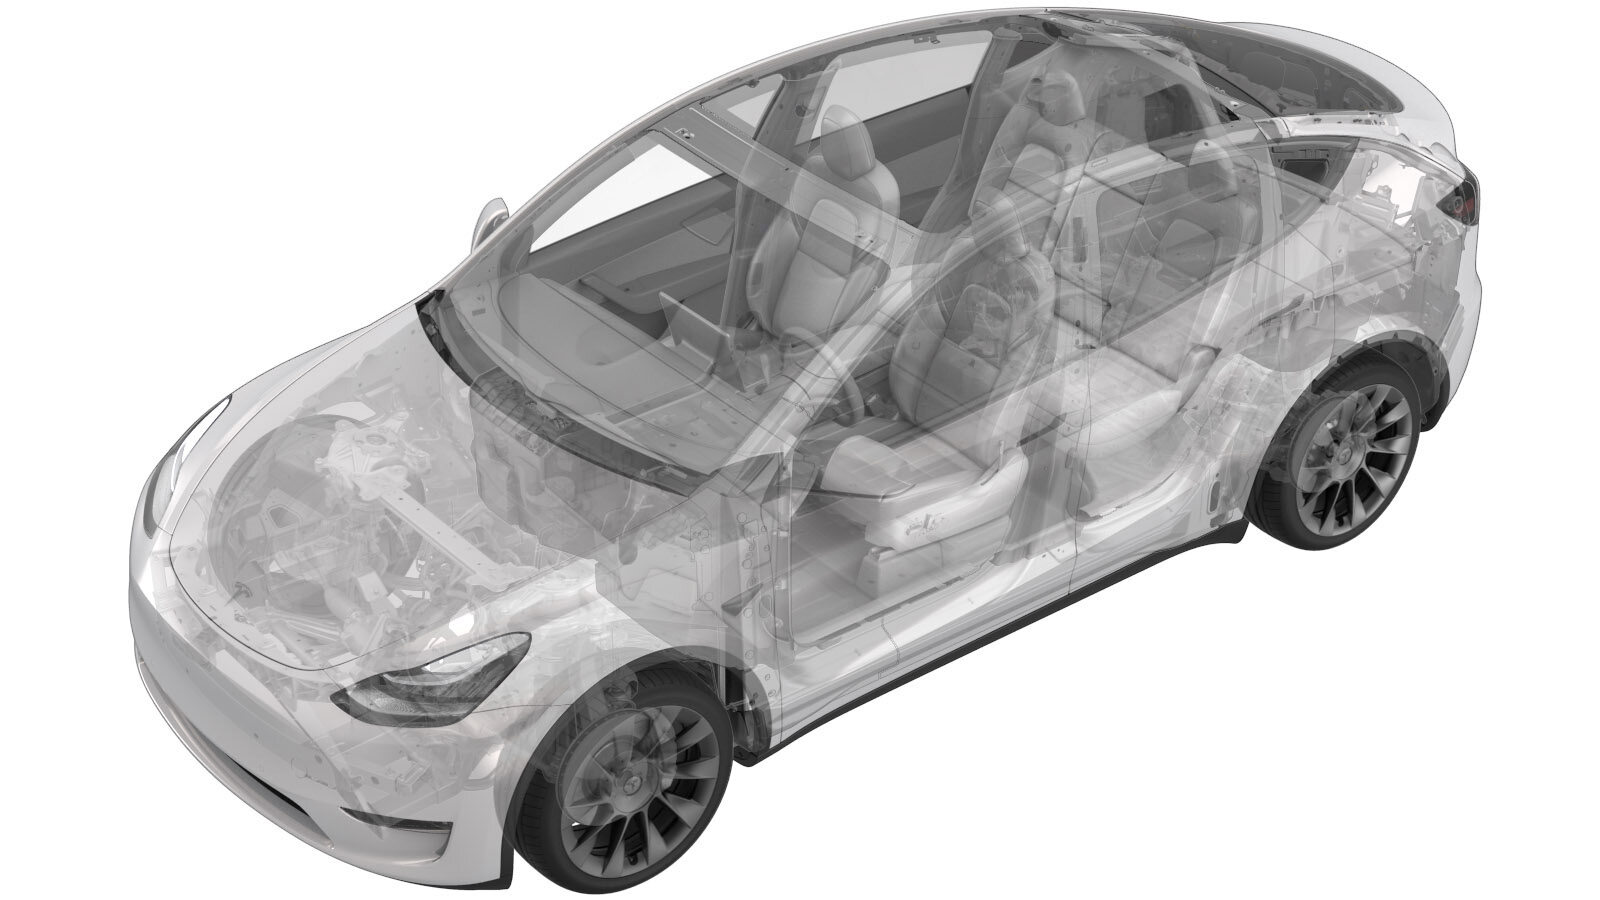
Camera - Bi - Forward Facing (Remove and Replace)
 Correction code
17221002
0.30
NOTE: Unless otherwise explicitly
stated in the procedure, the above correction code and FRT reflect all of the work
required to perform this procedure, including the linked procedures. Do not stack correction codes unless
explicitly told to do so.
NOTE: See Flat Rate
Times to learn more about FRTs and how they are created.
NOTE: See Personal Protection to make sure wearing proper PPE when
performing the below procedure. NOTE: See Ergonomic Precautions for safe and healthy working
practices.
Correction code
17221002
0.30
NOTE: Unless otherwise explicitly
stated in the procedure, the above correction code and FRT reflect all of the work
required to perform this procedure, including the linked procedures. Do not stack correction codes unless
explicitly told to do so.
NOTE: See Flat Rate
Times to learn more about FRTs and how they are created.
NOTE: See Personal Protection to make sure wearing proper PPE when
performing the below procedure. NOTE: See Ergonomic Precautions for safe and healthy working
practices.
- 2026-06-01: Updated camera update routines.
Remove
- Open the LH front door and lower the LH front window.
- Remove the lower quad camera cover. See Quad Camera Cover - Lower (Remove and Replace).
- Remove the rear view mirror. See Mirror - Rear View (Remove and Replace).
-
Release the clips that attach the
upper quad camera cover to the windshield bracket, and then separate the cover from the
bracket.
CAUTIONCarefully release the cover from the windshield bracket, as an electrical harness is still attached.
-
Release the connector lock, and then
disconnect the rear view mirror upper cover assembly.
NoteConnector count may vary depending on the vehicle configuration.
-
Release the locking tab, and then
disconnect the GNSS antenna connector.
-
Release the tabs that attach the glare
shield to the windshield bracket, and then remove the glare shield from the windshield
bracket.
-
Remove and discard the screws (x4)
that attach the forward facing bi camera to the vehicle, and then remove the camera
assembly from the vehicle.
 1 Nm (.7 lbs-ft)TIpUse of the following tool(s) is recommended:
- T10 bit
-
Release the locking tabs, and then
disconnect the forward facing camera assembly connectors (x2).
Install
-
Clean the inner windshield camera
viewing area with a clean microfiber cloth and glass cleaner. Let the windshield fully
dry before continuing.
CAUTIONVerify that the windshield has no stains or leftover residue. Otherwise, Autopilot features may be hindered.
-
Position the forward facing camera
into the vehicle, connect the connectors (x2), and then secure the connector
locks.
-
Install new screws (x4) that attach
the forward facing bi camera to the vehicle.1 Nm (.7 lbs-ft)TIpUse of the following tool(s) is recommended:
- T10 bit
-
Position the glare shield to the
windshield bracket, and then secure the tabs (x2) that attach the glare shield to the
windshield bracket.
-
Connect the GNSS antenna connector,
and then secure the connector lock.
-
Connect the rear view mirror upper
cover assembly, and then secure the connector locks.
NoteConnector count may vary depending on the vehicle configuration.
-
Connect the interior camera connector,
and then install the clips that attach the upper quad camera cover to the vehicle.
- Unlock the vehicle gateway. See Gateway (Unlock).
-
Run PROC_DAS_X_CLEAR-CALIBRATIONvia Service Mode:
- Driver Assist ➜ Cameras ➜ Clear Camera Calibration
- Driver Assist ➜ Driverless ➜ Clear Calibration
- Run main camera update routine: PROC_DAS_X_UPDATE-CAMERAvia Service Mode:Driver Assist ➜ Cameras ➜ Update Cameravia Toolbox:(link).
- Run fisheye camera update routine: PROC_DAS_X_UPDATE-CAMERAvia Service Mode:Driver Assist ➜ Cameras ➜ Update Cameravia Toolbox:(link).
- Adjust the forward facing camera. See Camera - Forward Facing (Pitch Verification).