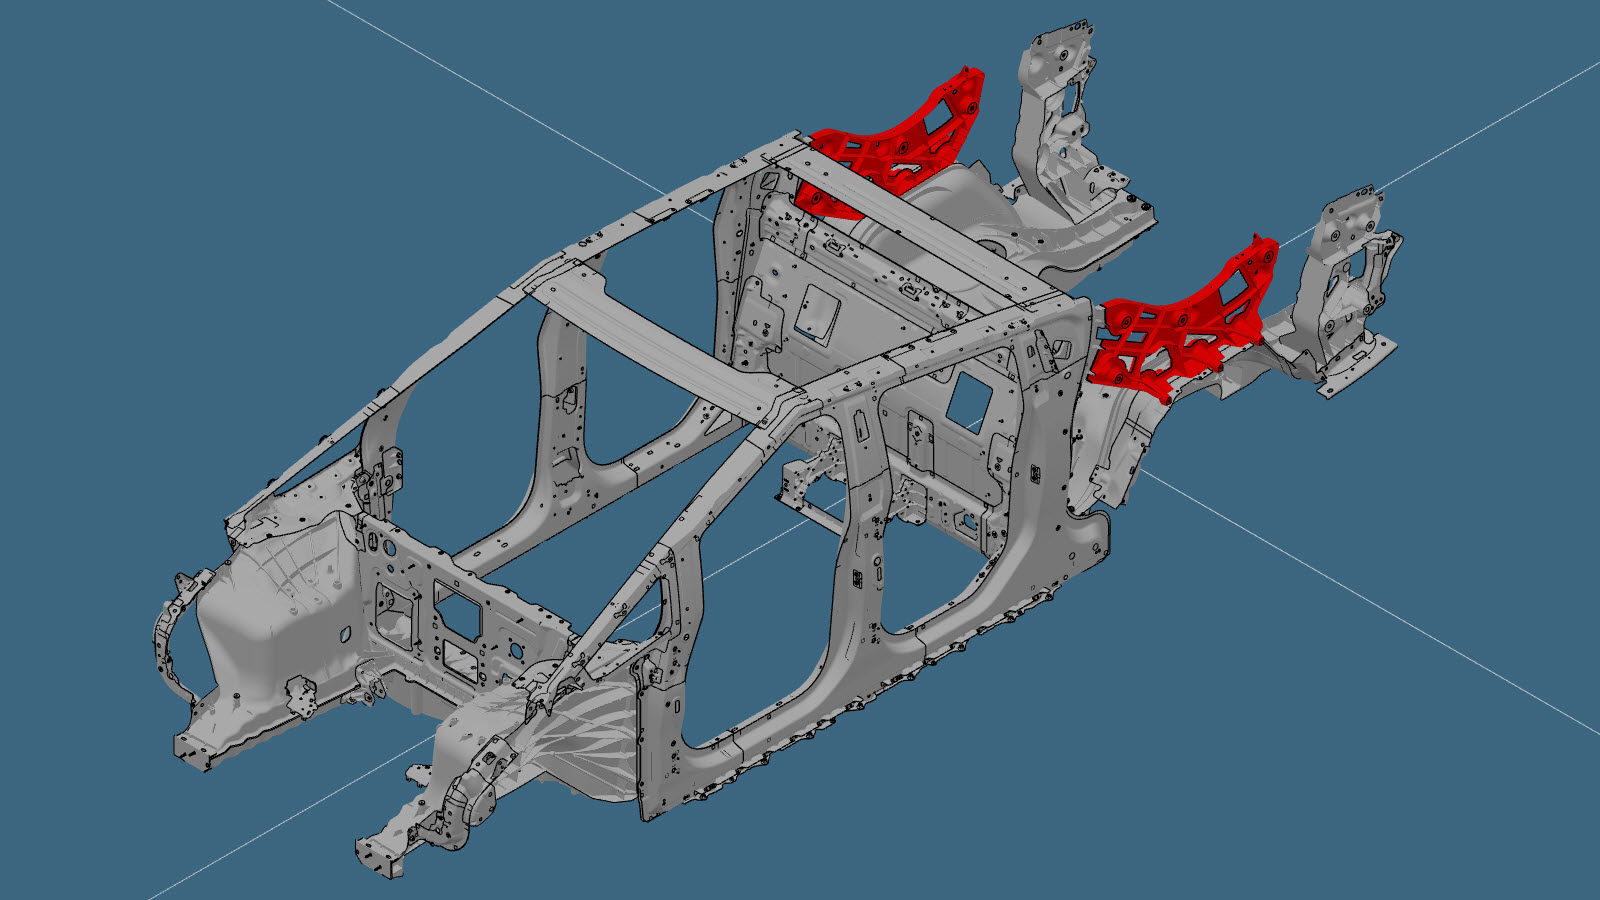
Mast Assembly (Section)
 Correction code:
10102002002
10102002102
NOTE:
Unless explicitly stated in the procedure, the above
correction code includes all Collision Repair work required
to perform this procedure, including the linked Collision
Repair procedures. Do not stack Collision Repair
correction codes unless explicitly told to do
so. Add any associated mechanical procedures
needed to perform this procedure.
Correction code:
10102002002
10102002102
NOTE:
Unless explicitly stated in the procedure, the above
correction code includes all Collision Repair work required
to perform this procedure, including the linked Collision
Repair procedures. Do not stack Collision Repair
correction codes unless explicitly told to do
so. Add any associated mechanical procedures
needed to perform this procedure.
Repair Information
- Review all collision repair general practices and safety documentation and wear the appropriate PPE (Personal Protective Equipment) before beginning this procedure.
- Properly mount the vehicle on a frame bench when performing this procedure.
- The Mast Assembly is a single component, and if it cannot be repaired, it can be replaced as a single repair as described in Mast Assembly (Complete).
- Alternatively, instead of replacing the complete Mast Assembly:
- Depending on the damage to this component, it may be possible to repair this component. Refer to Mast Assembly Repair Guidelines for more information.
- The rear section of the Mast Assembly can be replaced using the Cast Mast Rear Section service part and the backing plates described in the Parts List, and the instructions in the Repair Procedure.
Parts List
| Quantity | Description | Image / Notes |
|---|---|---|
| 1 | ASY MAST CASTING (Mast Assembly) | |
| 1 | TOP BACKING PLATE | |
| 1 | TOP MIDDLE BACKING PLATE | |
| 1 | BOTTOM MIDDLE BACKING PLATE | |
| 1 | BOTTOM BACKING PLATE | |
| 13 | High Strength Structural Rivet, 6.5 mm |
When ordering parts, refer to the Parts Catalog and enter the VIN of the vehicle being repaired to find the correct parts (and the part numbers) for the vehicle. Alternatively, use the search function in the Parts Catalog to find a specific part for the vehicle.
Repair Procedure
-
Remove the original component.
Cut to the rear of the raised cut line on the cast component.NoteIf the Mast Assembly is damaged forward of the raised cut line, sectioninng is not allowed and the entire component must be replaced as described in Mast Assembly (Complete).
Cut Line
or Factory Spot Welds
-
Cut the new component forward of the
raised cut line to make the new component.
Cut Line
-
Prepare for installation.
or High Strength Structural Rivets, 6.5 mmNoteTrim both the replacement component and the remaining portion of the component on the vehicle to fit. The maximum gap between new and existing components is 3 mm.NoteOn both the replacement component and the remaining portion of the component on the vehicle, sand any remaining portion of the raised cut line flush with the rest of the component to allow the backing plates to fit flush with both sections of the component.
-
Apply structural adhesive to the mating surfaces on the vehicle and the new component or components.
NoteFill all gaps with structural adhesive.
- Install the new component or components.
- Perform any necessary post-repair operations.