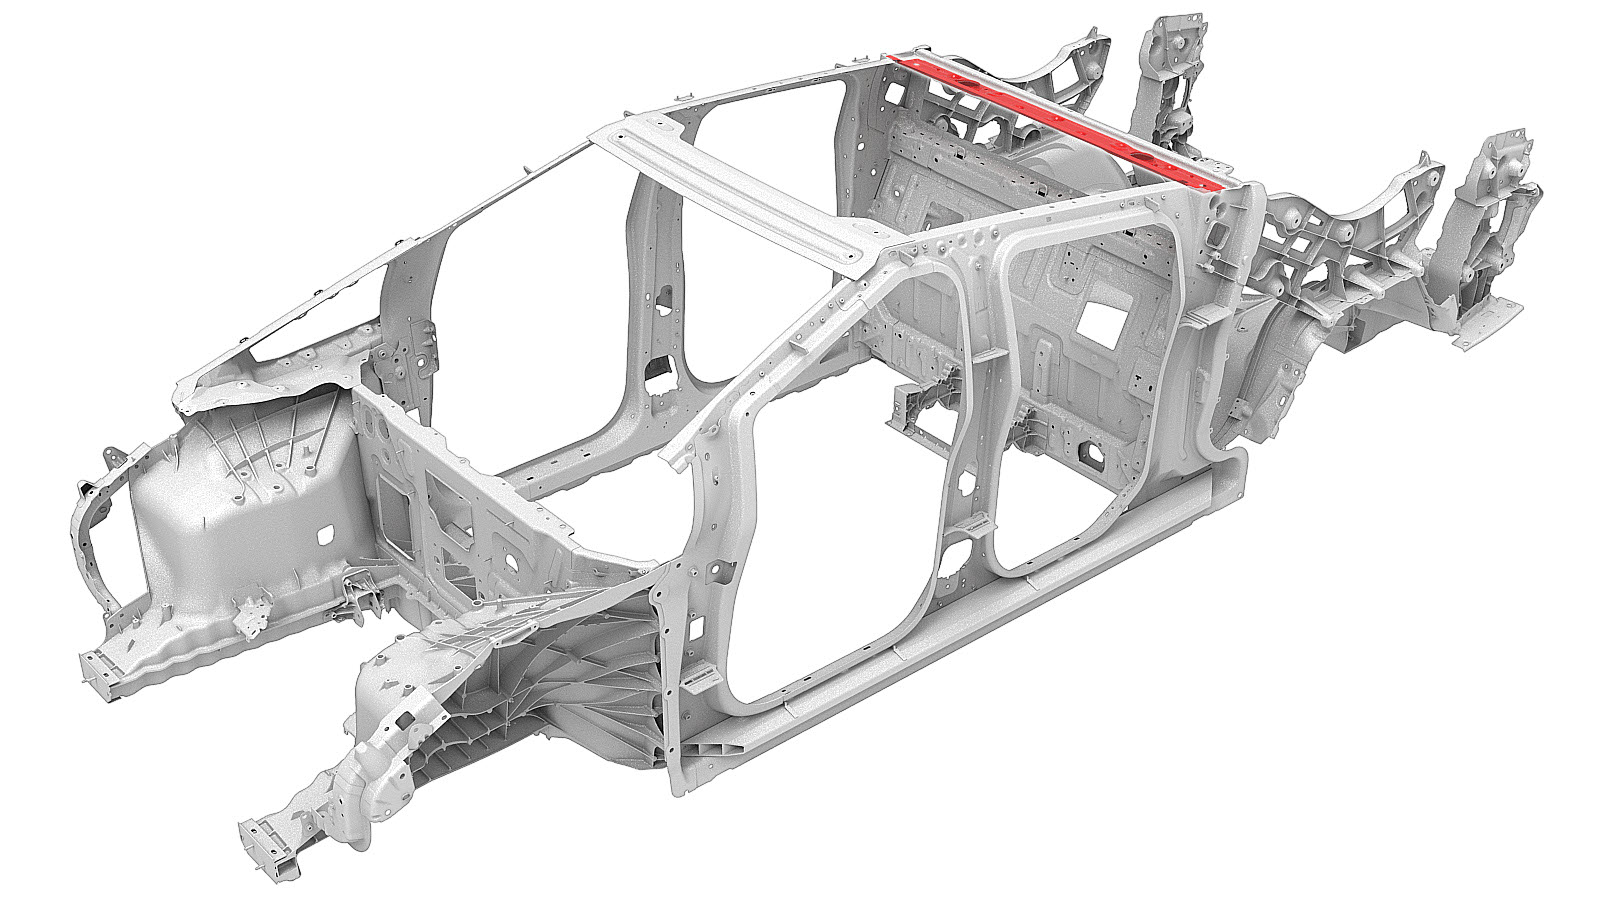
Rear Header Lower
 Correction code:
10102700402
NOTE:
Unless explicitly stated in the procedure, the above
correction code includes all Collision Repair work required
to perform this procedure, including the linked Collision
Repair procedures. Do not stack Collision Repair
correction codes unless explicitly told to do
so. Add any associated mechanical procedures
needed to perform this procedure.
Repair Information
- Review all collision repair general practices and safety documentation and wear the appropriate PPE (Personal Protective Equipment) before beginning this procedure.
- This procedure can be completed without using a frame bench.
Parts List
| Quantity | Description | Image / Notes |
|---|---|---|
| 1 | ASY-REAR WALL HEADER INNER (Rear Header Lower) | |
| 6 | High Strength Structural Rivet, 6.5 mm | |
| 20 | Flow Form Rivet S18 |
When ordering parts, refer to the Parts Catalog and enter the VIN of the vehicle being repaired to find the correct parts (and the part numbers) for the vehicle. Alternatively, use the search function in the Parts Catalog to find a specific part for the vehicle.
Repair Procedure
-
Remove the Rear Header Upper.
-
Remove the original component.
or Factory Spot Welds
-
Position the new component and secure it in place.
NoteRefer to the Dimensional Specifications to make sure that the component and adjacent components are properly located and aligned.
-
Prepare for installation.
- Apply structural adhesive to the mating surfaces on the vehicle and the new component or components.
- Install the new component or components.
-
Install the Rear Header Upper.
- Perform any necessary post-repair operations.