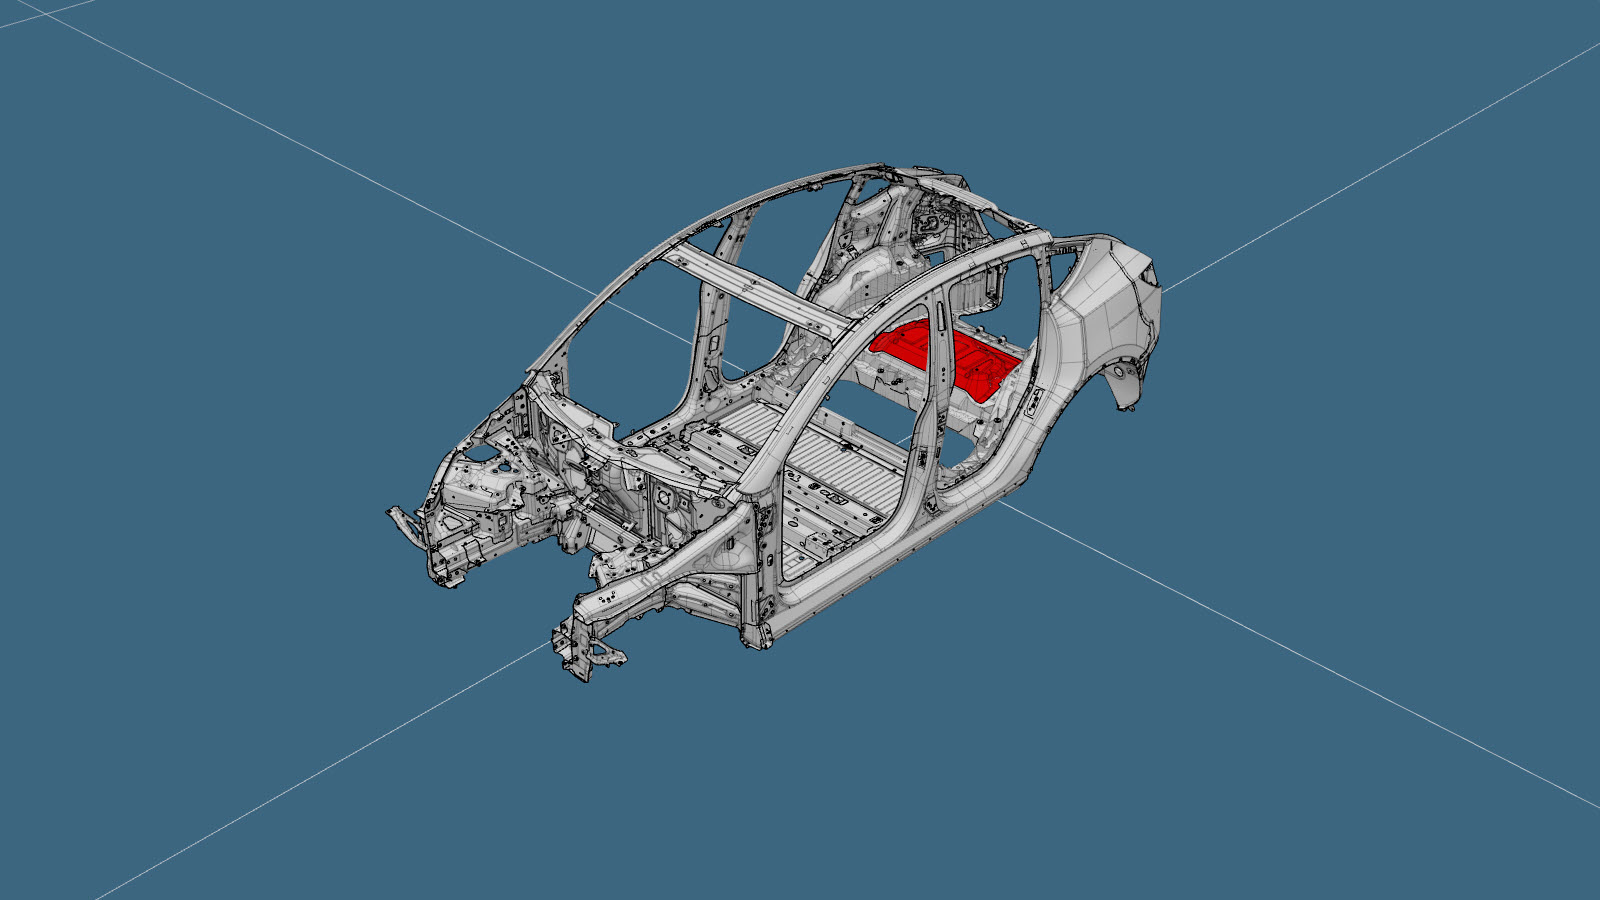
Couvercle de moteur (petite surface)
 Code de correction :
10102201502
REMARQUE : Sauf indication explicite dans la procédure, le code de correction ci-dessus inclut tous les travaux de réparation de collision requis pour effectuer cette procédure, y compris les procédures de réparation de collision connexes. N’appliquez pas plusieurs codes de correction de collision à la fois, à moins qu’il vous soit explicitement indiqué de le faire. Ajoutez toutes les procédures mécaniques connexes nécessaires pour effectuer cette procédure.
Informations relatives à la réparation
- Selon la gravité des dommages subis, il peut être possible de réparer cette pièce. Pour obtenir plus d’information, consultez Directives de réparation du soubassement de carrosserie arrière moulé (1 pièce).
- Il y a deux options d'adaptation :
- Couvercle de moteur (grande surface) comprend le retrait de la partie supérieure du couvercle du moteur, l'installation de nouveaux boulons et écrous pour fournir des points de fixation pour l'absorbeur de bruit dans le compartiment moteur arrière, puis l'installation du nouveau couvercle du moteur. La réparation sur une grande surface quitte plus du couvercle du moteur d'origine que la réparation sur une petite surface et nécessite l'installation de nouveaux boulons pour fournir des points de fixation à l'absorbeur de bruit dans le compartiment moteur arrière.
- Couvercle de moteur (petite surface) (cette procédure) comprend le retrait de la partie supérieure du couvercle du moteur, en laissant les points de fixation pour l'absorbeur de bruit dans le compartiment moteur arrière en place, puis l'installation du nouveau couvercle du moteur. La réparation sur une grande surface quitte moins du couvercle du moteur d'origine que la réparation sur une petite surface et réutilise les points de fixation existants pour l'absorbeur de bruit dans le compartiment moteur arrière.
- Lisez attentivement toutes les pratiques générales et la documentation de sécurité relatives aux réparations après collision et enfilez un équipement de protection individuel (ÉPI) avant de commencer cette procédure.
- Cette procédure n’exige pas l’utilisation d’un banc de redressage.
Liste des pièces
| Quantité | Description | Image/notes |
|---|---|---|
| 1 | MY MY MOTOR COVER SVC E-COATED (capot du moteur) | |
| 10 | Rivets de structure à tête ampoulée de 6,5 mm | |
| 1 | PATCH EN FEUILLE DE BUTYLE - M3 480 X 240 X 2,0 | Numéro de pièce Tesla 1004964-00-A. |
| 4 | PIÈCE DE FEUILLE DE BUTYLE 150 x 120 x 2 MM | Numéro de pièce Tesla 1043439-00-A. |
| 1 | Adhésif pour verre de pare-brise |
Lorsque vous commandez des pièces, consultez le Manuel des pièces et inscrivez le NIV du véhicule en réparation afin de trouver les bonnes pièces (et les numéros de pièce) pour le véhicule. Vous pouvez aussi utiliser la fonction de recherche dans le Manuel des pièces pour trouver une pièce précise pour le véhicule.
Procédure de réparation
-
Utilisez le nouveau couvercle de moteur comme modèle pour tracer une ligne autour du couvercle de moteur d'origine.
-
Retirez le composant d’origine.
Découpez seulement à l'intérieur de la ligne tracée et retirez seulement les parties nécessaires du couvercle du moteur d'origine en fonte. Laissez au moins 25 mm entre la ligne de coupe et la ligne tracée pour créer un chevauchement avec le nouveau couvercle du moteur.AvertissementNe retirez pas les points de fixation de l'absorbeur de bruit du compartiment moteur arrière situés en dessous du couvercle du moteur.RemarqueRetirez le minimum nécessaire des coins avant du couvercle de moteur moulé.Ligne/point de référence
- A = 25 mm.
Ligne de coupe
-
Préparation en vue de l’installation.
ou Rivets de structure à tête ampoulée, 6,5 mmRemarqueAssurez-vous que l'espace pour l'application du cordon d'uréthane sera suffisant pour assurer une bonne étanchéité.
-
Appliquez de l'adhésif pour verre à pare-brise (adhésif uréthane) sur les surfaces de contact du véhicule et sur le ou les nouveaux composants.
RemarqueSuivez les instructions d’application du fabricant de l’uréthane.
- Installez le ou les nouveaux composants.
-
Installez les rustines en butyle.
- Effectuez toutes les opérations après réparation nécessaires.