2026-07-01
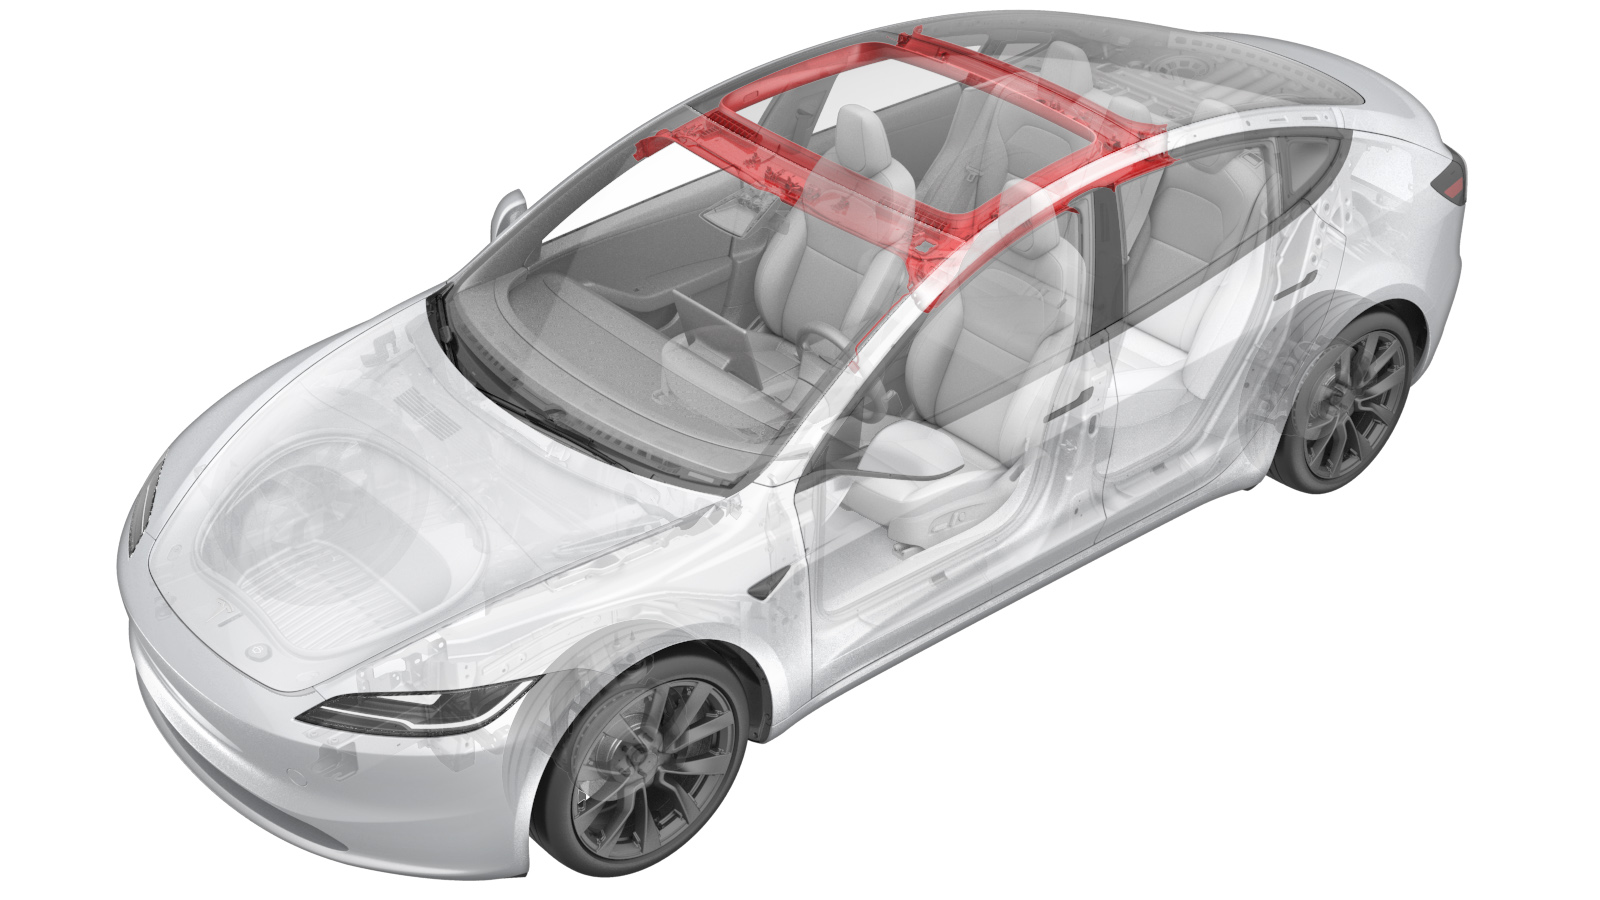
Headliner (Remove and Install)
 Correction code
1520010011
FRT
1.08
NOTE: Unless otherwise explicitly stated in the procedure, the correction code and FRT listed above reflect all of the work required to perform this procedure, including the linked procedures. Do not stack correction codes unless explicitly told to do so.
NOTE: See Flat Rate Times to learn more about FRTs and how they are created.
NOTE: See Personal Protection to make sure you
are wearing proper PPE when performing the procedure below.
NOTE: See Ergonomic Precautions for safe and healthy working practices.
Correction code
1520010011
FRT
1.08
NOTE: Unless otherwise explicitly stated in the procedure, the correction code and FRT listed above reflect all of the work required to perform this procedure, including the linked procedures. Do not stack correction codes unless explicitly told to do so.
NOTE: See Flat Rate Times to learn more about FRTs and how they are created.
NOTE: See Personal Protection to make sure you
are wearing proper PPE when performing the procedure below.
NOTE: See Ergonomic Precautions for safe and healthy working practices.
- 2026-06-30: Added steps for connecting/disconnecting LV power and removing/installing the upper A-pillar trims; updated steps from flipping the rear view mirror up to fully removing it.
- 2024-03-14: Added rear-dome-light-related Toolbox routines and changed the steps of removing the rear view mirror to steps of flipping the mirror upwards.
Torque Specifications
| Description | Torque Value | Recommended Tools | Reuse/Replace | Notes |
|---|---|---|---|---|
| Screw that attaches the LH rear coat hook to the body. |
 3.5 Nm (2.6 lbs-ft) |
|
Reuse |
Remove
- Remove the LH and RH upper A-pillar trims. See Trim - A-Pillar - Upper - LH (Remove and Replace).
- Remove the LH and RH sun visors. See Sun Visor Assembly, LH (Remove and Replace).
- Remove the rear view mirror. See Mirror - Rear View (Remove and Replace).
- Remove the LH side rail trim. See Trim - Side Rail - LH (Remove and Replace).
- Remove the LH 2nd row seat side bolster. See Bolster - Side - Seat - 2nd Row - LH (Remove and Replace).
- Remove the LH lower A-pillar trim. See Trim - A-Pillar - Lower - LH (Remove and Replace).
- Remove the LH lower B-pillar trim. See Trim - B-Pillar - Lower - LH (Remove and Replace).
- Remove the LH middle B-pillar trim. See Trim - B-Pillar - Middle - LH (Remove and Replace).
- Remove the LH upper B-pillar trim. See Trim - B-Pillar - Upper - LH (Remove and Replace).
- Push to open the LH rear coat hook.
-
Use a small flat head screwdriver to
pry open the LH rear coat hook screw cover.
-
Remove the screw that attaches the LH
rear coat hook to the body.
TIpUse of the following tool(s) is recommended:
- Torx T25 socket
Figure 1. LH shown, RH similar - Repeat step 4 through step 12 on the RH side of the vehicle.
- Remove the 2nd row seat cushion. See Seat Cushion - 2nd Row (Remove and Replace).
- Move the LH and RH front seat fully rearward, and then move the LH and RH seat back to the down position.
- Disconnect the LV power. See LV Power (Disconnect and Connect).
-
Release the brackets that attach the
headliner electrical harness to the LH A-pillar area.
-
Disconnect the headliner electrical
harness connector.
-
Release the clips (x10) that attach
the headliner to the body.
WarningThe video(s) included in this procedure are meant as an overview for supplemental purposes only. Follow all of the steps listed in the procedure to avoid damage to components and/or personal injury.
-
With an assistant, remove the
headliner from the vehicle.
NoteRemove the headliner through the front passenger door.
Install
- With the help of an assistant, move the headliner through the front passenger doorway and into the cabin.
-
Install the headliner to the body, and
then fasten the clips that attach the headliner to the body.
-
Connect the electrical harness to the
headliner connector.
-
Fasten the clips that attach the
headliner electrical harness to the LH A-pillar area.
- Install the LH and RH upper A-pillar trims. See Trim - A-Pillar - Upper - LH (Remove and Replace).
- Install the rear view mirror. See Mirror - Rear View (Remove and Replace).
- Install the LH and RH sun visors. See Sun Visor Assembly, LH (Remove and Replace).
- Connect the LV power. See LV Power (Disconnect and Connect).
- Move the LH and RH front seats forward.
- Push to open the new LH rear coat hook.
-
Use a small flat head screwdriver to
pry open the new LH rear coat hook screw cover.
-
Install the screw that attaches the LH
rear coat hook to the body.3.5 Nm (2.6 lbs-ft)TIpUse of the following tool(s) is recommended:
- Torx T25 socket
Figure 2. LH shown, RH similar - Close the LH rear coat hook screw cover.
- Close the LH rear coat hook.
- Install the LH side rail trim. See Trim - Side Rail - LH (Remove and Replace).
- Install the LH upper B-pillar trim. See Trim - B-Pillar - Upper - LH (Remove and Replace).
- Install the LH middle B-pillar trim. See Trim - B-Pillar - Middle - LH (Remove and Replace).
- Install the LH lower B-pillar trim. See Trim - B-Pillar - Lower - LH (Remove and Replace).
- Install the LH lower A-pillar trim. See Trim - A-Pillar - Lower - LH (Remove and Replace).
- Install the LH 2nd row seat side bolster. See Bolster - Side - Seat - 2nd Row - LH (Remove and Replace).
- Repeat step 10 through step 20 on the RH side of the vehicle.
- Install the 2nd row lower seat cushion. See Seat Cushion - 2nd Row (Remove and Replace).
- Return the front seats to original positions.