Wheel Assembly (Remove and Install)
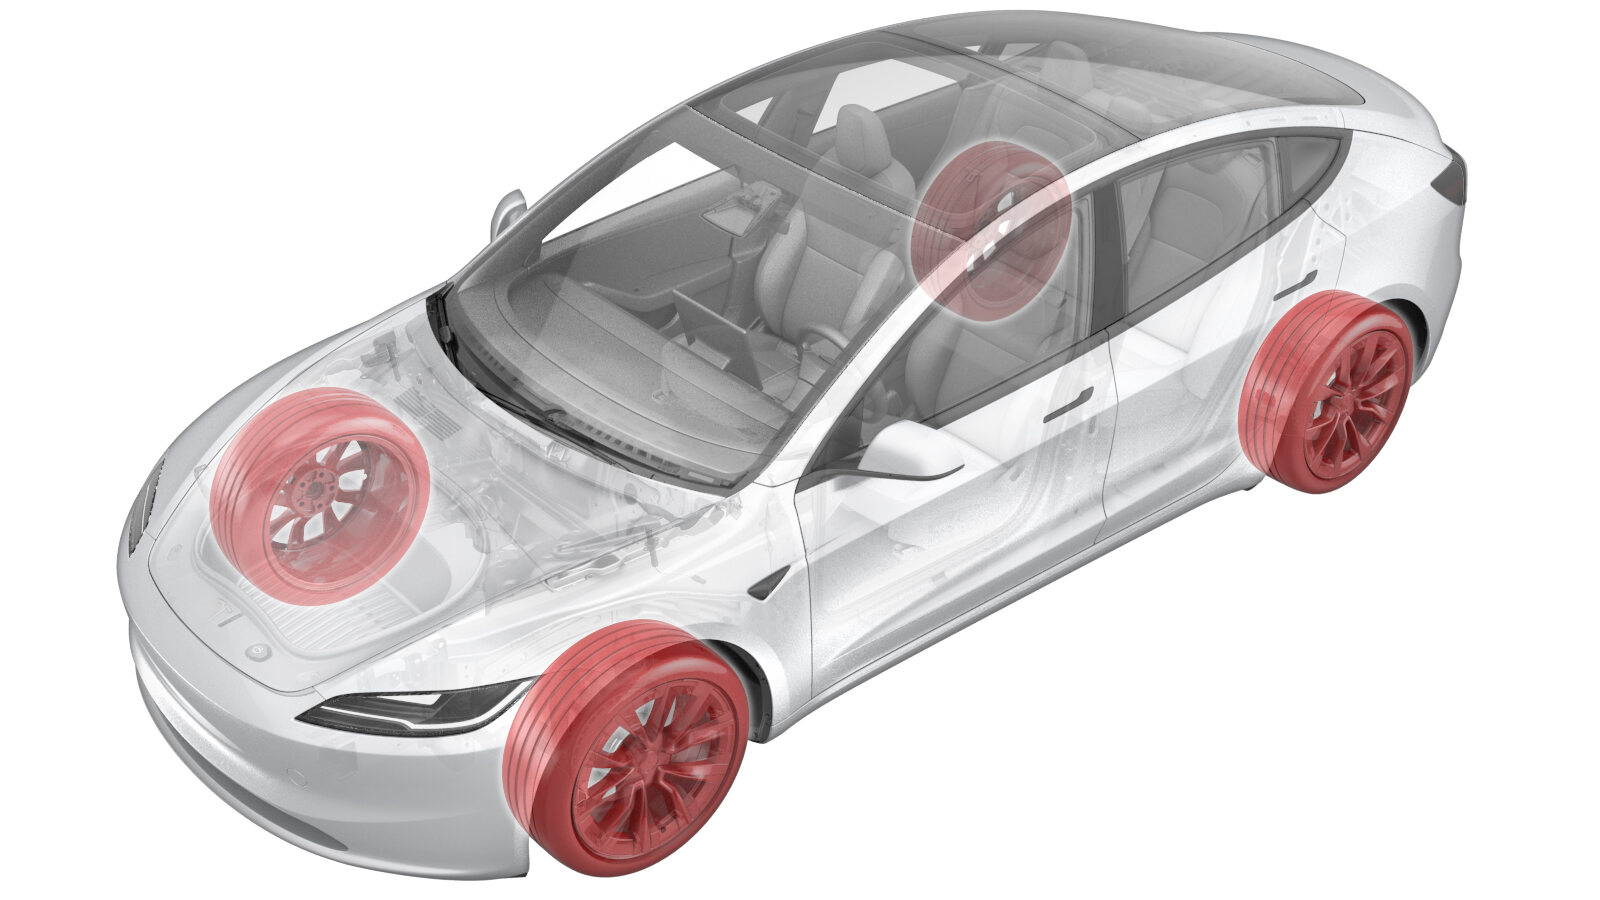 Correction code
34015001
FRT
0.15
NOTE: Unless
otherwise explicitly stated in the procedure, the correction code and its
associated FRT reflect all of the work required to perform this procedure,
including the linked procedures. Do not stack correction
codes unless explicitly told to do so.
NOTE: See Flat Rate Times to
learn more about FRTs and how they are created.
NOTE: See Personal Protection to make
sure you are wearing proper PPE when performing the procedure below.
NOTE: See Ergonomic Precautions for safe and healthy
working practices.
Correction code
34015001
FRT
0.15
NOTE: Unless
otherwise explicitly stated in the procedure, the correction code and its
associated FRT reflect all of the work required to perform this procedure,
including the linked procedures. Do not stack correction
codes unless explicitly told to do so.
NOTE: See Flat Rate Times to
learn more about FRTs and how they are created.
NOTE: See Personal Protection to make
sure you are wearing proper PPE when performing the procedure below.
NOTE: See Ergonomic Precautions for safe and healthy
working practices.
Remove
-
Pull the inner side of the adjacent 2 claws of the wheel cap to remove the
wheel cap from the wheel.
-
Loosen the lug nuts.
CAUTIONUse only hand tools to break the lug nuts loose. Power tools should only be used to remove the lug nuts after they have been loosened.CAUTIONUse a 6 point socket. Do not use a 12 point socket or a specialty socket.
- Raise and support the vehicle. See Raise Vehicle - 2 Post Lift/Raise Vehicle - Floor Jack (Mobile Service).
-
Remove the lug nuts from the
wheel, and then remove the wheel from the vehicle.
Install
-
Position the wheel to the
vehicle, and then hand-tighten the lug nuts.
WarningWear appropriate personal protective equipment (PPE) when performing this procedure to prevent personal injury.
- Lower the vehicle. See Raise Vehicle - 2 Post Lift/Raise Vehicle - Floor Jack (Mobile Service).
-
Fully tighten the lug nuts
in a criss-cross star pattern.
 175 Nm (129.1 lbs-ft)
 - Position the wheel cap on the wheel and press the center of the cap firmly onto the wheel.