2026-08-10
A/C Refrigerant Leak Detection
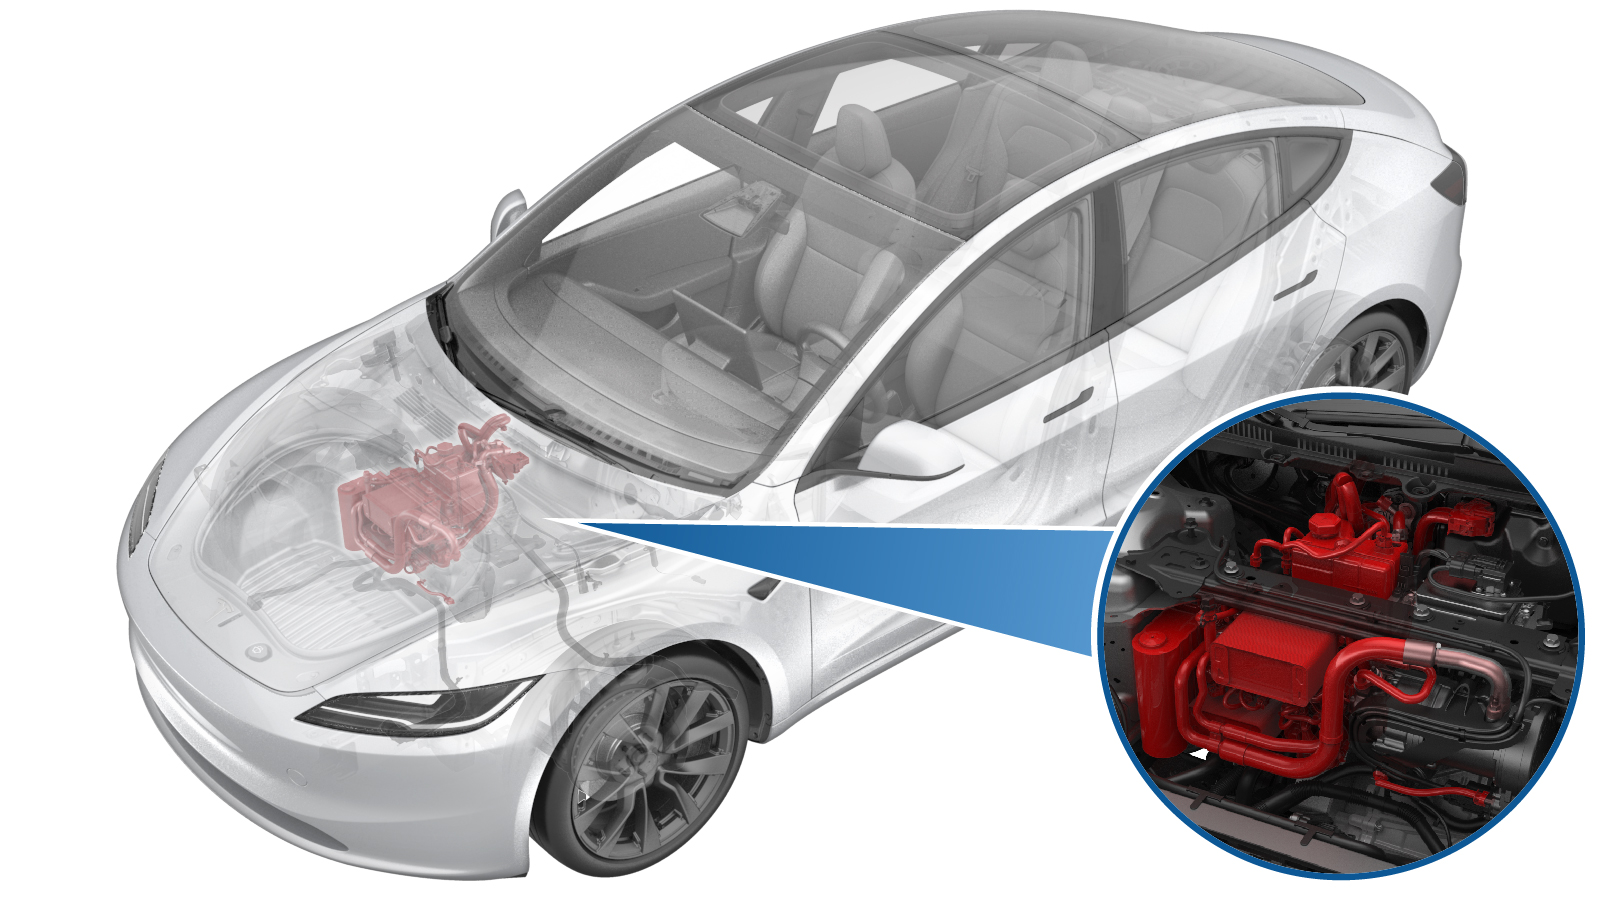 Correction code
00100004
Adjustable FRT (General Diagnosis)
NOTE: Track all time and
work spent diagnosing the A/C system using correction code 00100004. Do not add
"A/C Refrigerant (Recovery & Recharge)" to the activity.
NOTE: See Flat Rate Times to
learn more about FRTs and how they are created.
NOTE: See Personal Protection to make sure wearing proper PPE when
performing the below procedure. NOTE: See Ergonomic Precautions for safe and healthy working
practices.
Correction code
00100004
Adjustable FRT (General Diagnosis)
NOTE: Track all time and
work spent diagnosing the A/C system using correction code 00100004. Do not add
"A/C Refrigerant (Recovery & Recharge)" to the activity.
NOTE: See Flat Rate Times to
learn more about FRTs and how they are created.
NOTE: See Personal Protection to make sure wearing proper PPE when
performing the below procedure. NOTE: See Ergonomic Precautions for safe and healthy working
practices.
- 2026-08-10: Updated correction code guidance.
Equipment:
- 1711245-00-A Snap On Ecotechnics Dual Gas AC Machine
- 1501412-00-A Mastercool R1234YF Oil Injector
- 1076971-02-A Torque Wrench ¼ in Dr. +Angle
- 1060071-00-A Torque Wrench ¼ in Dr Hexagon
Note
This procedure requires the A/C
Refrigerant (Recovery and Recharge) procedure to be performed. If not already
automatically added to the Service Visit, add correction code 18200102 as a
separate correction within the same activity to the Service Visit.
Procedure
- Set up the A/C machine.
- Remove the underhood storage unit. See Underhood Storage Unit (Remove and Replace).
- Unlock the vehicle gateway. See Gateway Unlock.
- On the touchscreen, touch and select Run to start the "Start Thermal Fill Drain (Refrigerant Only)" routine.
- Recover the A/C refrigerant. See A/C Refrigerant (Recovery and Recharge) (Restore).
- Perform the vacuum leak test and refill A/C refrigerant. See A/C Refrigerant (Recovery and Recharge) (Restore).
-
Add 5 ml UV dye.
NoteAdd the dye with the refrigerant and oil.
-
Remove the A/C hoses from the
vehicle.
- On the touchscreen, touch and select Run to start the routine.
-
Touch and select Run to start the routine.
NoteMake sure the routine is passed, then touch Close to close it.
-
Touch and select Run to start the routine.
NoteMake sure the routine is passed, then touch Close to close it.
- Exit Service Mode through UI. See Service Mode.
-
Set the temperature to LO on both
driver and passenger HVAC controls and set the A/C system to AUTO.
- Run the A/C system for 10 minutes to allow the dye to circulate.
-
Use UV light and the UV inspection kit
to check for A/C refrigerant leaks near the HVAC end of the Supermanifold to HVAC A/C
line.
NoteIf an A/C refrigerant leak is found, replace the A/C line from supermanifold to HVAC. See Assembly - A/C Line - Supermanifold to HVAC (Remove and Replace).
-
Use UV light and the UV inspection kit
to check for A/C refrigerant leaks at the A/C low and high pressure port.
NoteIf an A/C refrigerant leak is found, replace the A/C line from supermanifold to HVAC. See Assembly - A/C Line - Supermanifold to HVAC (Remove and Replace).
-
Use UV light and the UV inspection kit
to check for A/C refrigerant leaks at the supermanifold area.
NoteIf an A/C refrigerant leak is found, replace the defective component.
-
Use UV light and the UV inspection kit
to check for A/C refrigerant leaks on the A/C compressor discharge and suction lines
area.
NoteIf an A/C refrigerant leak is found, replace the supermanifold to compressor A.C line. See Assembly - A/C Line - Supermanifold to Compressor (Remove and Replace).
-
Use UV light and the UV inspection kit to check for A/C refrigerant leaks on the
supermanifold.
NoteIf an A/C refrigerant leak is found, replace the defective component.
- Remove the front aero shield. See Panel - Aero Shield - Front (Remove and Replace)
-
Use UV light and the UV inspection kit to check for A/C refrigerant leaks near the
Supermanifold end of the Supermanifold to HVAC A/C line.
NoteIf an A/C refrigerant leak is found, replace the A/C line from supermanifold to HVAC. See Assembly - A/C Line - Supermanifold to HVAC (Remove and Replace).
- Install the front aero shield. See Panel - Aero Shield - Front (Remove and Replace)
-
Install the caps (x2) back onto the
A/C ports.
- Install the underhood storage unit. See Underhood Storage Unit (Remove and Replace).