Assembly - Brake Pedal (RHD) (Remove and Replace)
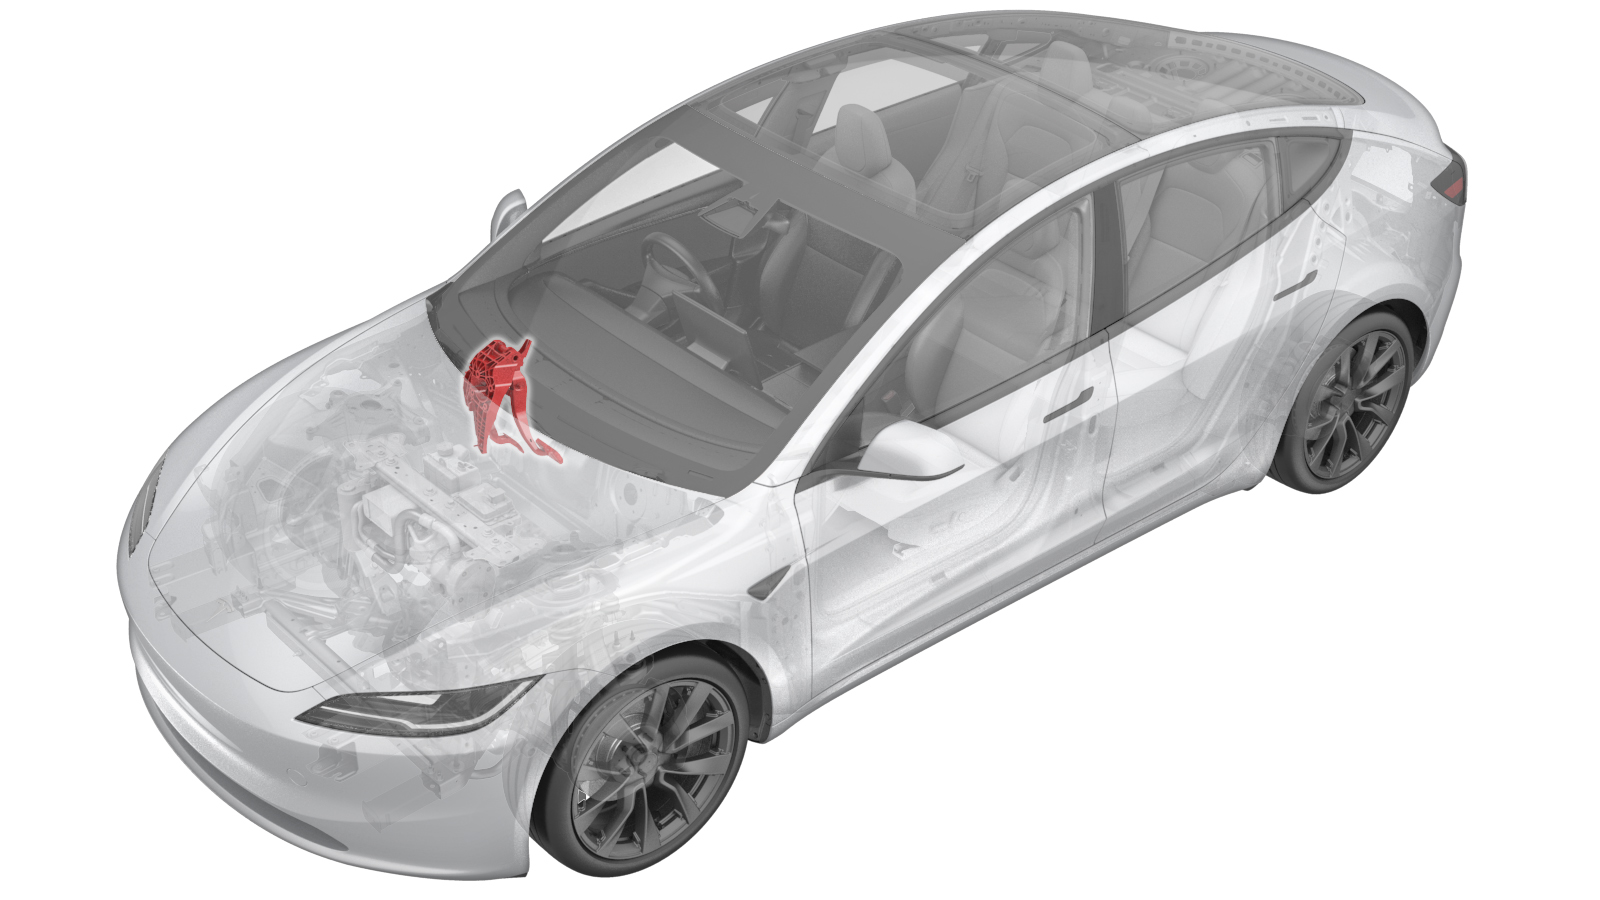 Correction code
3325010112
FRT
0.48
NOTE: Unless
otherwise explicitly stated in the procedure, the correction code and its
associated FRT reflect all of the work required to perform this procedure,
including the linked procedures. Do not stack correction
codes unless explicitly told to do so.
NOTE: See Flat Rate Times to
learn more about FRTs and how they are created.
NOTE: See Personal Protection to make
sure you are wearing proper PPE when performing the procedure below.
NOTE: See Ergonomic Precautions for safe and healthy
working practices.
Correction code
3325010112
FRT
0.48
NOTE: Unless
otherwise explicitly stated in the procedure, the correction code and its
associated FRT reflect all of the work required to perform this procedure,
including the linked procedures. Do not stack correction
codes unless explicitly told to do so.
NOTE: See Flat Rate Times to
learn more about FRTs and how they are created.
NOTE: See Personal Protection to make
sure you are wearing proper PPE when performing the procedure below.
NOTE: See Ergonomic Precautions for safe and healthy
working practices.
- 2026-08-12: Added notes and images to help clarify how to remove/position the pedal assembly.
Torque Specifications
| Description | Torque Value | Recommended Tools | Reuse/Replace | Notes |
|---|---|---|---|---|
| Bolt and the nuts (x4) that attach the brake pedal assembly to the vehicle | Nuts 16.5 Nm (12.2 lbs-ft) 13 Nm (9.6 lbs-ft) |
|
Nut: Replace Bolts: Reuse |
Nut: 1111541-00-A |
Remove
- Open the RH front door and lower the RH front window.
- Move the driver's seat backward.
- Disconnect the LV battery power. See LV Power (Disconnect and Connect) (Modify).
- Remove the RH footwell cover. See Cover - Footwell - Driver (RHD) (Remove and Replace).
- Remove the brake clevis clip. See Clevis Pin - Brake Pedal (Remove and Replace).
-
Disconnect the accelerator pedal
electrical connector.
-
Remove the bolt and the nuts (x4) that
attach the brake pedal assembly to the vehicle, and then discard the nuts.
TipUse of the following tool(s) is recommended:
- 13 mm deep socket
-
Remove the brake pedal and the
accelerator pedal as an assembly from the vehicle.
NoteWhen releasing the brake pedal assembly from the iBooster studs, slightly push the studs or rod outward for extra space. If needed, have assistance pull the iBooster outward to maintain clearance during removal.
Install
-
Position the brake pedal assembly onto
the body.
NoteWhen positioning the brake pedal assembly onto the iBooster studs, slightly push the studs or rod outward for better access to the fasteners. If needed, have assistance pull the iBooster outward to maintain clearance during installation.
-
Install the bolt and the new nuts (x4)
that attach the brake pedal assembly to the vehicle. 16.5 Nm (12.2 lbs-ft)13 Nm (9.6 lbs-ft)NoteTorque the nuts to 16.5 Nm and torque the bolt to 13 Nm.TipUse of the following tool(s) is recommended:
- 13 mm deep socket
-
Connect the accelerator pedal
electrical connector.
- Install the brake clevis clip. See Clevis Pin - Brake Pedal (Remove and Replace).
- Install the RH footwell cover. See Cover - Footwell - Driver (RHD) (Remove and Replace).
- Connect the LV battery power. See LV Power (Disconnect and Connect) (Modify).
- Connect a laptop with Toolbox to the vehicle. See Toolbox (Connect and Disconnect).
- Click the Actions tab, and then type "TEST-SELF_DI_X_ACCEL-PEDAL" into the search field.
- Click TEST-SELF_DI_X_ACCEL-PEDALvia Toolbox:(link), click Run, and allow the routine to complete.
- Disconnect the laptop with Toolbox from the vehicle. See Toolbox (Connect and Disconnect).
- Install the rear apron. See Underhood Apron - Rear (Remove and Replace).
- Move the driver seat back to its original position.
- Raise the RH front window and close the RH front door.