Ytre karosseriside (biler bygd etter 17. februar 2022)
 10100142902
10100143002
10100142902
10100143002
Reparasjonsinformasjon
- Gjennomgå all generell praksis og sikkerhetsdokumentasjon for kollisjonsreparasjon, og ta på deg egnet personlig verneutstyr før du starter denne prosedyren.
- Denne prosedyren kan utføres uten å bruke rammeløfter.
- Verifiser at dette er riktig prosedyre: Se Karosseriside utvendig
- Den utvendige karosserisiden kan:
- skiftes ut i én enkelt reparasjon som en enkelt komplett komponent, ved bruk av servicedelen for komplett utvendig karosseriside og instruksjonene i delen Reparasjonsprosedyre i dette dokumentet.
- Repareres med en av de ferdigkuttede serviceenhetene vist i Serviceenheter for ytre karosseriside. Hvis du skifter ut en del av den ytre karosserisiden (ikke hele den ytre karosserisideenheten) ved hjelp av en serviceenhet, må du bare bruke de relevante delene av hvert trinn av Reparasjonsprosedyre for å avgjøre hvilke deler og festeanordninger som trengs, og trinnene som kreves for å fullføre reparasjonen.
- Repareres i seksjoner som er større eller mindre enn serviceenhetene. Enhver individuell seksjon eller kombinasjon av seksjoner av den ytre karosserisideenheten kan skiftes ut så lenge retningslinjene fra Retningslinjer for oppdeling følges.
Verifiser at dette er den korrekte prosedyren
Det finnes flere variasjoner av prosedyren for karosseriside utvendig. Denne prosedyren skal bare brukes hvis bilen ble bygget etter 17. februar 2022. Hvis bilen ble bygget frem til og med 17. februar 2022, ser du prosedyren Ytre karosseriside (biler bygd frem til og med 17. februar 2022).
Hvis du ikke er sikker på byggedato, ser du Karosseriside utvendig for mer informasjon.
Deleliste
| Antall | Beskrivelse | Bilde/merknader |
|---|---|---|
| 1 | BODY SIDE OUTER COMPLETE (utvendig karosseriside, komplett) | |
| 2 | Forsenket nagle, 4,8 mm kort | |
| 10 | Konstruksjonspopnagle, 6,5 mm | |
| 2 | Forsenket konstruksjonsnagle, 6,5 mm | |
| 3 | Flow Form-nagle S08 | |
| 5 | Flow Form-nagle S18 | |
| 9 | Flow Form-nagle S28 | |
| 15 | Flow Form-nagle S38 | |
| 7 | Flow Form-nagle S48 | |
| 7 | Bolt , M8x27 | Tesla-delenummer 1621820-00-A. |
| 2 | Instapak (pakke med ekspanderende skum) | Tesla-delenummer 1046403-00-A. |
Når du bestiller deler, må du se delekatalogen og angi understellsnummeret for bilen som repareres for å finne de riktige delene (og delenumrene) for bilen. Alternativt kan du bruke søkerfunksjonen i delekatalogen for å finne en spesifikk del for bilen.
Serviceenheter for ytre karosseriside
| Serviceenheter for ytre karosseriside | |
|---|---|
| ASSY - BODY SIDE OTR COMP | ASSY - PNL-BODY SIDE OTR |
| ASSY - BODY SIDE OTR A-PILLAR | ASSY - BODY SIDE OTR C-PILLAR |
Retningslinjer for oppdeling
- Hvis reparasjon av seksjonen krever at andre paneler eller enheter må fjernes eller installeres, må du utføre de nødvendige prosedyrene ved å følge den spesifikke reparasjonsprosedyren for hvert panel eller hver enhet.
- Ved oppdeling i området der C-stolpen møter det bakre kvartpanelet:
- Kutt som beskrevet nedenfor:
Skjærelinje
Referanselinje/-punkt
- A = 30 mm
- B = 25 mm
- C = 110 mm
- Lag og monter en bakplate under skjøten uten overlapping:
GMA-sveising
eller Aluminiumpluggsveisinger
- Kutt som beskrevet nedenfor:
- Ved oppdeling i området der den øvre C-stolpen møter takrammen:
- Fjern punktsveisene i det øvre området der C-stolpen møter det bakre kvartpanelet:
eller Fabrikkpunktsveisinger
- Klargjør for montering.
- Fjern punktsveisene i det øvre området der C-stolpen møter det bakre kvartpanelet:
- Det er tillatt å skjære gjennom et klaringshull eller et ikke-funksjonelt hull (utvendig trimhull), som beskrevet nedenfor.
- Ikke skjær innenfor 25 mm fra midten av et boltehull.
- Seksjoner krever ikke festemidler ved skjøter uten overlapping med mindre det er spesifikt angitt.
- En bakplate kan monteres ved en skjøt uten overlapping mellom seksjoner (som beskrevet i lag og monter bakplater).
- Mellomrom mellom paneler til skjøter uten overlapping bør være så små som mulig for å maksimere fugestyrken.
- Seksjon for GMA-sveising på skjøter uten overlapping.
- Forsegl alle åpne sømmer etter sveising.
- Hvis en skjøt uten overlapping inkluderer en flens, må du ikke sveise på flensen (flensene festes kun med konstruksjonslim).
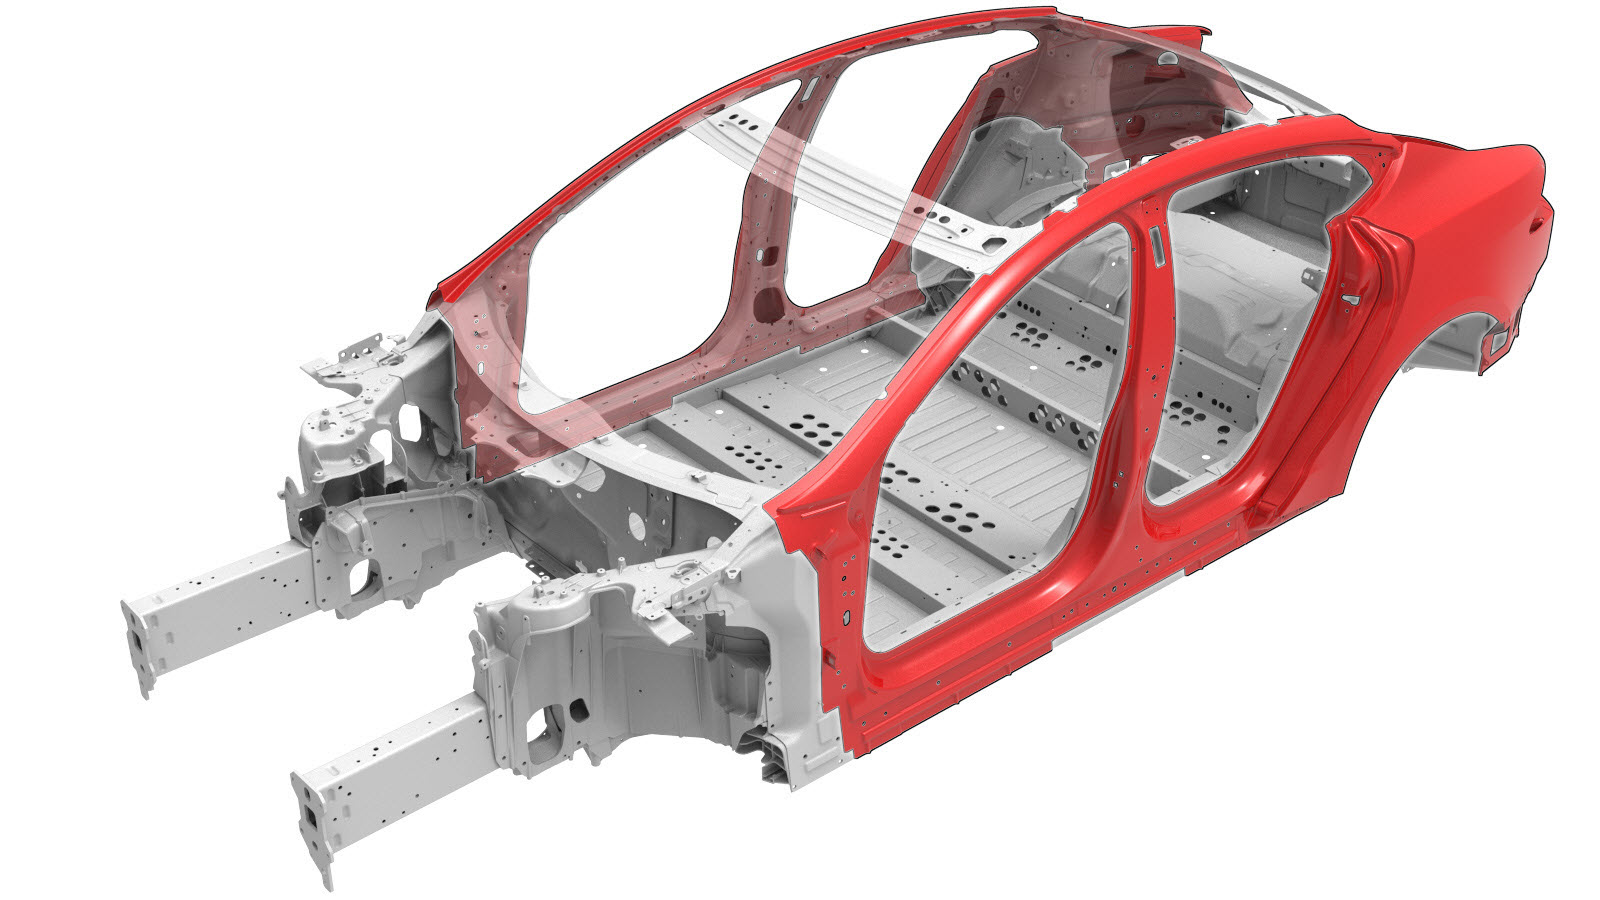
| Oppdeling av ytre karosseriside | |
|---|---|
|
Merk Oppdeling av Serviceenheter for ytre karosseriside er identisk med det tilsvarende området på karosseriside utvendig (komplett). |
|
| Ved oppdeling i området til hjulbrønnen, kan hjulbrønnflensen i området vist i rødt, sveises. |
På grunnlag av fargene som er brukt i bildet ovenfor, er de tillatte reparasjonene som følger:
| Områdefarge | Område som kan repareres |
|---|---|
| Grønne områder: | Oppdeling er tillatt i disse områdene. |
| Gule områder: | Oppdeling er tillatt i disse områdene. Skum kan befinne seg bak de ytre panelene i disse områdene. Merk Hvis du deler opp i disse områdene, må du fjerne skummet og rengjøre området for å unngå sveisekontaminering. |
| Røde områder: | Oppdeling er ikke tillatt. |
Reparasjonsprosedyre
-
Hvis du reparerer en seksjon av støttestaget på karosserisiden utvendig: Fjern Ytterste sidepanel (biler bygget etter 17. februar 2022).
-
Løsne flensen for innerskjermen ved bakhjulet.
MerkHvis du reparerer bare en del av karosseriside utvendig, skiller du bare den nødvendig delen av den kantede flensen.
-
Fjern den opprinnelige komponenten.
eller Fabrikkpunktsveisinger
eller Bor gjennom fabrikkpunktsveisingerMerkNår du borer ut punktsveisinger, bruker du et bor som lager et hull med korrekt størrelse for festeanordningen som skal erstatte punktsveisingen.eller SPR-er fra fabrikk
eller Bolter
-
Bruk tetning på den nye komponenten.
-
Klargjør for montering.
MerkEn rød X indikerer en plassering der en fabrikkmontert festeanordning ikke skiftes ut.
eller Konstruksjonspopnagler, 6,5 mm
eller Forsenkede nagler, 4,8 mm korte
eller Forsenkede konstruksjonsnagler, 6,5 mm
eller Flow Form-nagler, S08
eller Flow Form-nagler, S18
eller Flow Form-nagler, S28
eller Flow Form-nagler, S38
eller Flow Form-nagler, S48
eller Bolter
- Hvis du reparerer en seksjon av karosserisiden utvendig: Hvis det er tilgjengelig plass under skjøtene uten overlapping mellom delene: Lag og monter en bakplate under hver skjøt uten overlapping.
- Påfør konstruksjonslim på kontaktflatene på bilen og den nye komponenten eller komponentene.
-
Monter den nye komponenten eller komponentene.
Stram til boltene til 24 Nm.
-
Hvis du skifter ut en seksjon av karosserisiden utvendig,
utfører du GMA-sveising på skjøtene uten overlapping.
GMA-sveising
eller Aluminiumpluggsveisinger
ADVARSELIkke sveis panelet der det er i direkte kontakt med de høyfaste panelene under. Varmen fra sveisingen kan svekke styrken til den underliggende høyfaste stålstrukturen.ADVARSELHvis ikke alle forholdsregler for sveising, inkludert bruk av personlig verneutstyr, følges, kan dette føre til alvorlig personskade eller skade på eiendom. Bare teknikere som har fullført Teslas godkjente sveiseopplæring, er autorisert til å sveise strukturelle komponenter på Tesla-biler.ADVARSELFor å opprettholde kjøretøysikkerheten må du kun bruke den godkjente sveisetråden og et godkjent GMA-sveiseapparat som er angitt i dette dokumentet når du utfører GMA-sveising på Tesla-biler. Se Godkjente GMA-sveiseapparater (Gas Metal Arc) og -sveisetråd for informasjon om godkjente GMA-sveiseapparater og sveisetråd.ADVARSELFør GMA-sveising må du forsikre deg om at konstruksjonslimet er tørt å ta på. Hvis konstruksjonslimet ikke er tørt å ta på før GMA-sveisingen, kan styrken til limet bli svekket.ADVARSELIkke sveis på en Tesla-bil før du utfører prosedyren for elektrisk isolering av bilen (se bilspesifikk servicehåndbok for mer informasjon om prosedyren for elektrisk isolering av bilen). Hvis du sveiser på en Tesla-bil med et strømførende høyspenningssystem eller lavspenningsystem, kan bilkomponenter bli skadet.MerkFør GMA-sveising bør det gjennomføres en testsveising med materiale av samme dimensjon og type for å sikre at innstillingene til sveiseutstyret gir en tilfredsstillende skjøt. -
Hvis du reparerer en seksjon av støttestaget på karosserisiden utvendig: Monter Ytterste sidepanel (biler bygget etter 17. februar 2022).
-
Brett flensen på innerskjermen.
-
Monter Instapak-er.
Monter Instapak-er i hulrommet mellom ytterste sidepanel og forsterkning for C-stolpe.
- Utfør nødvendige operasjoner etter reparasjon.