2026-03-13
轮罩内件(前部)(截至 2024 年 9 月 22 日所制造的车辆)
维修信息
- 在开始本程序之前,请查看所有碰撞维修一般实践和安全文档并佩戴适当的 PPE(个人防护装备)。
- 不使用车架工作台也可完成此程序。
零件清单
| 数量 | 描述 | 图片/备注 |
|---|---|---|
| 1 | MY RUB FRONT WHEELHOUSE SERVICE PANEL(轮罩前部) | |
| 7 | 高强度结构型铆钉,6.5 毫米 | |
| 1 | 流型铆钉 S38 |
如需订购零件,请参阅零件目录,输入需维修车辆 VIN,查找车辆正确零件(以及零件号)。或者,也可以在零件目录中搜索,查找车辆专用零件。
维修程序
-
拆下轮罩加长板(前部)。
-
拆卸原装部件。
注仅修整安装新组件所需的材料量。去除过多材料可能削弱新组件附近的修复区域强度。
参考线/点
切割线- A = 36 毫米
- B = 26 毫米
- C = 28 毫米
- D = 45 毫米
- E = 44 毫米
注所示测量值表示维修区域的外边界(即最大尺寸),也可根据实际情况切割出较小的维修区域。如果损坏程度超出该区域,请联系 Tesla 碰撞维修中心寻求帮助。注从后车底铸件去除材料时,应参照维修零件。根据需要进行粗略切割,直至维修零件与维修区域吻合。警告轮罩的剩余部分必须在内侧区域与维修零件重叠至少 25 毫米。或 原厂 SPR
-
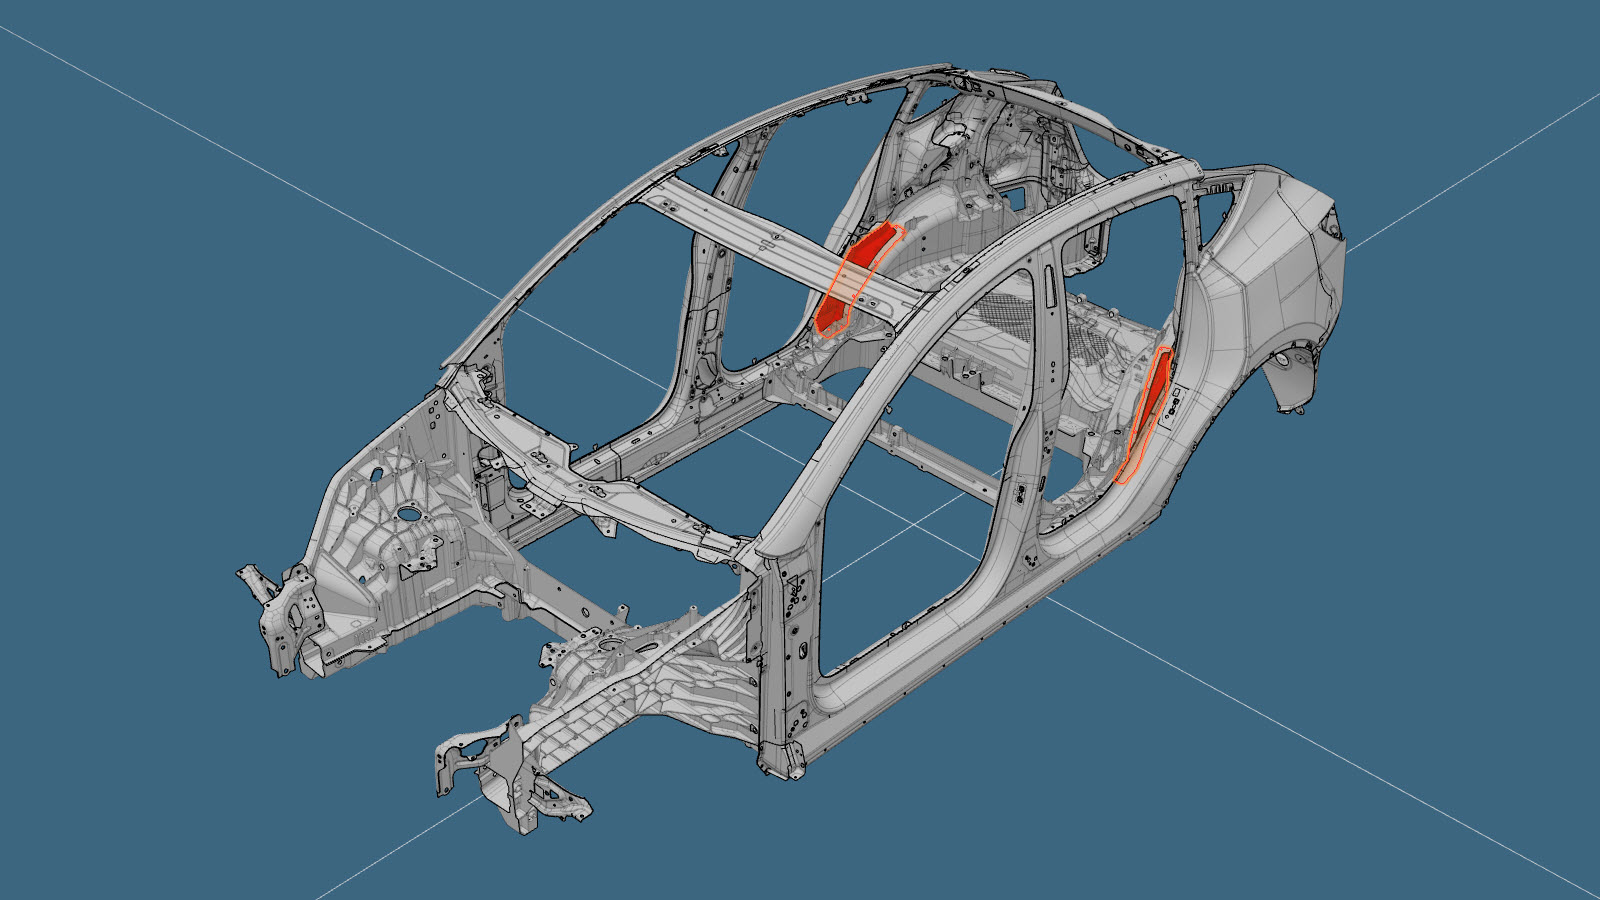
通过打磨红色区域,从原装组件边缘去除少量材料,然后试装新组件。
如放大图所示,去除确保正确安装且不发生碰撞所需的最少材料。注仅修整正确安装新组件所需的材料量。去除过多材料可能削弱新组件附近的修复区域强度。
-
准备安装。
注从轮罩底部安装维修零件。注红色 X 表示此处工厂安装的紧固件未进行更换。
参考线/点
警告轮罩的剩余部分必须在内侧区域与维修零件重叠至少 25 毫米。或 流型铆钉,S38- F = 10 毫米
- G = 65 毫米
- 在车辆接合面以及新部件上涂抹结构型粘合剂。
- 安装新部件。
- 在新组件的整个外边缘涂抹接缝密封剂。
-
安装轮罩加长板(前部)。
- 执行任何必要的维修后操作。