2025-11-13
Bakre skinne (støpt) med hjulbrønndel
Reparasjonsinformasjon
- Gjennomgå all generell praksis og sikkerhetsdokumentasjon for kollisjonsreparasjon, og ta på deg egnet personlig verneutstyr før du starter denne prosedyren.
- Sett bilen ordentlig på en rammeløfter når du utfører denne prosedyren.
Deleliste
| Antall | Beskrivelse | Bilde/merknader |
|---|---|---|
| 1 | ASSEMBLY - REAR RAIL LARGE SECTION CASTING (bakre skinne med hjulbrønndel) | |
| 1 | Model Y RUB stor jigg for skjærelinje, venstre |
Tesla-delenummer 1004969-00-A. |
| 1 | Model Y RUB stor jigg for skjærelinje, høyre |
Tesla-delenummer 1004969-00-A. |
| 2 | Kraftig konstruksjonsnagle, 6,5 mm | |
| 1 | Forsenket konstruksjonsnagle, 6,5 mm | |
| 1 | BUTYL FOIL PATCH 300X150x2MM (butylfolielapp) | Tesla-delenummer 1004969-00-A. |
| 9 | Bolt , M8-1.25x40,[109],G0110,SM | Tesla-delenummer 1621075-00-A. |
| 9 | Mutter , HF, M8-1.25,[10],ZNNI,PTM | Tesla-delenummer 1111537-00-A.2. |
Når du bestiller deler, må du se delekatalogen og angi understellsnummeret for bilen som repareres for å finne de riktige delene (og delenumrene) for bilen. Alternativt kan du bruke søkerfunksjonen i delekatalogen for å finne en spesifikk del for bilen.
Reparasjonsprosedyre
-
Fjern Bakre sidepanelenhet (for støpedel i 1 stykke under karosseri).
-
Fjern Vingebrakett (nedre).
-
Fjern den opprinnelige komponenten.
Skjærelinje
-
Marker skjærelinjen på den opprinnelige komponenten.
Fest skjærelinjejiggen som vist, og marker deretter skjærelinjen mot bakre del av bilen.MerkUnngå å skade jiggene, slik at de kan brukes på nytt.
-
Fjern den opprinnelige komponenten.
eller FabrikkpunktsveisingerSkjærelinjeMerkSkjær så nær bakre kant av den markerte skjærelinjen som mulig på den originale komponenten.
-
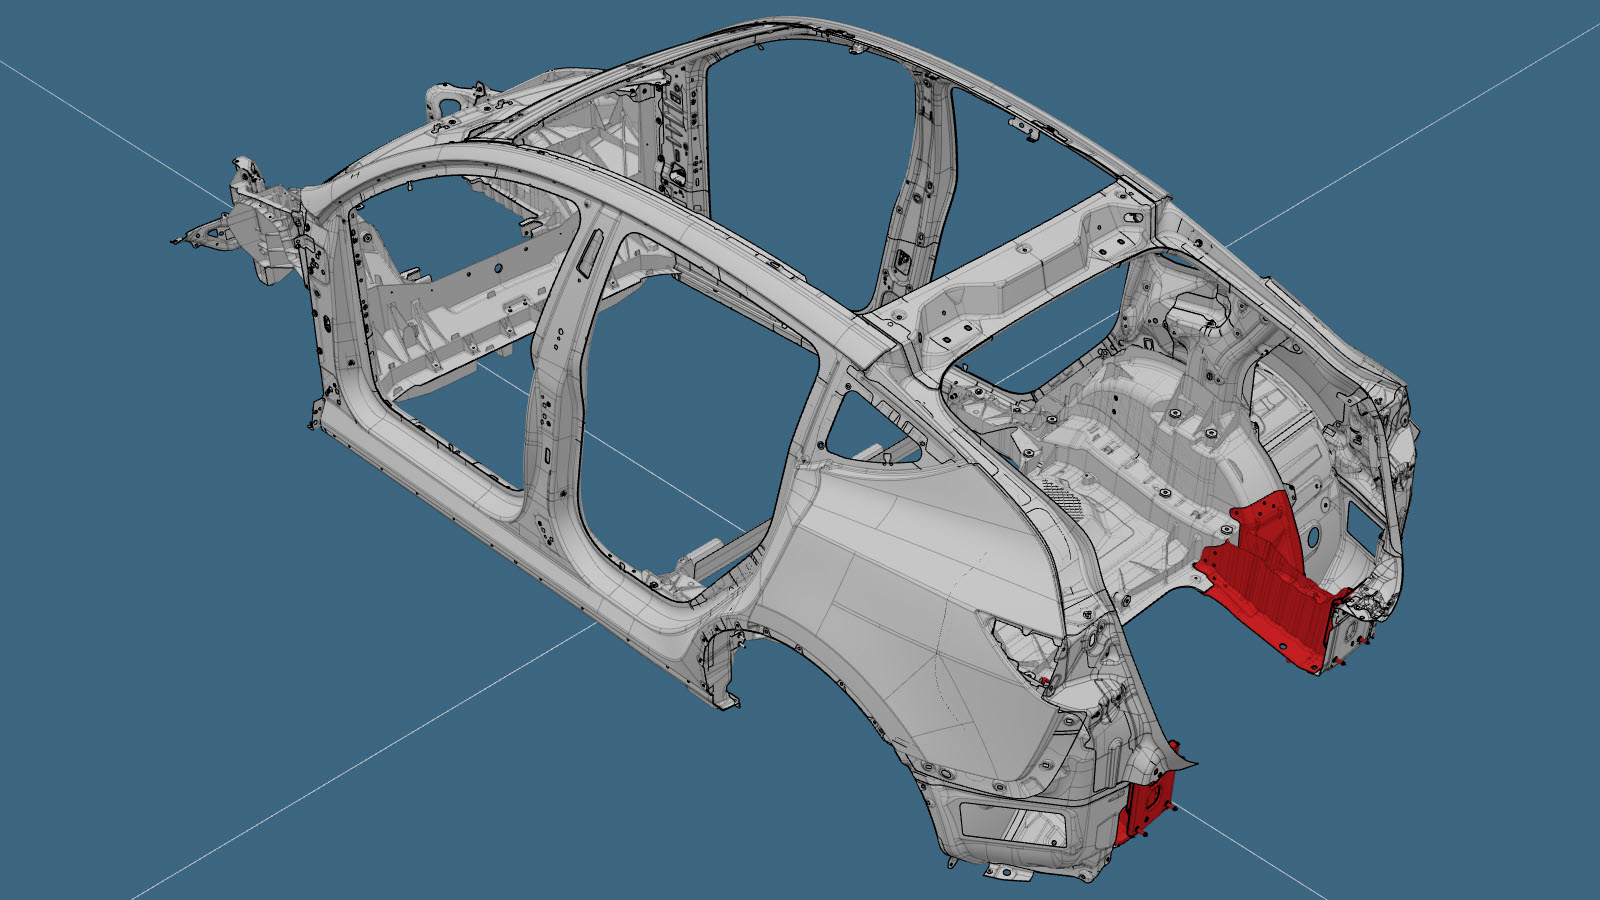
Trim deretter originalkomponenten slik at den passer ved å fjerne materiale fra områdene uthevet i rødt.
Minimer materialfjerningen under sleiping, og sikre at alle kanter er jevne og avrundet ordentlig.MerkLag eventuelle hull så små som mulig.
-
Klargjør for montering.
- eller Kraftige konstruksjonsnagler, 6,5 mm
- eller Forsenkede konstruksjonsnagler, 6,5 mm
- eller Bolter
-
Påfør konstruksjonslim på kontaktflatene på bilen og den nye komponenten eller komponentene.
MerkBruk konstruksjonslim for å tette alle mellomrom mellom den nye komponenten og den opprinnelige komponenten.
-
Monter den nye komponenten eller komponentene.
Stram til boltene til 33 Nm.
-
Monter Bakre sidepanelenhet (for støpedel i 1 stykke under karosseri).
-
Monter Vingebrakett (nedre).
MerkEn rød X indikerer en plassering der en fabrikkmontert festeanordning ikke skiftes ut.eller Konstruksjonspopnagler, 6,5 mm
- A = 45 mm
- B = 58 mm
MerkFlytt det angitte festet til det spesifiserte stedet for prosedyren for vingebraketten (nedre), slik at du unngår konflikt med utstøterpinnen. -
Monter butylfolielappen som anvist.
- Utfør nødvendige operasjoner etter reparasjon.