Glass - Roof - Fixed (Remove and Replace)
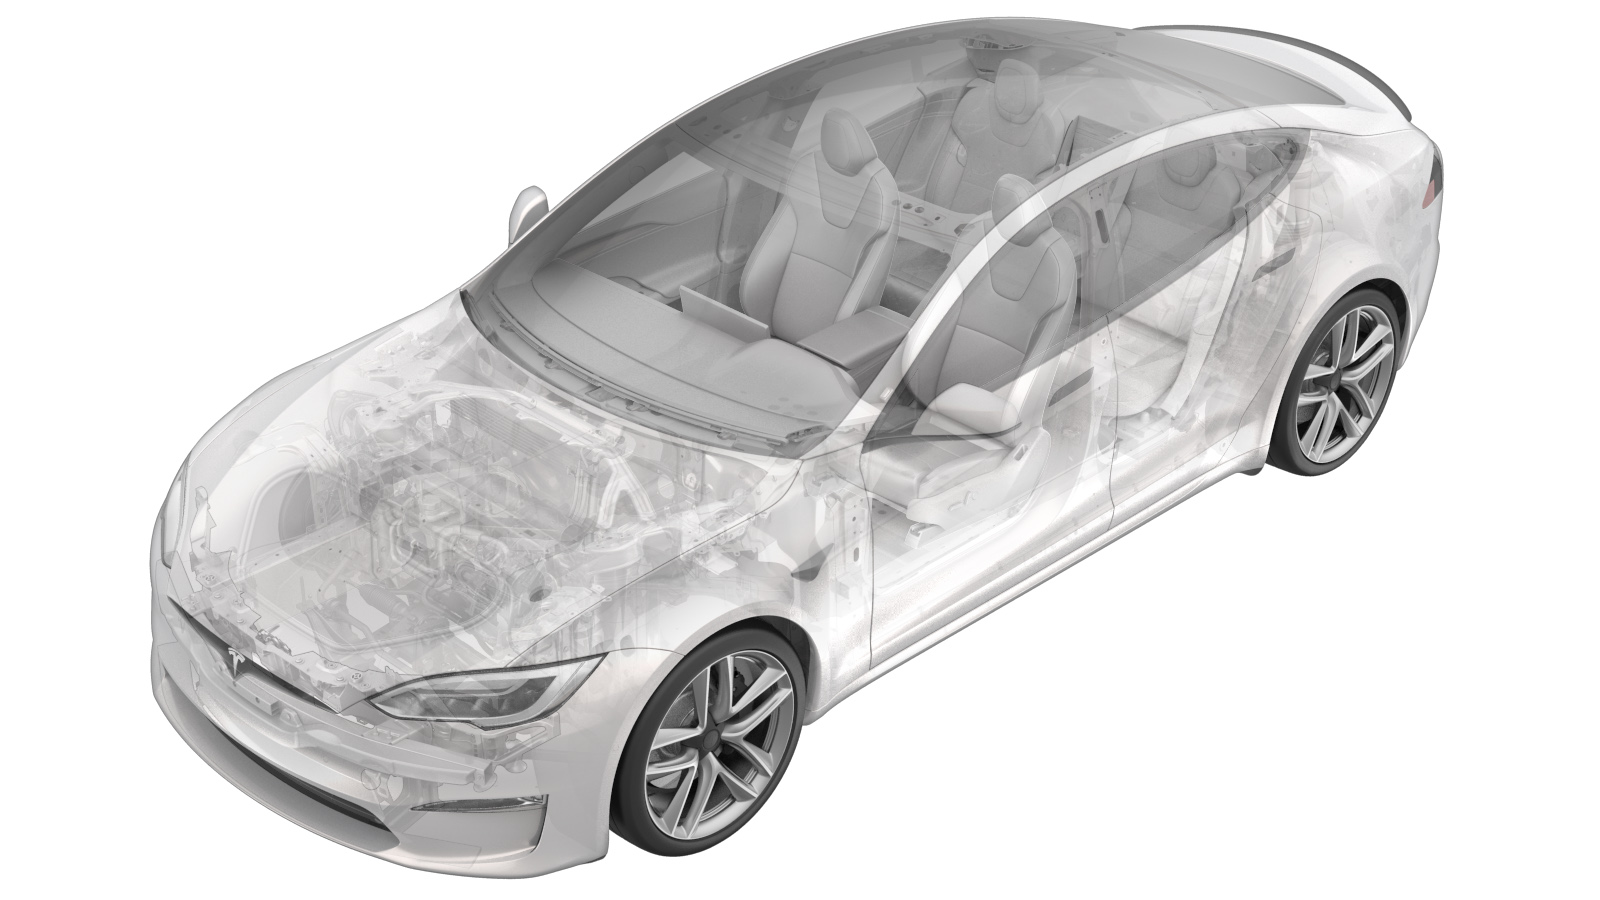 10205002
1.02
NOTE: Unless otherwise explicitly
stated in the procedure, the correction code and its associated FRT reflect all of the
work required to perform this procedure, including the linked procedures. Do not stack correction codes unless
explicitly told to do so.
NOTE: See Flat Rate Times to learn
more about FRTs and how they are
created.
NOTE: See Personal Protection to make sure proper PPE is worn when
performing the below
procedure.
10205002
1.02
NOTE: Unless otherwise explicitly
stated in the procedure, the correction code and its associated FRT reflect all of the
work required to perform this procedure, including the linked procedures. Do not stack correction codes unless
explicitly told to do so.
NOTE: See Flat Rate Times to learn
more about FRTs and how they are
created.
NOTE: See Personal Protection to make sure proper PPE is worn when
performing the below
procedure.
- 2026-10-14: Updated procedure to replace T-handles with Spider Cutting Tool.
- 2025-03-24: Updated procedure so that the side rails and headliner are not released.
- 2024-12-10: Added new caution about Pre-Installation Glass Inspection service requirements.
- 2023-08-28: Updated the installation steps.
Remove
- Open all four doors and lower all four windows.
-
Measure and record gaps from fixed roof glass to windshield, body sides, and liftgate
glass.
NoteMeasurements will be used during installation of new glass.
-
Separate the front and the rear datums from the roof glass by sliding the equalizer
blade up against the datums and carefully separating the adhesive from the roof glass
using a rubber mallet.
NoteOne datum at front center, one datum at LH rear corner. You may not be able to see the datum clearly, but you can feel for it using the blade.
-
Prepare WRD Spider 3 glass removal
kit
-
Loop the cutting string through the wire starter.
-
Insert the wire starter through the roof glass urethane at the rear corner.
NoteTake caution when doing this. Use the protective shield. Avoid damage to painted surfaces.
-
Remove the string from the wire starter using an angled pick, and pull enough string
through to wrap around the circumference of the fixed glass.
NoteUse plier to help pull the string if needed.
- Remove the wire starter tool from the vehicle.
-
Pull the nylon string through the hole in the urethane, leaving enough string to wrap
around the perimeter of the glass with both ends inside the vehicle.
NoteDo not pull the string through completely.
-
Route the nylon string around the glass perimeter, lifting the seals to place the
string under the seals.
CAUTIONDo not damage the front windshield and liftgate seals.NoteIf the roof glass is being replaced, the roof glass seals can be off.
-
Secure the nylon string onto the wire starter and push the wire starter into the
vehicle. Using a pick, pull enough nylon string into the interior to secure onto the
spider cutting tools, then cut the string.
-
Secure one end of the nylon string to the spider cutting tool: follow the
instructions on the spider tool, feed the line through the opening of the cutting tool,
and tie a knot to secure it in place.
CAUTIONIf the spindle is not turned in the proper direction, the cutting tool will be damaged.WarningIf a drill is used to wind up the string on the spider tool, the drill clutch must be set to 1 to avoid risk of injury.
-
Secure one end of the nylon string to the anchor.
NoteKeep the anchor at the correct cutting angle.
-
Secure the glass removal anchor to the interior of the roof glass.
NoteKeep the anchor at the correct cutting angle.
-
Secure the spider cutting tool to the interior side of the fixed roof glass assembly,
noting the orientation of the cutting line and ensuring the line wraps over the large
pulley and holds at a 90-degree angle.
-
Secure the angle driver to the electric drill.
Warningif a drill is used to wind up string on spider tool, drill clutch must be set to 1 to avoid risk of injury.
-
Cut the roof glass urethane with the spider tool (2 x datums, 4 x roof
brackets).
- Attach the drill with angle driver to the square drive on the spider tool.
- Operate the drill to drive the spider cutting tool.
- Apply upward pressure to the string as it cuts with the dash protector.
- Make sure the string goes above the datums, roof brackets, and the antenna located at the rear center.
CAUTIONIf the string gets caught under a bracket, it will break. Pull the string backwards to release it from under the metal roof bracket. Also try swapping the position of the anchor and cutting tool if the line is caught. -
Secure suction cups to roof glass at each corner.
Note4x suction cup tools. Recommend assistance.
-
Remove fixed roof glass from vehicle.
NoteRecommend assistance. Discard per local regulations.
-
Remove the old urethane from body.
NoteEnsure residual urethane is 1 mm or less in thickness.
-
Remove datums and any other debris from the body.
-
Wipe body with IPA to clean the surface.
NoteAllow 1 minute dry time.
-
Replace any body plugs or tape that were damaged during removal or cleaning.
Install
-
Inspect XM antenna to make sure it is secure and the foam is not damaged.
NoteIf damaged, please replace as needed.
-
Attach suction cups to the roof glass.
-
Position roof glass onto vehicle for dry fit.
NoteRecommend assistance.
-
Make sure gaps are all within acceptable limits.
NoteIf glass is too high, it may be necessary to trim or remove net pads.
-
Remove roof glass and set it upside-down onto stand.
NoteRecommend assistance.
-
Apply primer to body on urethane path and any areas that were damaged during
removal.
NoteIf vehicle is equipped with roof rack anchors, primer should go around the inside of the roof bracket. If vehicle is not equipped with roof rack brackets, primer outside the roof rack bracket mounting holes. Allow primer to dry for at least 1 minute.
-
Prepare caulking gun and urethane.
NoteOpening must be 12mm wide and 19mm tall, 8mm wide and 13mm tall.
-
Apply urethane to body.
NoteIf equipped with roof rack anchors urethane should go around the inside of the roof rack anchor, if not urethane should go on the outside of the anchor mounting holes.
-
Place roof glass onto vehicle but do not set yet.
NoteRecommend assistance. Align datums on LH side of vehicle at front and rear corners of glass to body.
-
Position new seal at front of glass beneath windshield seal.
NoteA trim tool can be used to properly seat the roof glass seal under the windshield seal.
-
Press glass onto body once in position.
NoteUse sandbags for the front if needed.
-
Verify clearances with liftgate glass, windshield, and body sides are within
specification.
Note
-
Remove suction cups from the roof glass.
-
Close the liftgate.
- Raise all four windows and close all four doors.