Solenoid Valve - Evaporator
FRT No: 18033202
Remove
- Remove receiver drier
(refer to procedure).
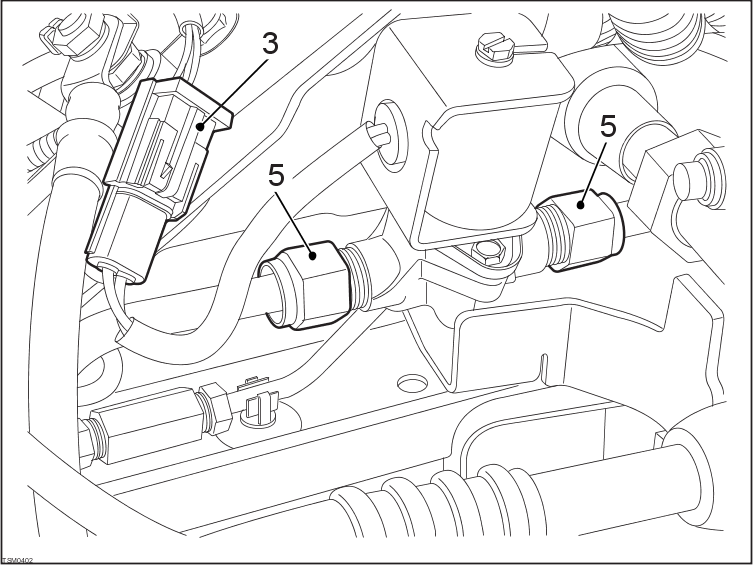
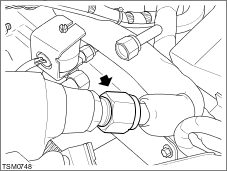
- Disconnect union securing low pressure pipe to T-piece (torque - 18 Nm).
 | CAUTION: To prevent damage always use a suitable wrench to hold backing nut when loosening pipes and unions. |
| CAUTION: Plug pipe connections to prevent ingress of moisture or dirt. |
- Disconnect solenoid valve harness connector.
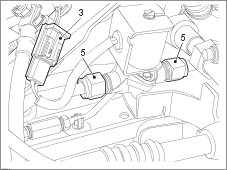
- Loosen solenoid rear pipe retaining nut (torque - 18 Nm).
| CAUTION: To prevent damage always use a suitable wrench to hold backing nut when loosening pipes and unions. |
| CAUTION: Plug pipe connections to prevent ingress of moisture or dirt. |
- Loosen front pipe union and disconnect pipe from solenoid valve (torque - 18 Nm).
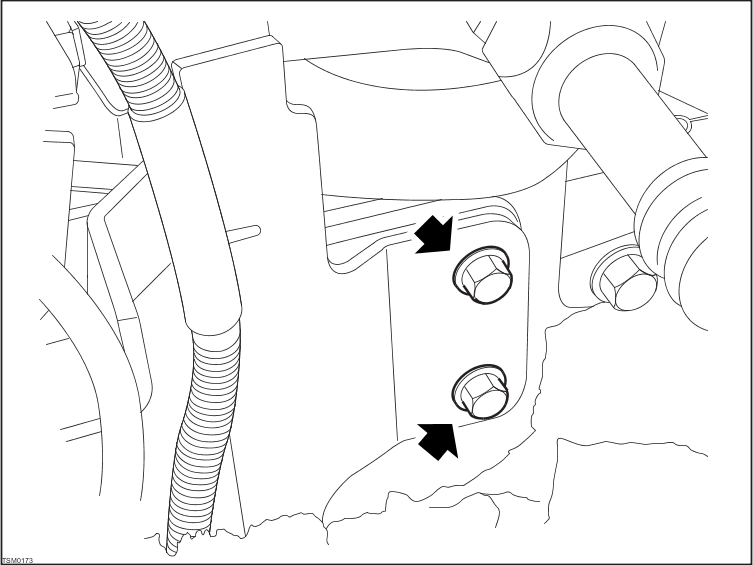
- Remove bolts (x2) securing solenoid valve bracket to body (torque - 10 Nm).
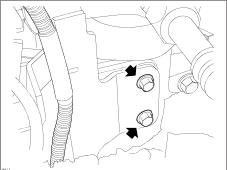
- Remove solenoid valve and bracket assembly.
- Note orientation of valve and bracket to aid installation.
- Remove bolts (x2) securing valve to bracket (torque 8 - Nm.).
Installation
- Installation procedure reverse removal except for the following.
- Replace AC pipe O-rings.
NOTE: Lubricate new O-ring seals with clean refrigerant oil.