Bleed Procedure - System
FRT No: 33031202
Bleed
- Raise and support vehicle.
 | WARNING: Do not work on an incorrectly supported vehicle. |
- Remove rear road wheels.
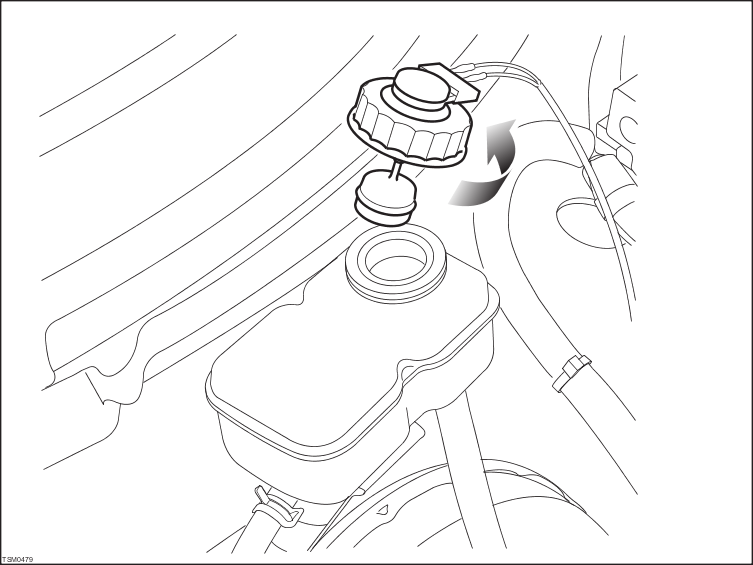
- Clean area surrounding brake fluid reservoir cap and remove cap.
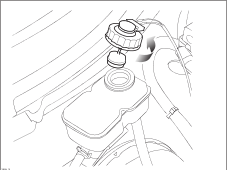
- Using a syringe, remove brake fluid from reservoir.
- Refill brake fluid reservoir with new recommended brake fluid.
- Fit pressure bleeder adaptor to reservoir ensuring a tight seal.
- Install pressure bleeder to reservoir adaptor and fill with sufficient brake fluid to replace all fluid used during bleed procedure.
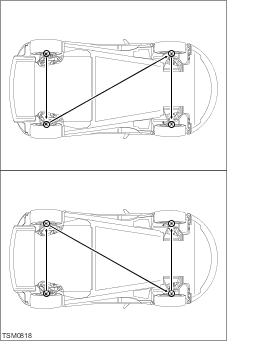
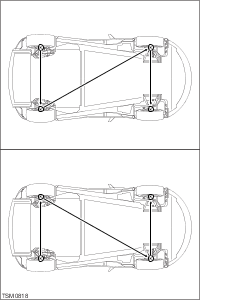
- Bleed brakes in sequence shown.
 | CAUTION: If the ABS modulator or brake master cylinder has been removed, or you are unable to achieve a firm brake pedal, the system will need to be bled in conjunction with using the diagnostic tool. |
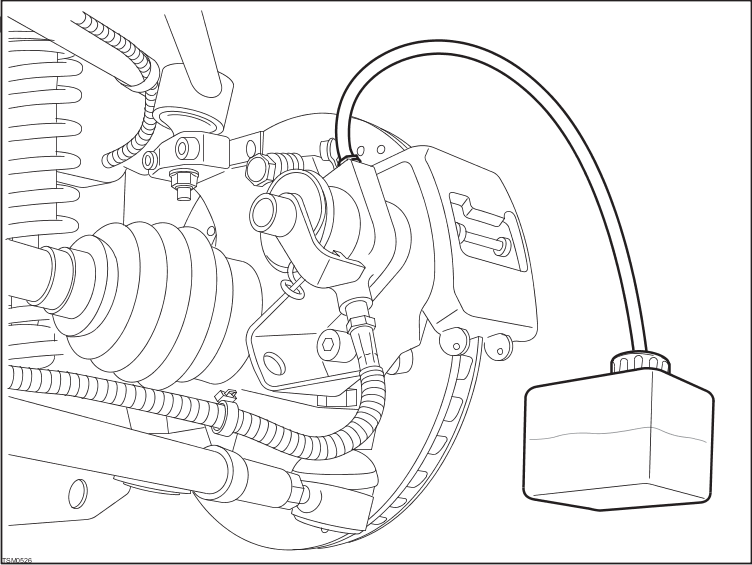
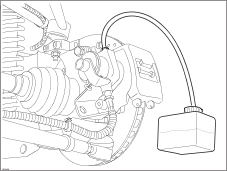
- Remove cover from caliper bleed nipple.
- Install brake bleed container to bleed nipple on caliper.
NOTE: Place suitable absorbent material around the affected area to absorb any possible fluid spillage.
- Loosen bleed nipple a ¼ turn counterclockwise.
- Tighten bleed nipple once a flow of clean, air-free fluid is purged into container.
- Remove bleed container.
- Clean any brake fluid from caliper.
- Repeat bleed procedure for each caliper in sequence.
- Once brakes have been bled, remove pressure bleeder and adaptor in accordance with manufacturer's instructions.
| CAUTION: If brake fluid is spilt on the paintwork wash off immediately with clean water. |
- Check and top-up brake fluid level if required.
- Install brake fluid reservoir cap.
- Install road wheels (torque - 105 Nm).
- Turn starter switch to ON position and pump brake pedal several times to ensure a short, firm travel when brakes are applied.